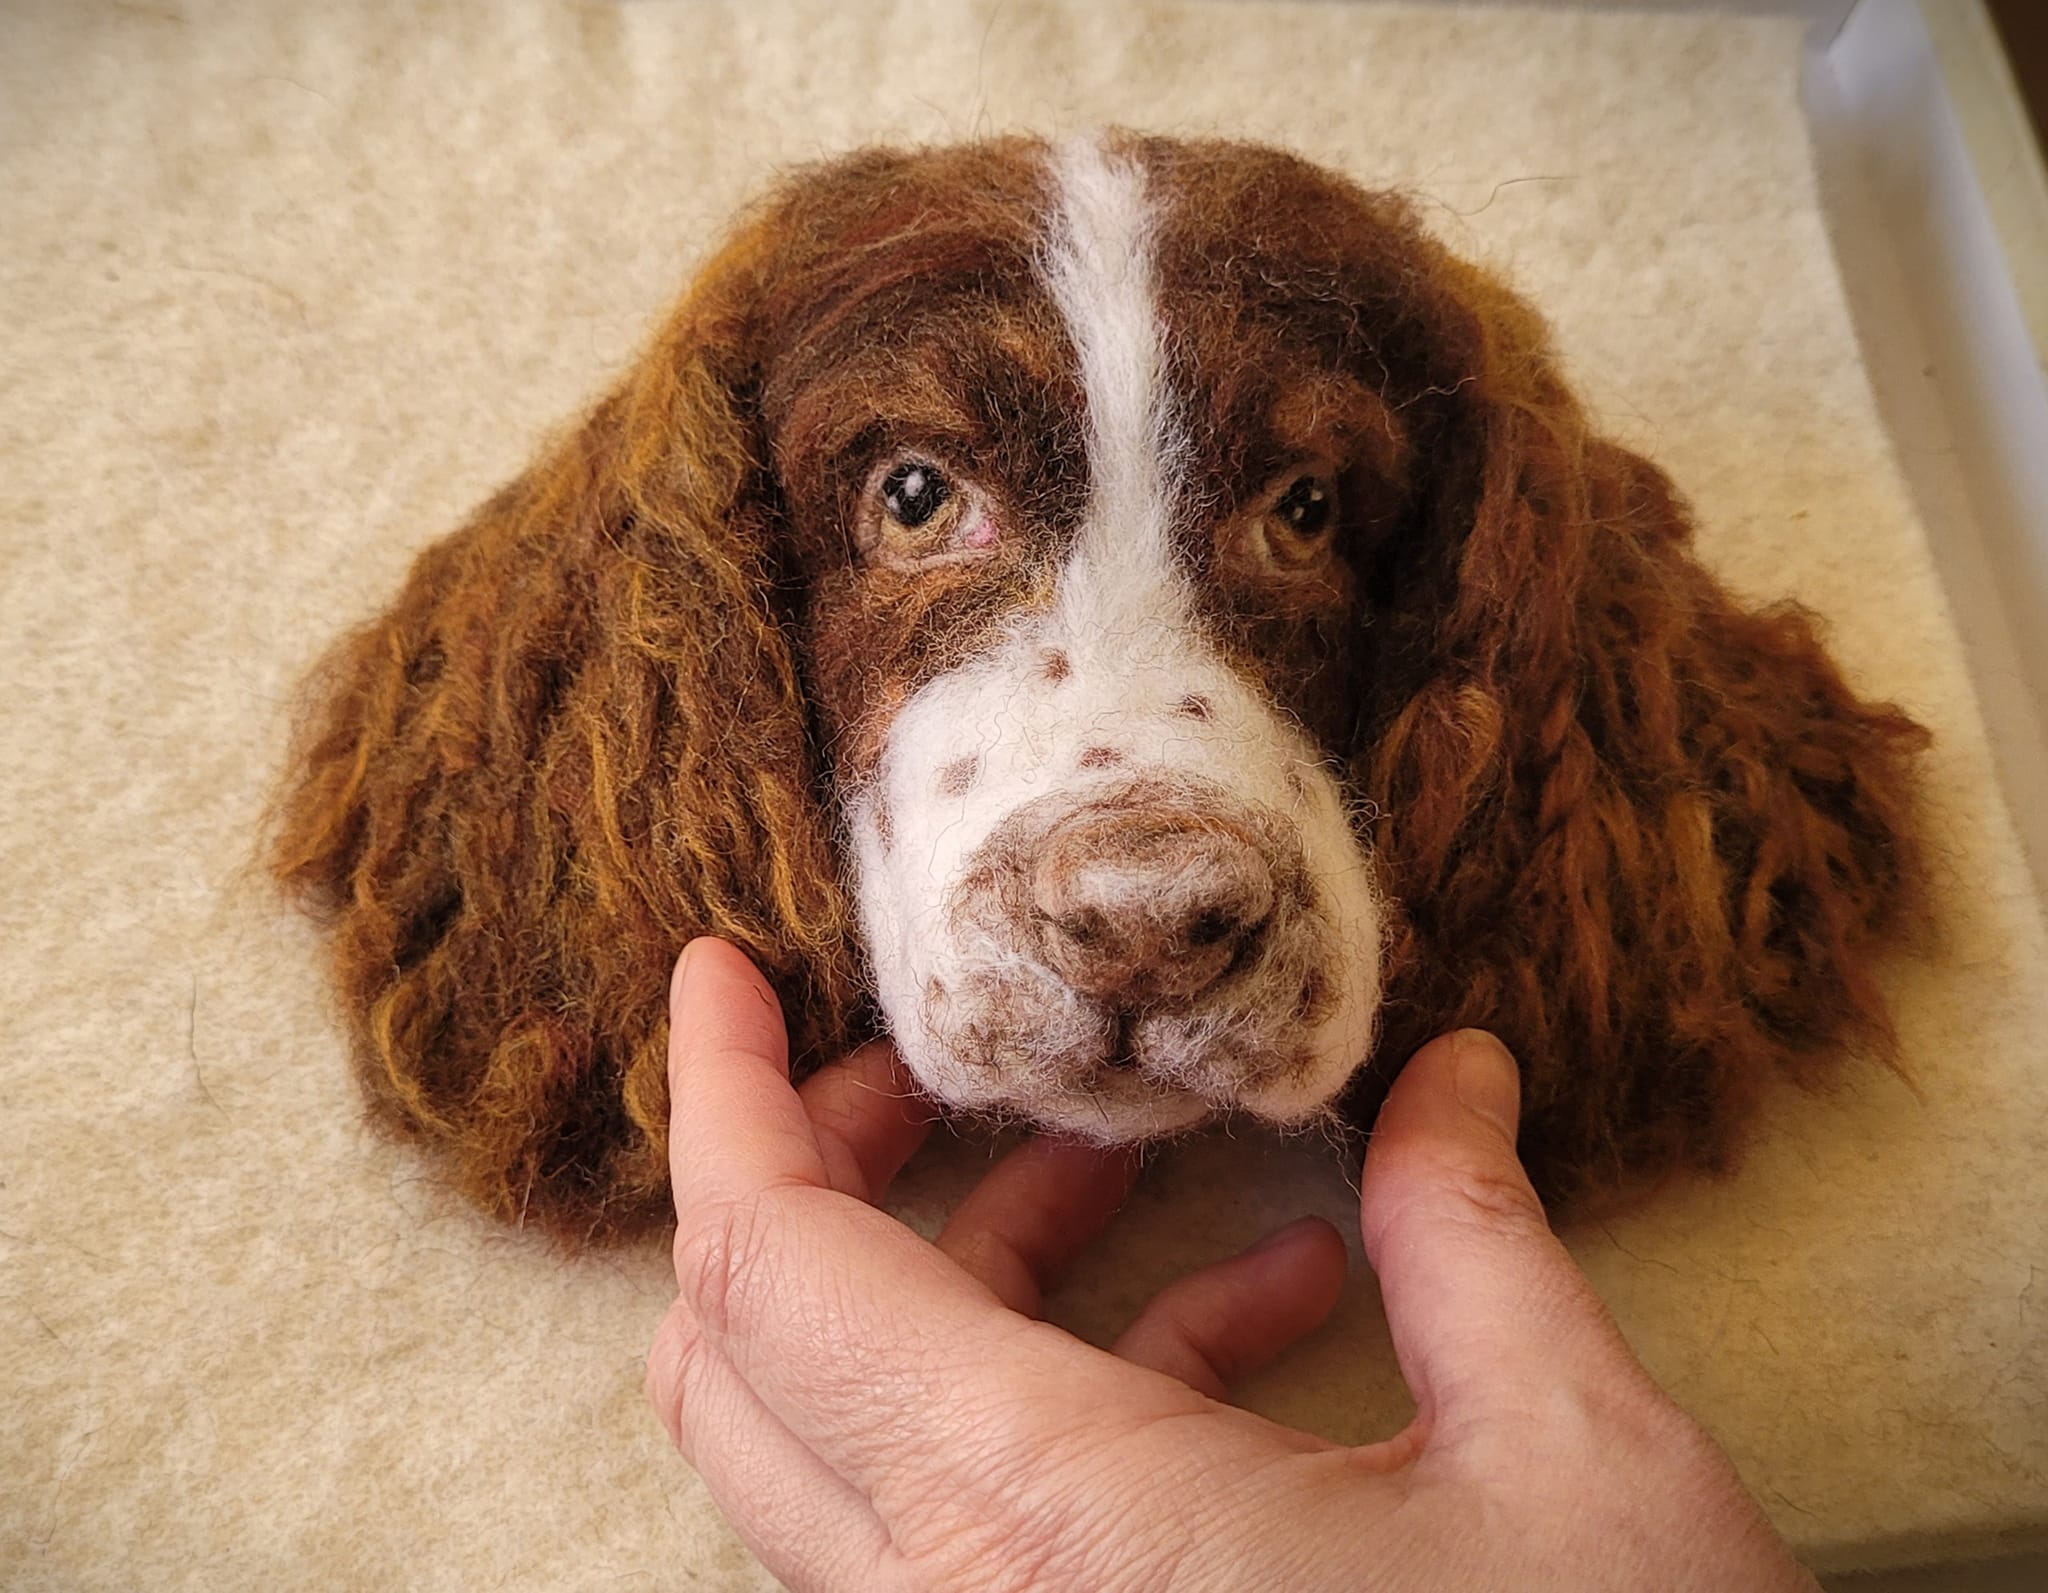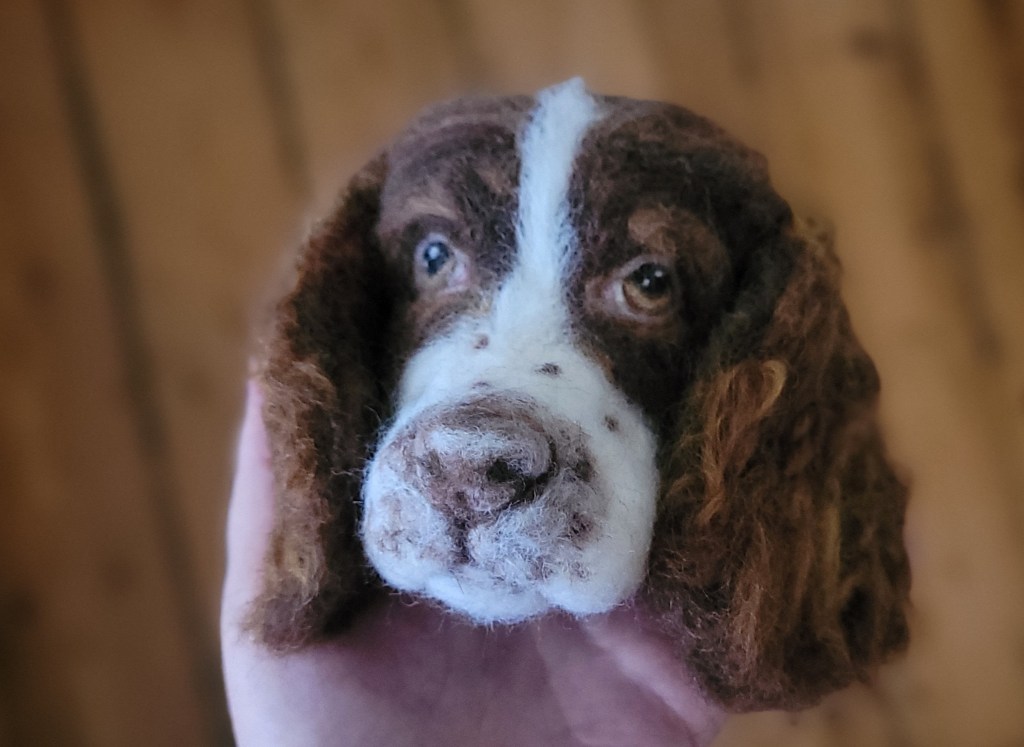
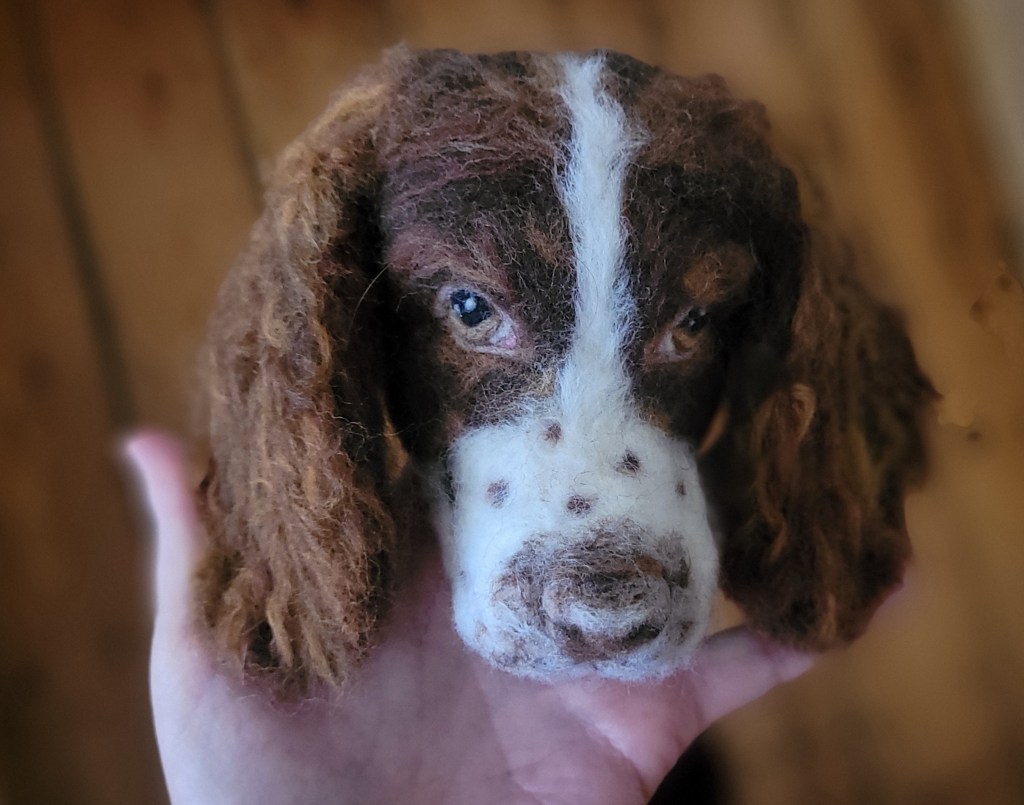


A while back I needle felted the head of one of my favourite breeds of dog, the Springer Spaniel. I was so pleased with how he ended up and he has since featured in quite a few of my Youtube tutorials including ‘How to make Realistic Needle Felted Dog Eyes’ and ‘How to Needle Felt Wavy/Curly fur’. I am sure you may have seen this loveable floppy eared pooch by now 🙂
Well, he is now available to a good forever home!!
- He will come as a head and shoulders portrait in a frame so you can put him on your wall or on a shelf.
- As his new owner you will be able to name him and decide on the colour of his soft material collar and whether you would prefer a light or dark frame for him.
Maybe you love spaniels or have a friend or family member who loves them as much as I do and would love to provide a new home for him. I will really miss seeing those big soppy eyes around the place but I just don’t have the space to keep all my felted animals long term.

Buy this Springer Spaniel Sculpture Now
You can pay by PayPal, Debit or Credit card
(Once payment has been processed through my Etsy Shop I will contact you by email to request his name, collar and frame colour and to arrange delivery. Please allow up to 10 days for me to complete his shoulders, collar and to frame him).
If you have any questions please email me at fittobeloved@mail.com.
As with all my needle felted animals he is not a toy but a wool sculpture to be admired and cherished. So please don’t pull at his ‘fur’, get him wet or try to brush him. Please keep him somewhere safe and away from pets and small children. Thank you