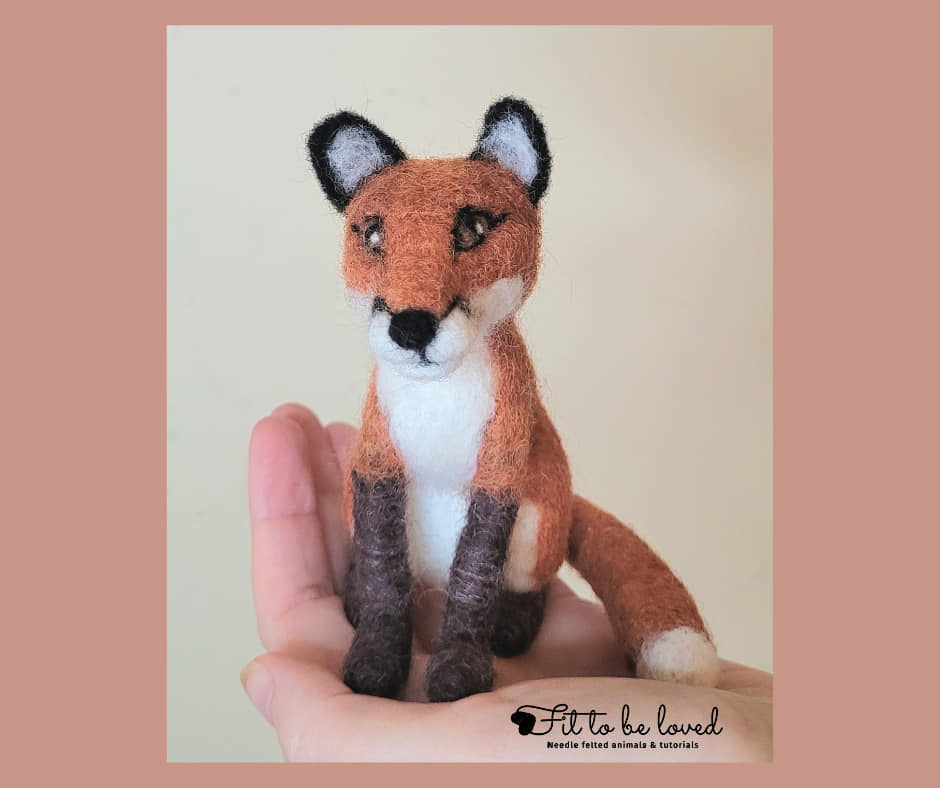

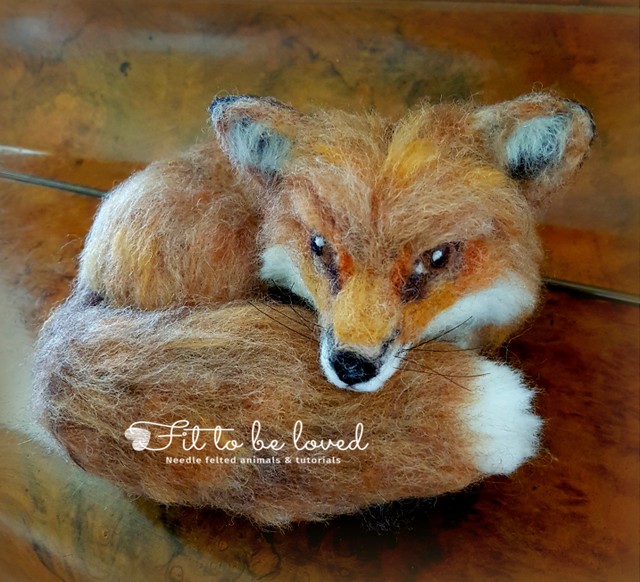
Do you ever look at beautifully crafted needle-felted animals and think “How do they make it look so lifelike?”.
Whether you’re brand new to felting or have a few projects under your belt, creating realistic animals can feel both exciting and overwhelming. This quick guide is here to answer the questions I get asked most often—packed with practical tips, essential tools, and links to my most-loved tutorials that will help you sculpt animals with personality and precision.
1. 🧶 What wool should I use for realistic animal sculptures?
Have you ever felt overwhelmed with all those wool options and not knowing where to start?

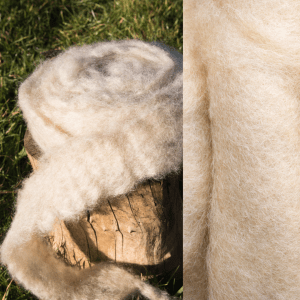
When I start sculpting an animal, I usually grab some corriedale batts or slivers to build a solid core. This type of wool felts quickly and gives a sturdy base without too much effort. Then for the outer layers—the visible fur and details—I love using dyed merino tops or alpaca blends for their smooth soft animal fur finish or for a more natural, slightly fuzzy fur texture, I love some of the rougher undyed wools e.g. Shetland.
Here’s a summary from my Needle Felting Wool: A Guide To The Different Types…:
- Corriedale batts/slivers: Great for core work; felts quickly and firmly
- Merino tops: Fine and smooth; excellent for top layers and a sleek finish
- Alpaca & Suri blends: Slightly looser fibres that add softness and realism to fur
- Shetland & Romney: Useful for more coarse or textured coats
- Natural vs Dyed: Natural wool shades add lifelike tone variation, while dyed fibres help with specific colour choice and effects.


If you prefer to use synthetic or plant fibres — these are great (especially if you are looking for vegan options) though you might want to try a variety to get a feel for the ones you prefer as some may be harder to felt with than wool!
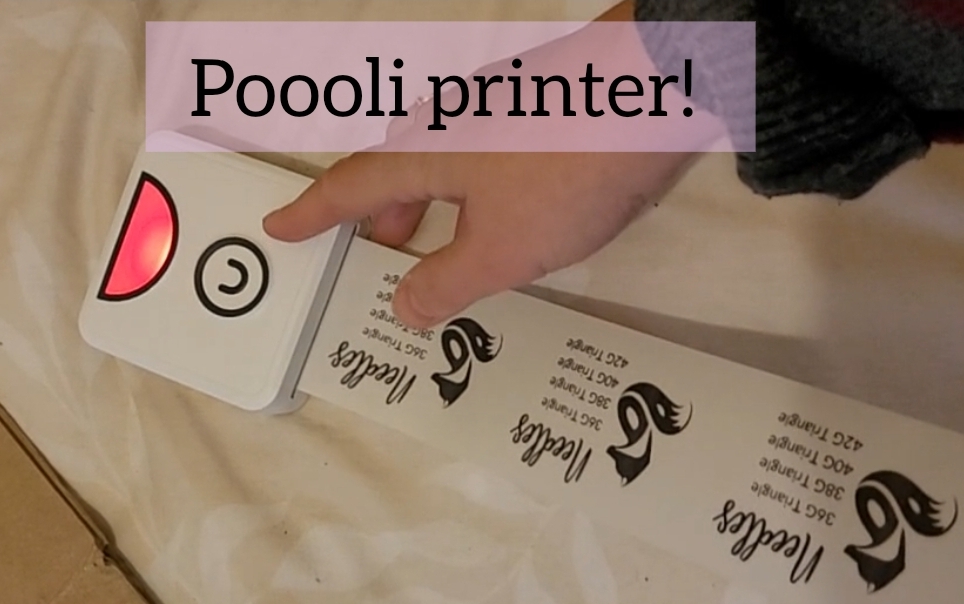
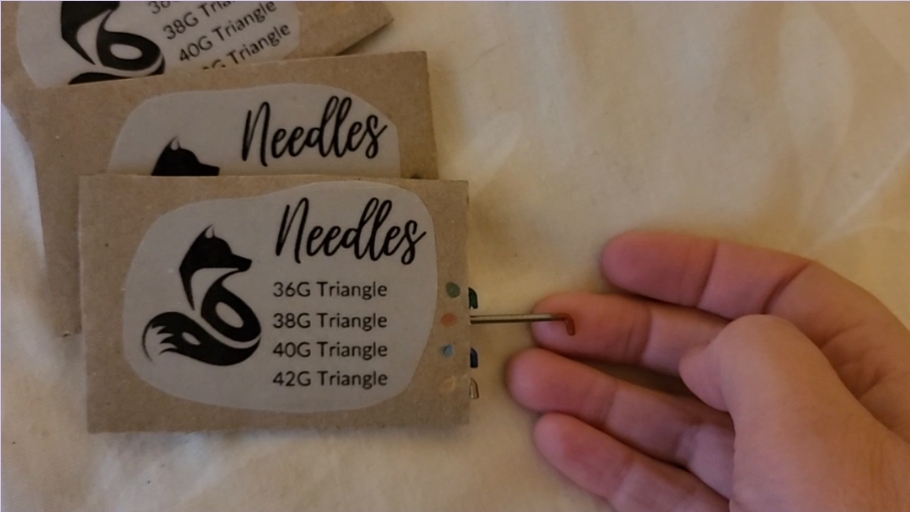
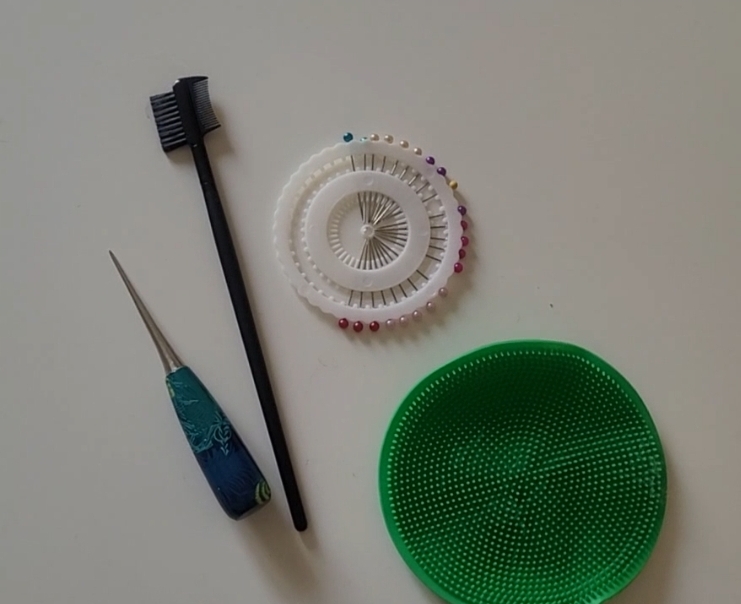
2. 🪡 Which needles are essential for detail and realism?
Having the right felting needle makes a world of difference in your results. My go-tos are:
- 36–38G triangular: for shaping and sculpting
- 38G star: for blending and smoothing
- 40G triangular or twisted/spiral: for face details and delicate areas
Want to know what tool changed everything for me? The reverse felting needle—it’s brilliant for texture! there are so many ways I use this needle ….

Here’s some needle related highlights from My Top 15 NEEDLE FELTING TOOLS & MATERIALS….guide
- Reverse needles: Pull out fibres – ideal for creating fluffy fur, blending colours
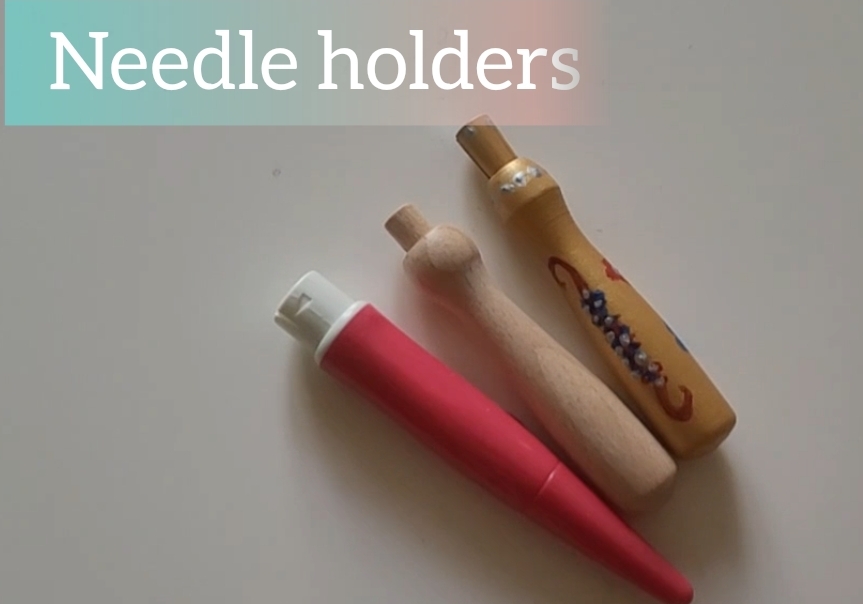
- Needle storage: I recommend keeping your needles organised to avoid bending or breaking
- Tool handles: Multi-needle tools reduce hand/arm fatigue when working on larger pieces
- Needle sharpness: Replace worn needles to maintain precision and efficiency
- Different gauges do different jobs—don’t just use one needle for everything!
3. 📏 How do I accurately shape heads, bodies, and limbs?
Do you struggle with proportions? You’re not alone. Reference photos and sketching really help.
I always start with simple shapes. Think:
Limbs = cylinders or cones
Head = oval or sphere
Body = sausage or teardrop
For how I attach parts, head over to How to add head and limbs….
These techniques from the tutorial can help give your animals a more realistic look:
- Use reference photos and anatomy diagrams to help with proportions, pose, colours etc
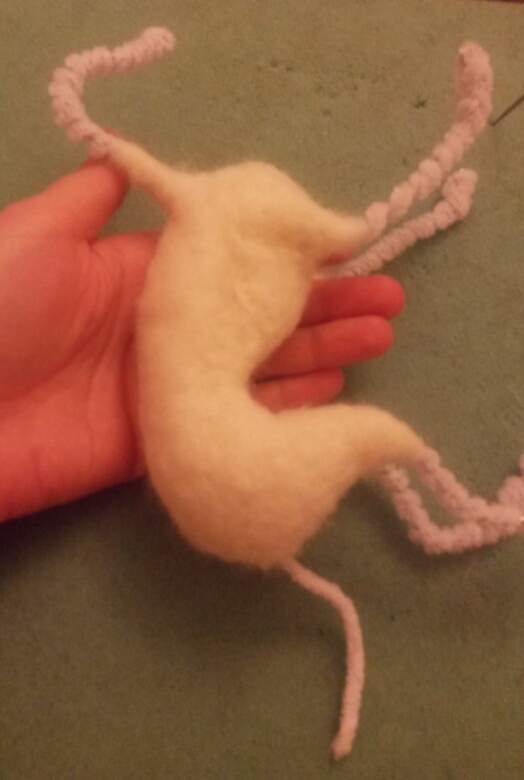
- Consider armature/pipe cleaners to help keep with proportions and size. Great for support and stability too.
- Always compare body part size before attaching
- Anchor parts before fully felting: Position head, legs, or tails with loose fibres (for easier adjustment) before securing.
- Use a coloured pin/ mark with a pen/ add a strand of bright wool to plan where features will be added This helps keep limb symmetry and alignment with the body
- Build up wool gradually: Start small and add more wool slowly to control size – easier to add more than take away later
- Smooth joins with a fine needle e.g. 40G : Light pokes enable seamless transitions between pieces

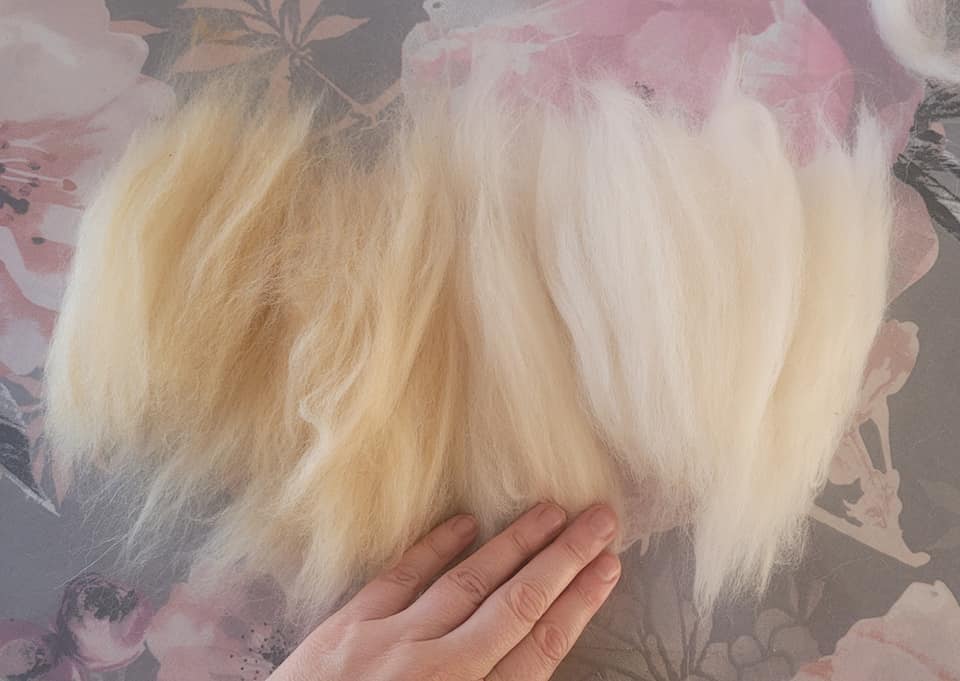
4. 🎨 How do I blend wool for natural fur?
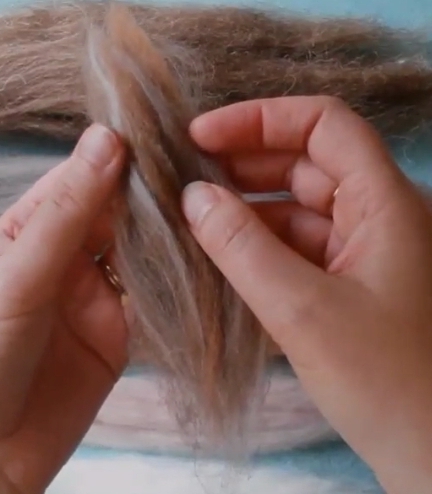
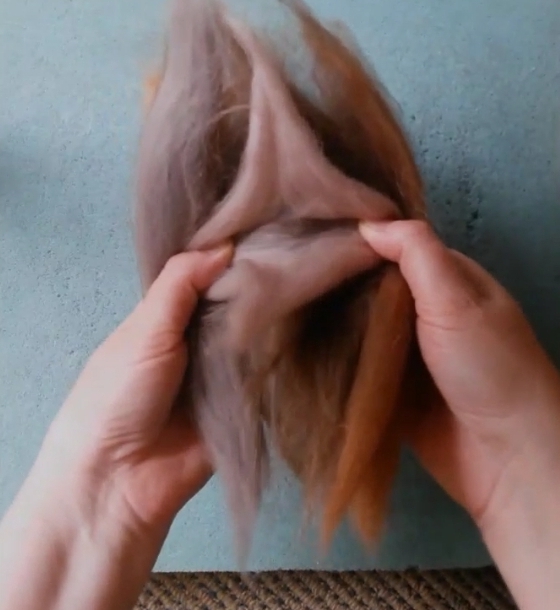
Blending wool is one of my favourite creative parts. I use hand-blending—no carders necessary! Here’s how:
- Stack wool lengths of different colour shades in the same direction
- Pull apart gently with your fingers
- Re-stack and repeat

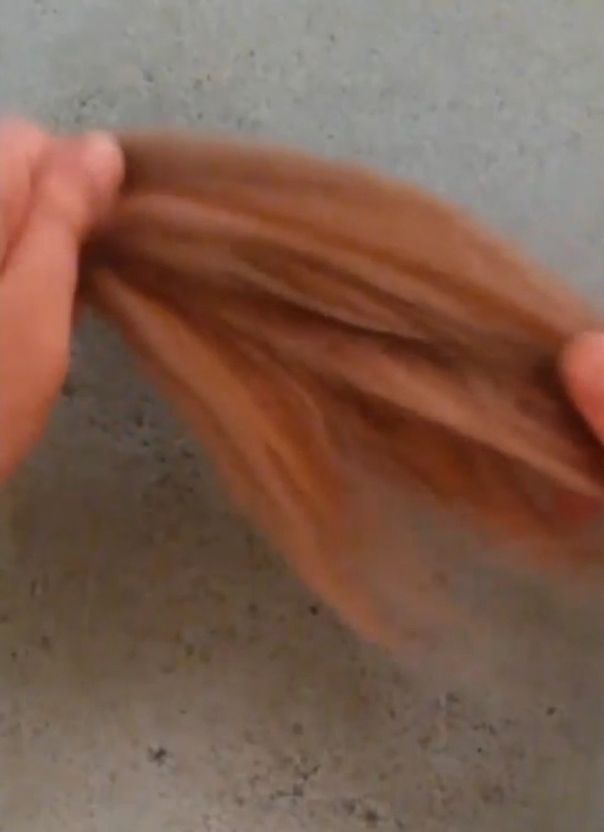
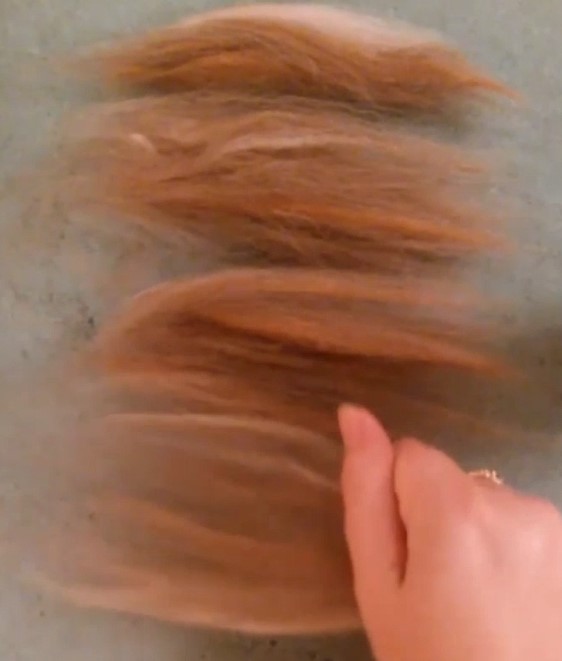
Rather than covering your animal in one colour – have you tried layering 2–3 shades for lifelike fur colour tones? It really adds realism.
Key takeaways from my guide on How to HAND BLEND WOOL…:
- When needing long fur, blending by hand helps preserve the wool’s length for a realistic look
- Use light, mid and dark tones of the colour you wish to use to create depth
- Pull and stack small amounts at a time
- Perfect for adding subtle gradients and creating natural fur transitions
- Hand blending can give a more natural result than carders
5. 🦴 Should I use wire armatures?
This is up to you!! A wire armature acts like the skeleton of your sculpture. It gives strength, structure, and the ability to pose your creations.
Ever had your animal’s legs sag or the head tilt oddly? A strong frame can fix that.
Key takeaways from my guide on wire armatures:


- Wire gauge matters: Thicker wire for bigger animals, thinner for smaller ones
- Anchor joints: Twist wire securely where limbs meet the body to prevent wobbly parts
- Wrap tightly with core wool: This helps prevent slipping and adds padding. wrapping with pipe cleaner before adding wool can help with this.
- Test movement: Bend arms or legs gently before felting over to ensure they hold their pose
- Stability check: Check your animal can stand or sit securely before covering with wool
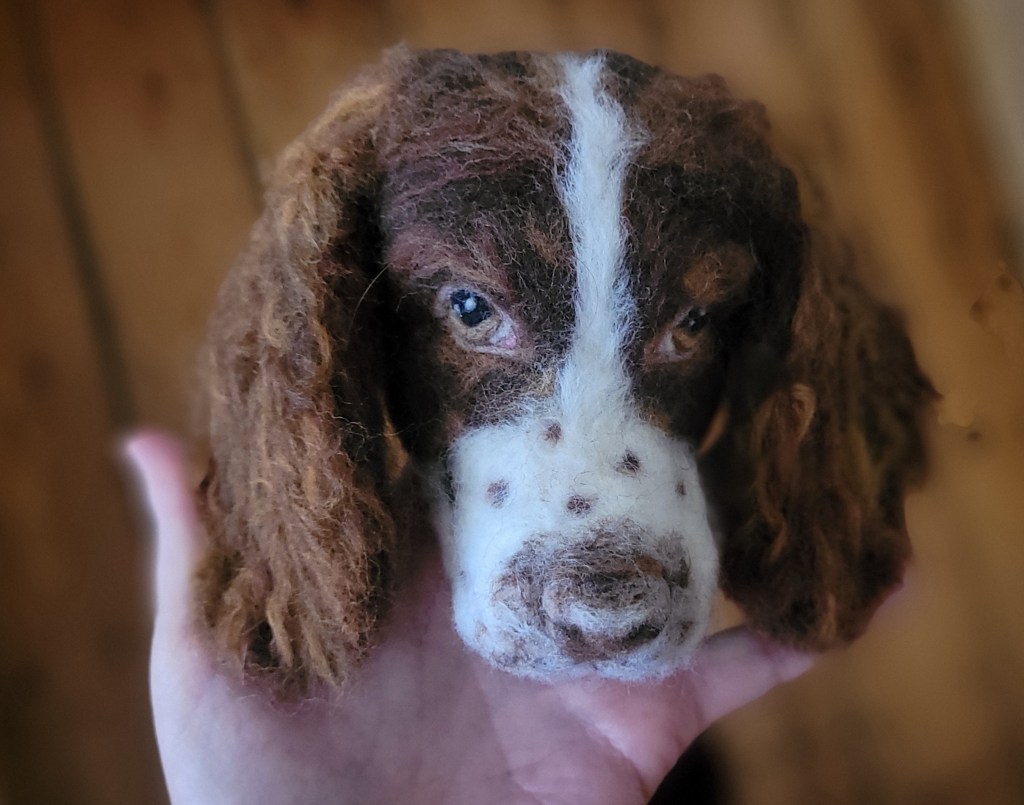
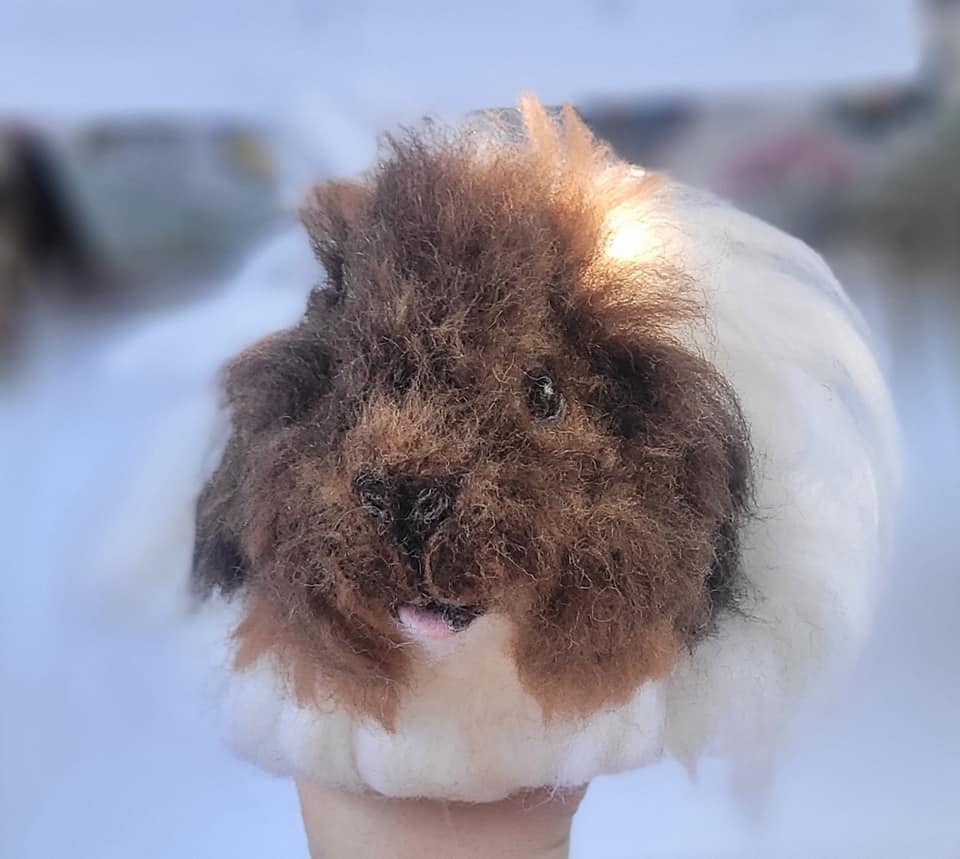
6. 🐕 How do I make various fur effects—smooth, curly, long?
Do you prefer realistic tufts of fur? or a more simple finish?


- Layer wool tufts in small patches
- Use reverse needle to create fluffs of fur
- Brush gently for a softer finish
- Consider how fur length and direction vary across different parts of the animal
Depending on your animal, you can use different methods:
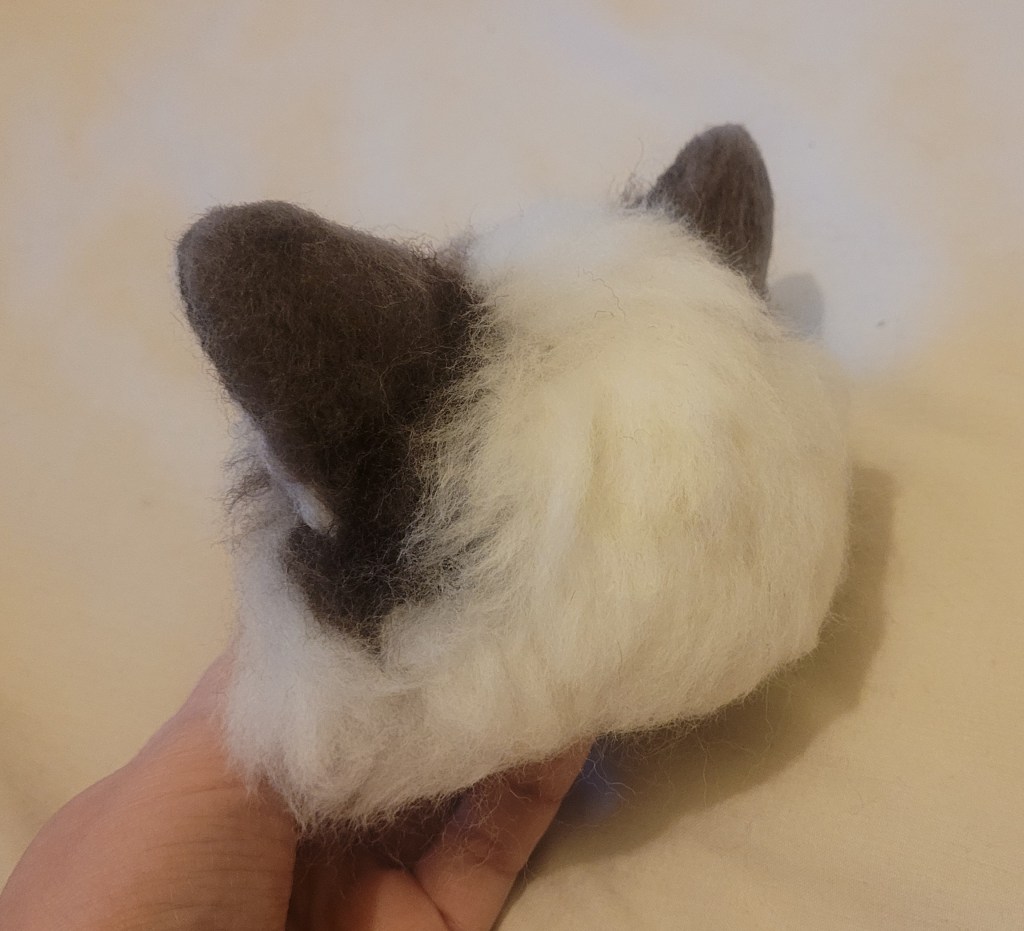
- Smooth short fur: See How to Needle Felt a Smooth Finish
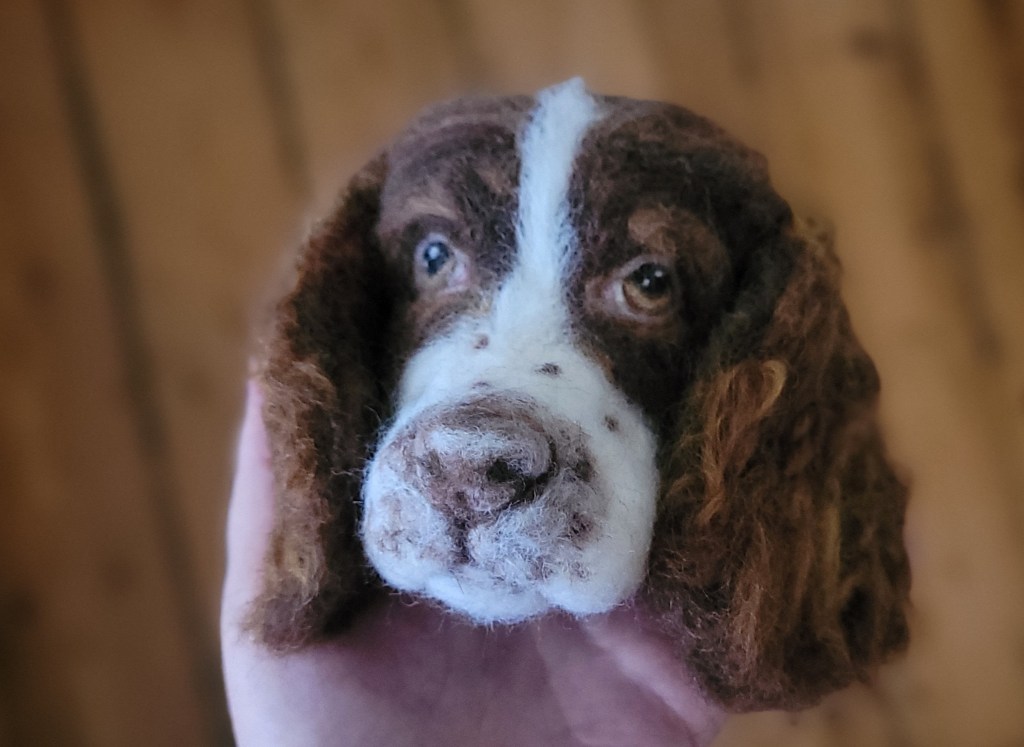
- Curly/wavy fur: Like spaniel ears? Try my technique in this guide
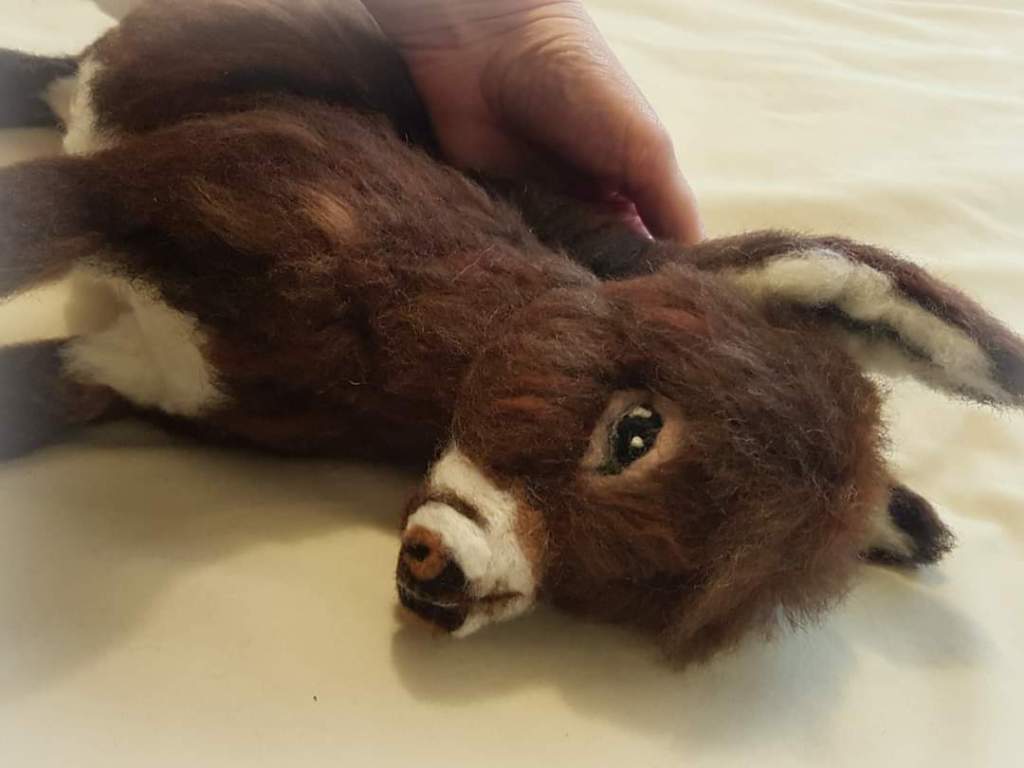
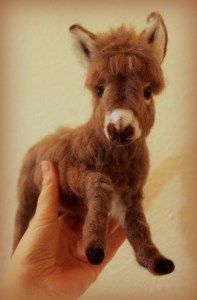
- Long fur: I show you step-by-step in my donkey and cat series
- Protecting long fibres: Tips here
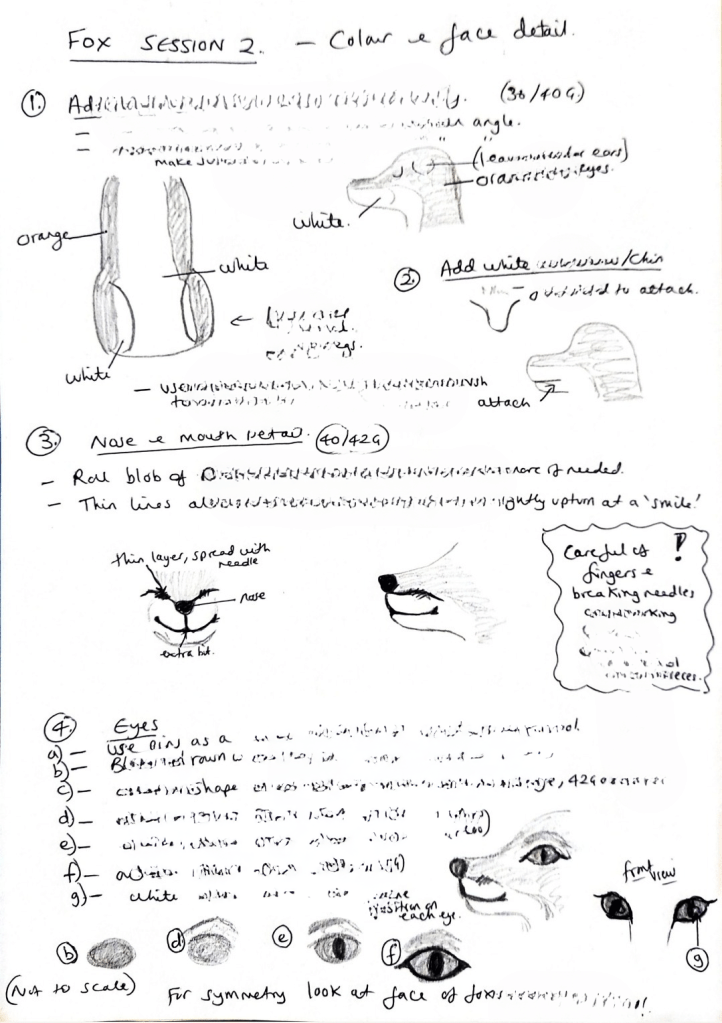
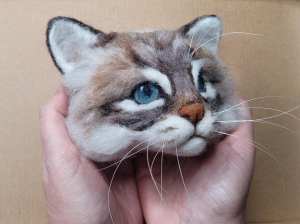
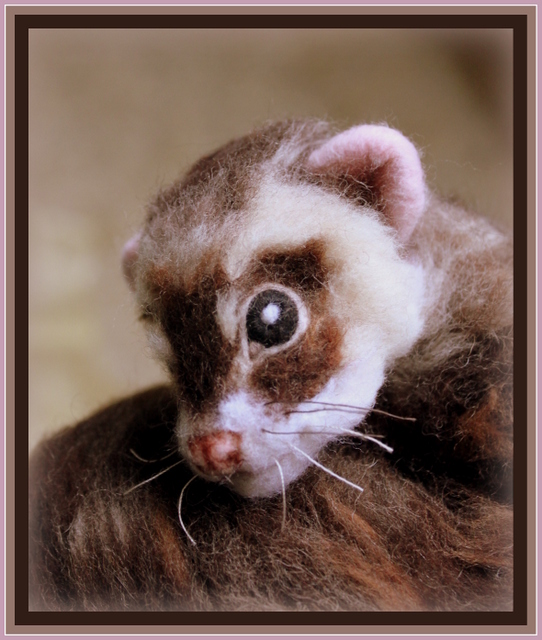
7. 👁️ How to sculpt eyes and facial features?
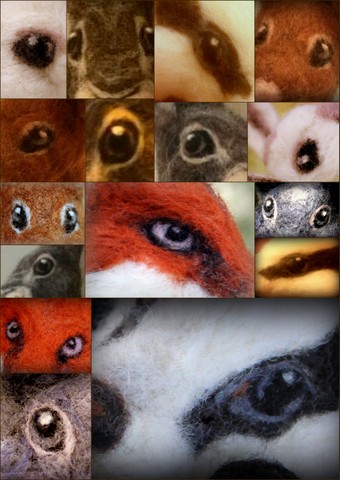
I love bringing animals to life through their expressions. For eyes:
- You could use glass or resin
- I create felted wool eyes which are realistic
- Add eyelids
- Use several different colours for light and shade and to make the eye look shiny
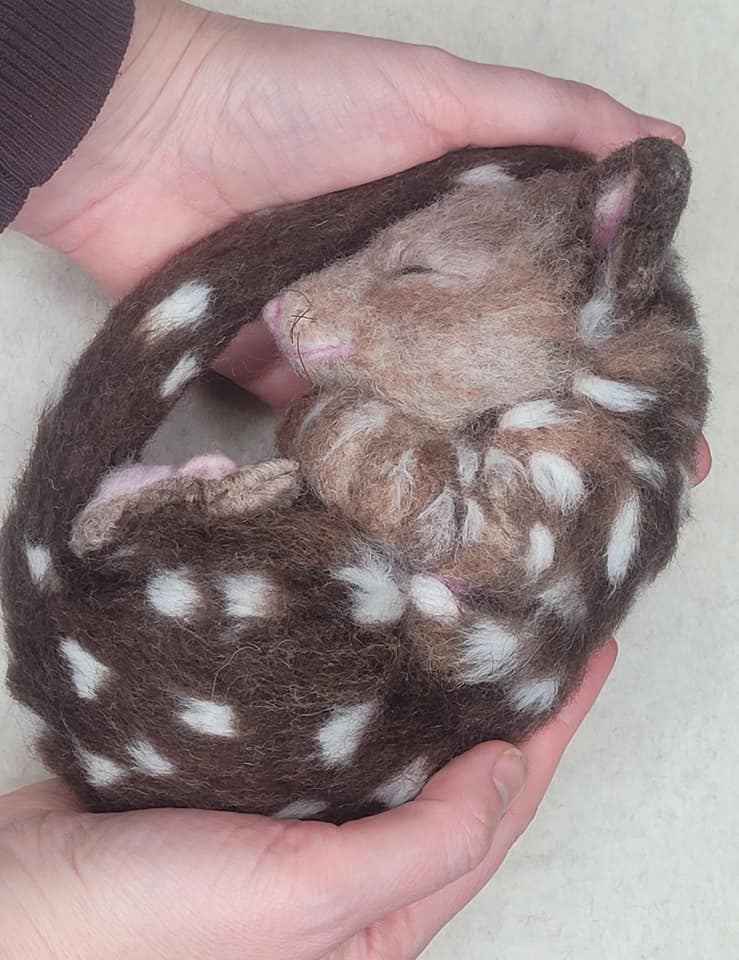
Want to capture a sleepy expression? or wide eyes looking up or down? My tutorials walk you through how to create eyes in pure wool – there’s a video for cat eyes and one for dog eyes.
Quick top tip from my tutorials:
To achieve a bright, lifelike eye, I always add a tiny white dot to simulate the reflection of light. It brings instant realism and personality to the face!
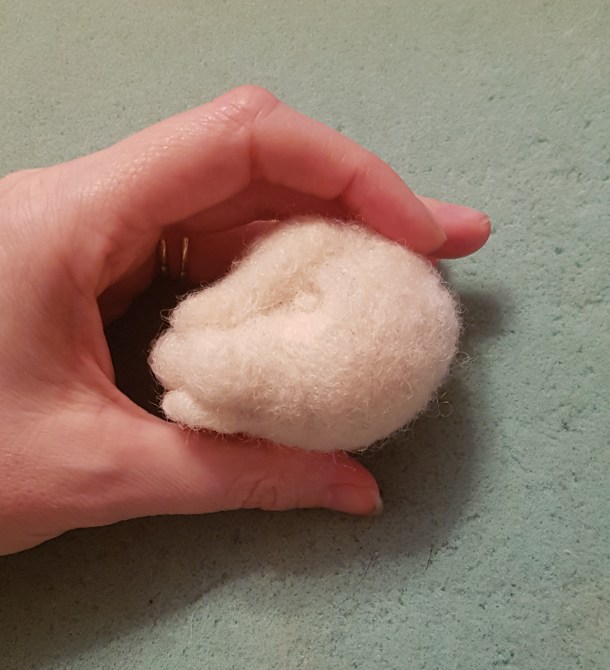
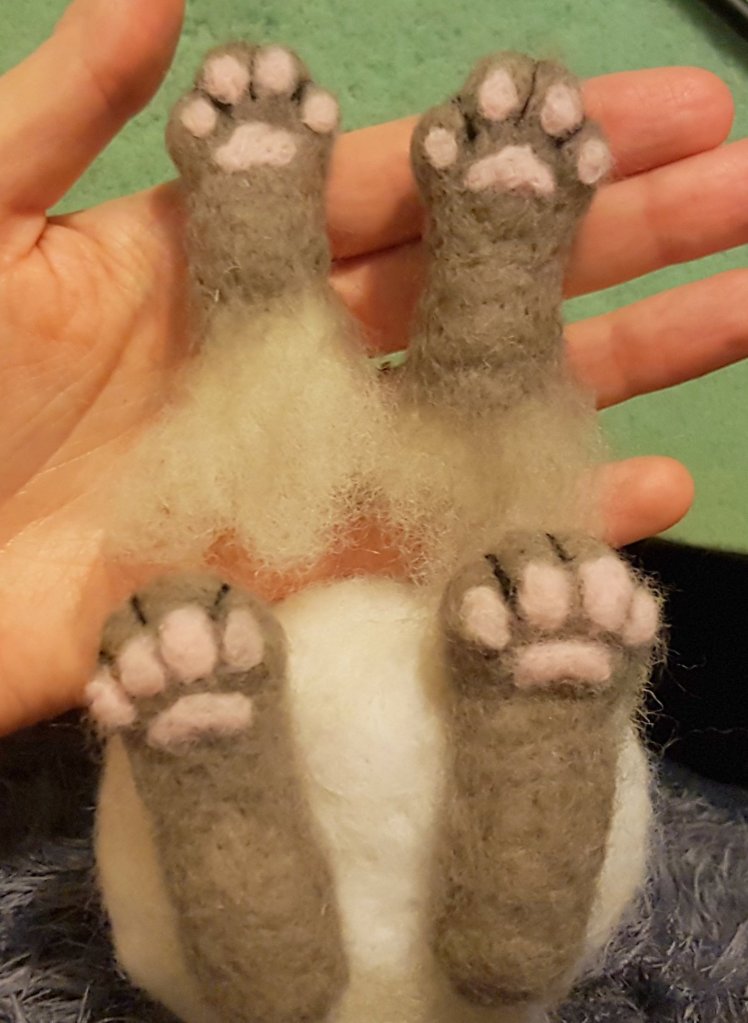
🐾 8. How do I create realistic animal feet/paws?
It’s all in the details when it comes to making realistic animal feet! you can make tiny well formed toes or add some cute paw pads underneath the foot (“toe-beans”) … these make my friends say “squee” when they see the underside of my sculptures! They do take some practice to get right but it’s so worth spending that bit of time!
💡 Quick & Easy Paws
In my quick-start tutorial Quick and Easy Needle Felted Paws I walk through:
- Forming a foot shape just from pure wool – I use core wool, then a layer of merino tops
- Defining individual toes with fine black wool lines
- Adding paw pads – tiny circular blobs of wool for adorable realism
- Tips on attaching feet —simple and effective


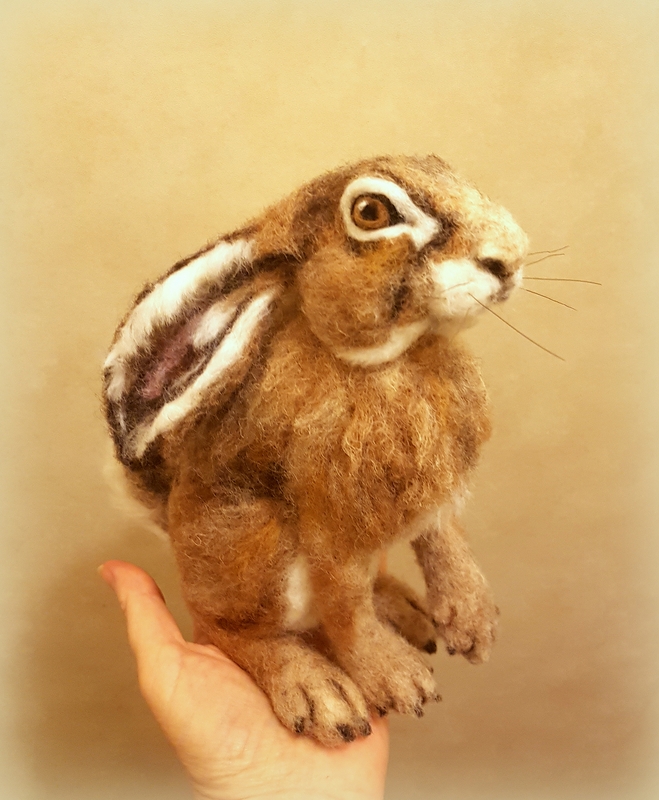
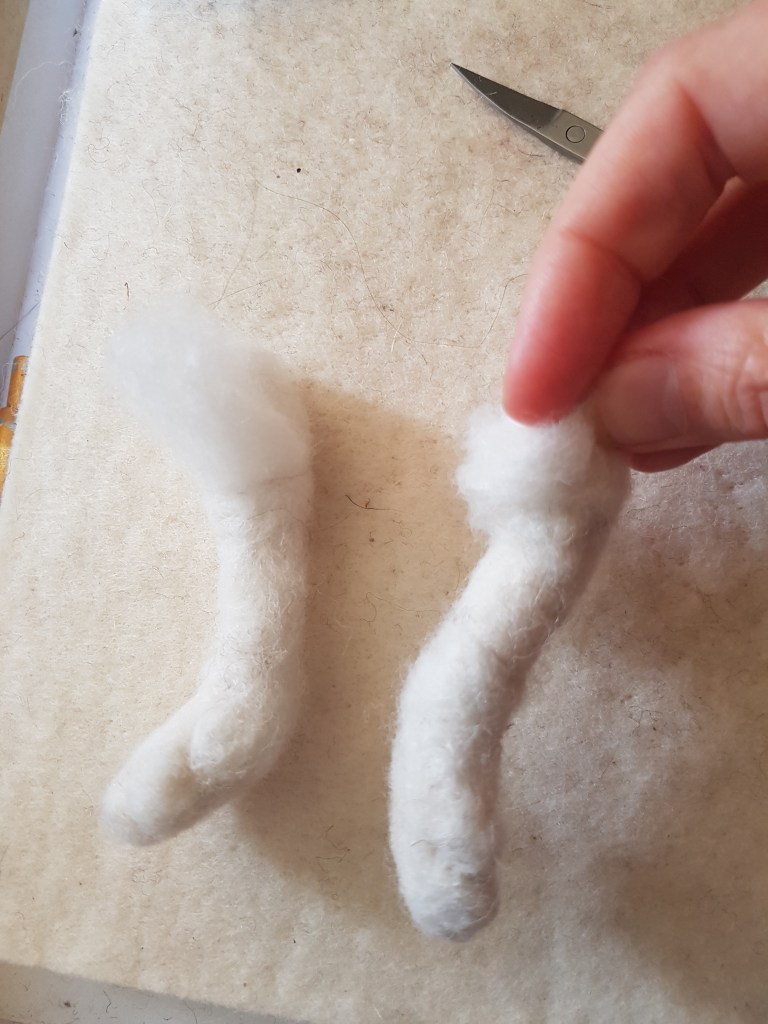
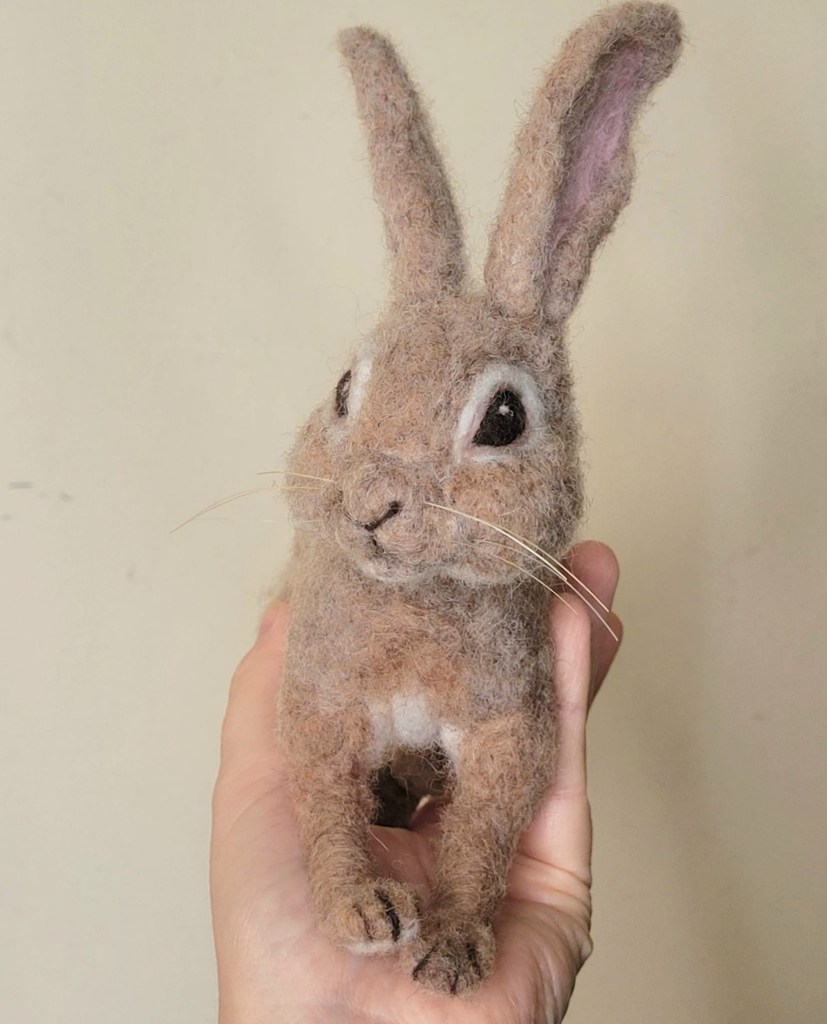
🐇 Tiny Toes
- Roll wool or wrap wool around thin wire to sculpt little sausage-shaped toes
- Build the foot shape around the toes
- Add wool hardened with wax or leave wire bare at the ends as claws/talons
- A demo of how I create tiny toes can be seen in my rodent feet tutorial.


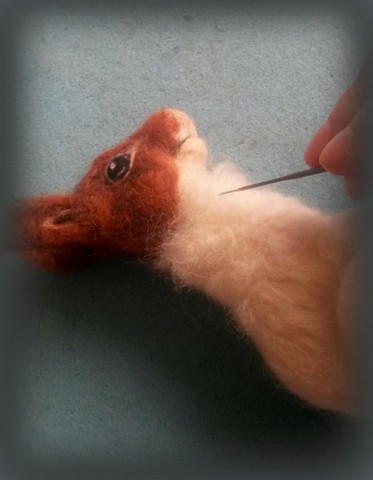
9. 🐱 How do I add realistic animal whiskers?
Whiskers may be tiny, but they make a big impact! Whether you’re making a cat, dog, mouse, or bunny, adding whiskers can enhance the realism and charm of your animal sculpture.
My favourite whisker materials:
- Horsehair : These have the stiffness and fine look of real whiskers
- Fishing line: Thin and clear, great for strong, semi-invisible whiskers
- Paintbrush bristles: Snip a few from an old paintbrush
- Real cat whiskers! – the most realistic of them all as they are REAL! – but you need to wait for them to drop from a real cat and be quick enough to find them! 🙂
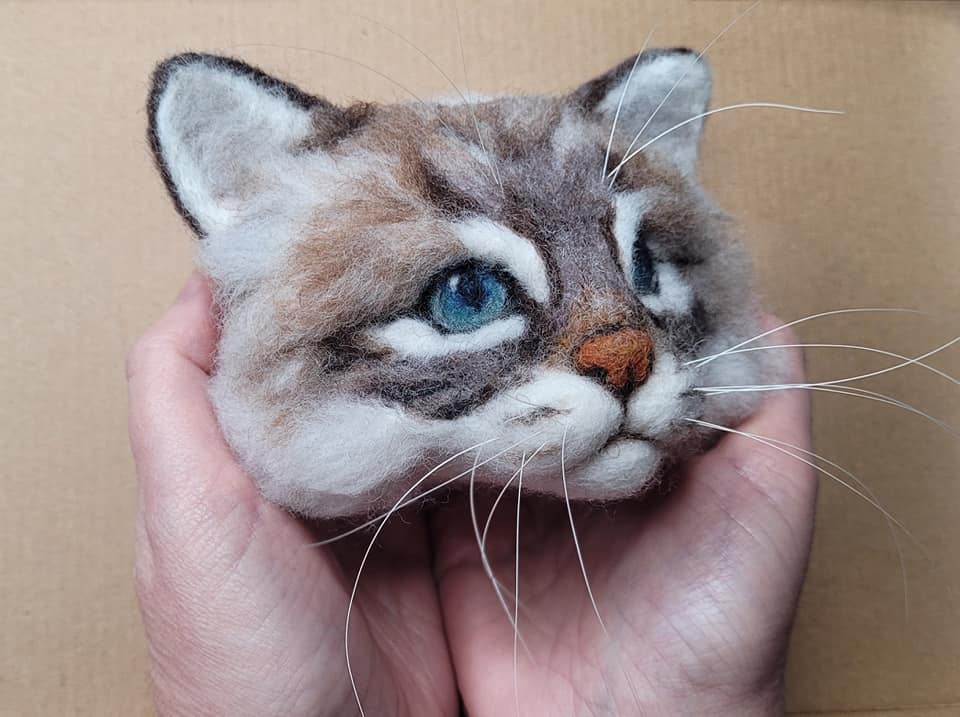


How to attach them:
- Use a fine needle or felting awl to poke a small hole in the wool of your animal face
- Dab the tip of the whisker in glue
- Insert carefully with tweezers—angle matters!
- With longer strands you can also thread the whisker through a sewing needle and sew them into place! one strand can make 2 whiskers (one on each side of the face) – add a little glue at the point where the whisker enters the wool.
🎥 I walk through my favourite techniques and tools in my whisker section of my cat head series
Tips:
- Keep lengths uneven and natural-looking
- Add 6–12 whiskers depending on the animal
- Pair with subtle shading around the muzzle to make them even more realistic,
10. 🛠️ How to fix mistakes or redo parts?
Mistakes are part of the process! you can pull or snip parts off or gently lift fibres with a reverse needle and reshape. You can rebuild and add a layer of fresh wool to cover over any join / ripped areas
Remember, you can always change your mind—needle felting is very forgiving.
Fix-it checklist:
- Hide joins with layers of fur
- Use reverse needle or pull wool apart carefully
- Add new wool in thin layers to blend
✅ Need more ideas? Try these!
- Browse Free Tutorials with photo/video guides or 🎥 Subscribe to my YouTube channel for demonstrations
- Book a One-to-One session for bespoke help
- Join my Needle Felting realistic Animals Facebook Group to learn with others
- 🚚 Explore my Wools & Tools recommendations page for trusted materials.
💡 Bring Your Creations to Life

Needle felting animals is a wonderfully creative process. With the right materials, tools, and a touch of guidance, you can shape wool into lifelike, expressive animals full of personality.
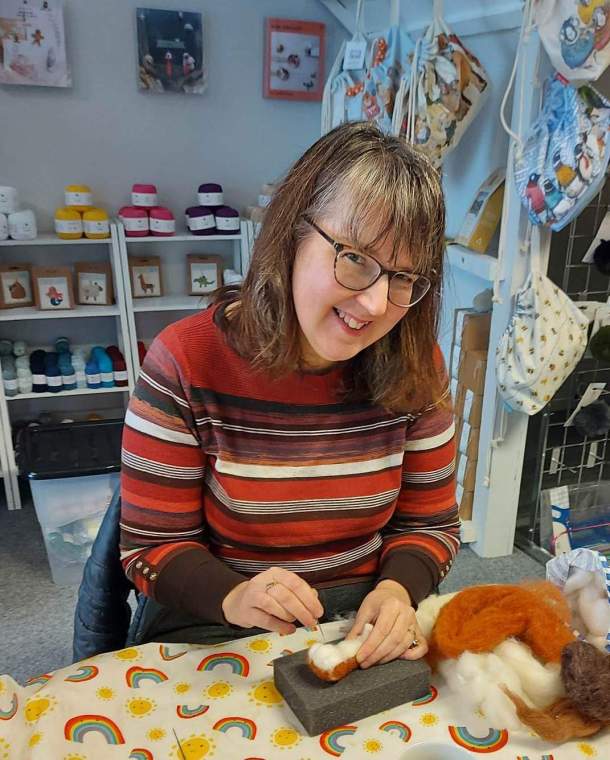
Have a specific animal in mind that you’re dreaming of making? Message me or tag me on Instagram @Fit_to_be_loved — I’d love to cheer you on!
Happy felting!
Amanda x