
Our beautiful badgers of Britain are getting a lot of coverage in the media at the moment. I could go on about how so unfair the cull is (which is my personal view). However this blog is not at this time to tell you my thoughts on this as a lover of nature and a conservationist but to celebrate this amazing creature and show you how you can start to create your own little badger from a few pieces of wool (some undyed and dark brown corriedale and some merino in grey, brown and black). All you need is some wool, a foam pad, a few barbed felting needles, some love and some time!
My decision to make a badger for my next needle felting project came as a result of me asking friends on Facebook and Twitter to vote for their choice of British animal for me to make. There were lots of fun ideas (including woodlice and caddis fly larvae) but the badger came top!
I started on 1st September and it just so happened that this week has been the start of the cull in certain parts of the country.
No matter what you think of the cull I am sure if you have arrived at this page you are fascinated by the uniqueness of the badger with its playful, inquisitive nature and amazing stripey face which of course makes this needle felting project extremely enjoyable especially when you have felted in the badger’s big alluring eyes which give him so much character and bring him to life!
I have taken pictures along the way so you can see how I went from ball of wool to badger head.
Why just a head tutorial? My completed badger will be revealed soon. I find the head is a good place to start and can be fixed to the body shape or positions of your choice -your badger could lay on its back or stand or sit. Will it hold something? You could just keep to a head as a brooch or wall plaque. It’s up to you!
The following assumes you know some felting basics. You may also prefer to do certain facial features in a different order so this is just a guide. I use 2 to 3 needles at the same time to quickly felt larger surfaces and use only one slimmer needle for details and attaching parts.
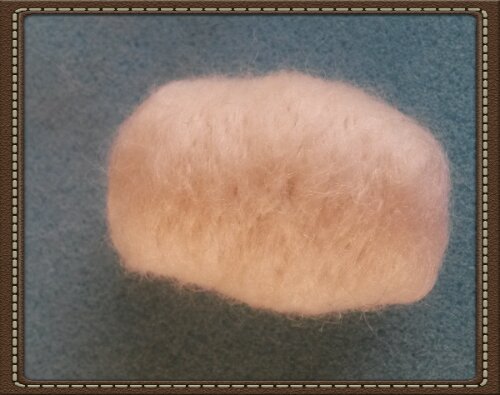
Start with core wool to make an oval shape. I use undyed corriedale wool.
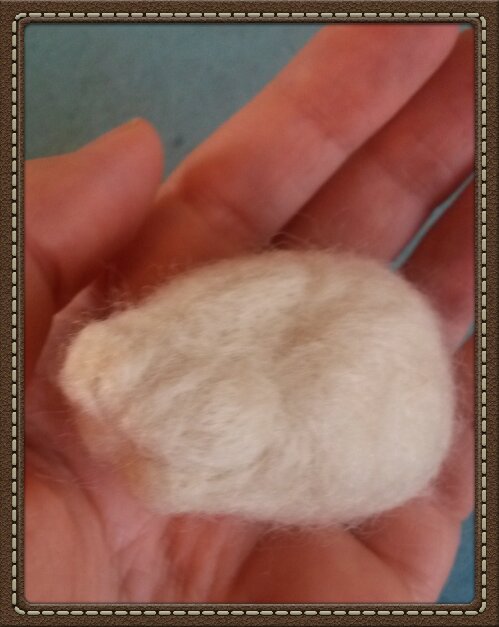
Add a second triangle shaped piece to the top of the oval length ways. This will form the forehead and nose area. Keep edges of the triangle rounded.
Needle in the shape and add small tufts to help blend harsh edges. Aim for a skull shape. Needle more in the nose section to form a good slope.
Add two slim oval shapes for cheeks and blend edges well.
While felted medium soft, use hands to mould head into shape, narrowing the nose area to a nice rounded point. Bend nose up slightly at the end. Then needle away to keep the shape in place.
Add a small oval to form a nose, and one to become a chin then using one needle start adding some badger detail. Make a slight indent where each eye will go.
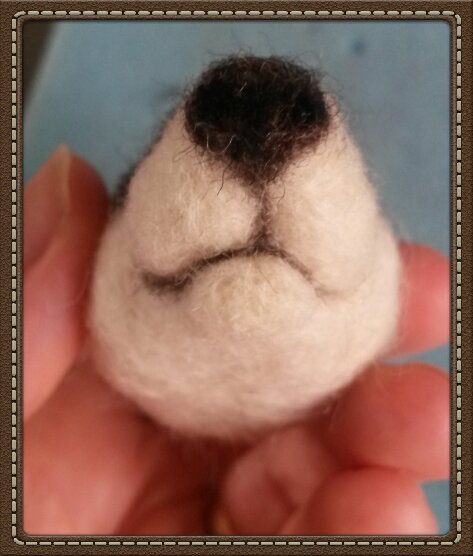
Shape the badger’s nose and mouth, adding more wool to define roundness of top lip where needed.
Add a smile!
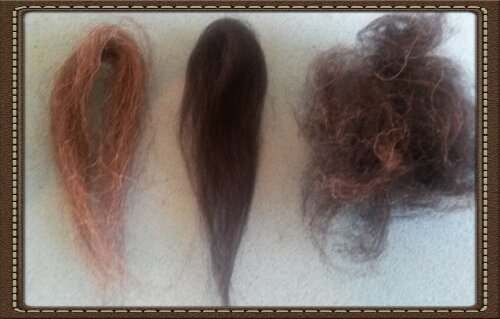
Badgers vary in colour but I chose a mixture of black and brown (seen on left of photo)for my badger’s dark facial colours (result of my mix is on the right).
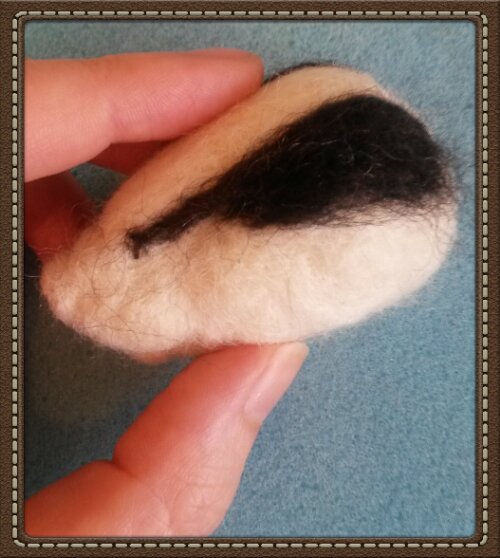
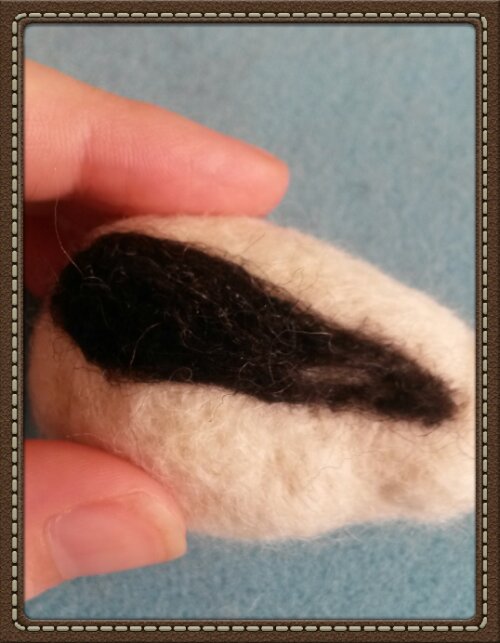
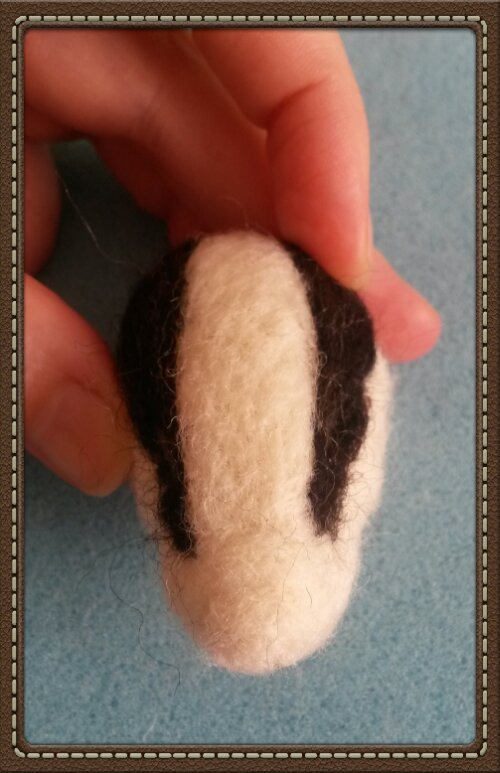
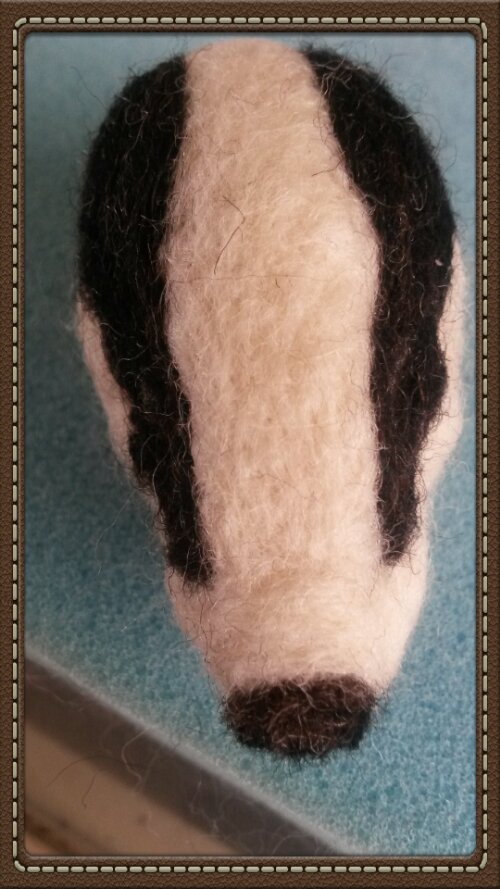
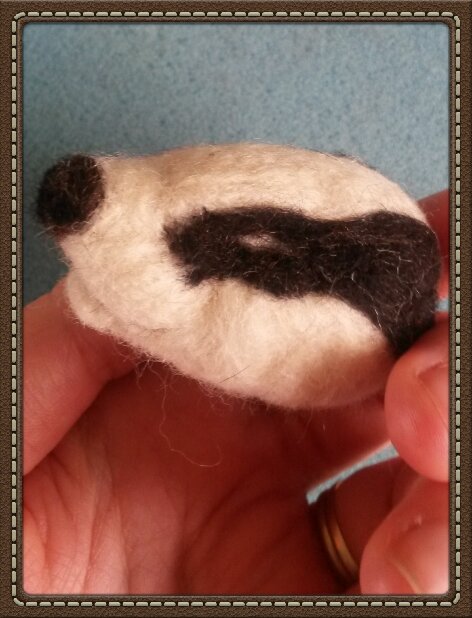
Add the dark colour (shallow needle in various directions) to make the badger’s stripes.
Keep comparing each side to check they are more or less equal. Leave slits where eyes will go.
Add some dark brown with black nostril detail.
Add some colourful mouth features.
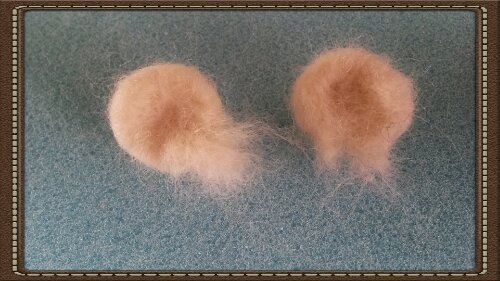
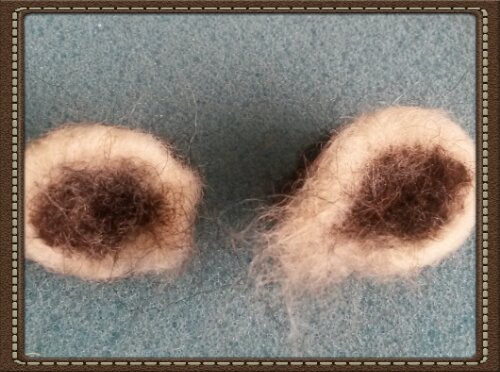
Form some round ears and add colour.
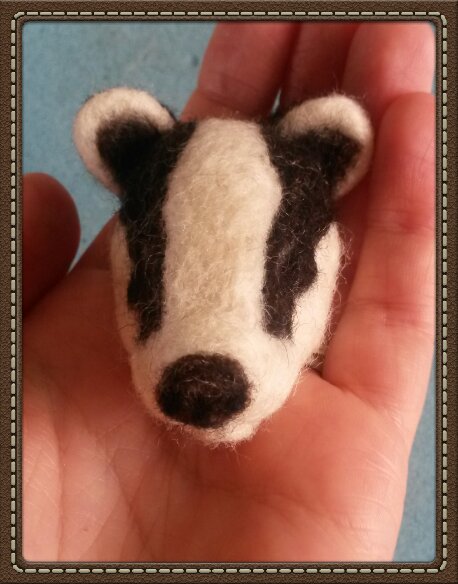
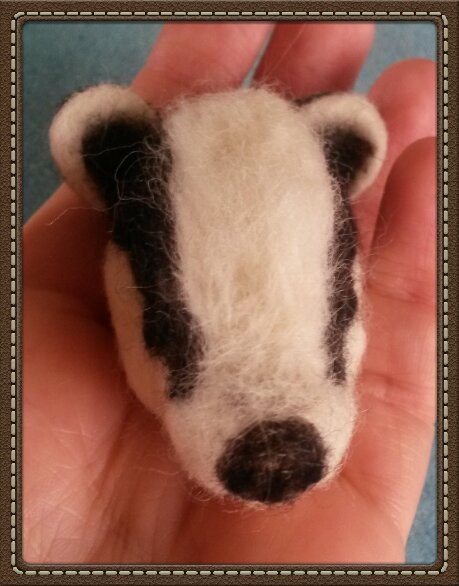
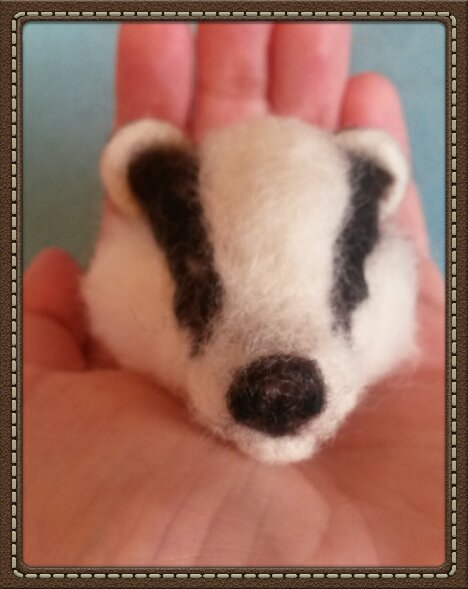
Then fix his ears in place…. aww now he is really looking like a little badger! Take a breather and just admire!
You could now add his eyes and he would be a juvenile badger with short badger fur and cute face….
But to make a fuller more adult face… You will need to layer some wool as fur… It is time consuming but well worth it as you’ll see…
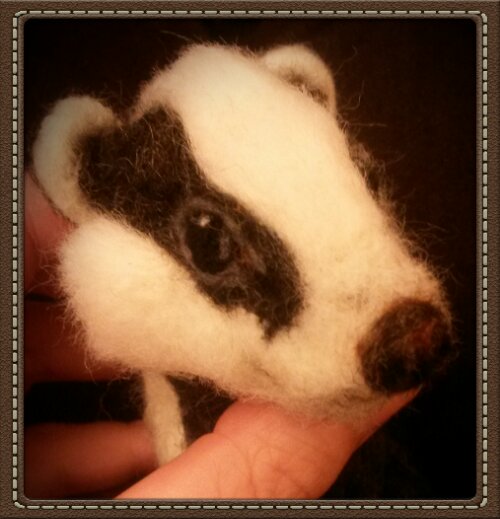
So then to add to his character, give him some nice big badger eyes. Well hello cutie!!! I used a blob of black wool rolled into a ball for each eye. Then added tiny strands of grey around the eye to define it. A blob of white at top of eye to give reflection illusion like a real eye and grey blobs elongated at right and left of each eye ball to make the eye appear more rounded and reflecting light.
Tiny bit of brown at the inner eye corner and on the nose as a final bit of detail. I also added tiny wool strands in brown around his nose and mouth to give that natural ‘just rummaged through the undergrowth’ look!
Have a go! I certainly had fun making this little badger. See the finished badger here and sign up to receive emails of when new posts are up so you don’t miss out on any upcoming tips and tutorials.
Check out my other tutorials and view other Fit to be loved felted creations at my Etsy shop.






Thank you for this tutorial on how to make an adorable badger.
LikeLike
Thank you a lot for this tutorial. I know it’s time consuming to do it. I’m also trying to do a badger.
LikeLike
Glad to be of help. I am making another badger at the moment too. 😊
LikeLike
So happy to have found this site!
LikeLike
My wife wants a badger! She loves it. We checked on ETSY and it was long gone. Will you be making another one in the future or would you make one as a commission. If so, what sort of price would we be talking?
LikeLike