How do I give my needle felted animal cute detailed feet or tiny toes?
This tutorial will hopefully inspire you with some ideas for how you might tackle felting animal feet and a step by step guide to making individual toes using wool wrapped over wire.
Basic feet
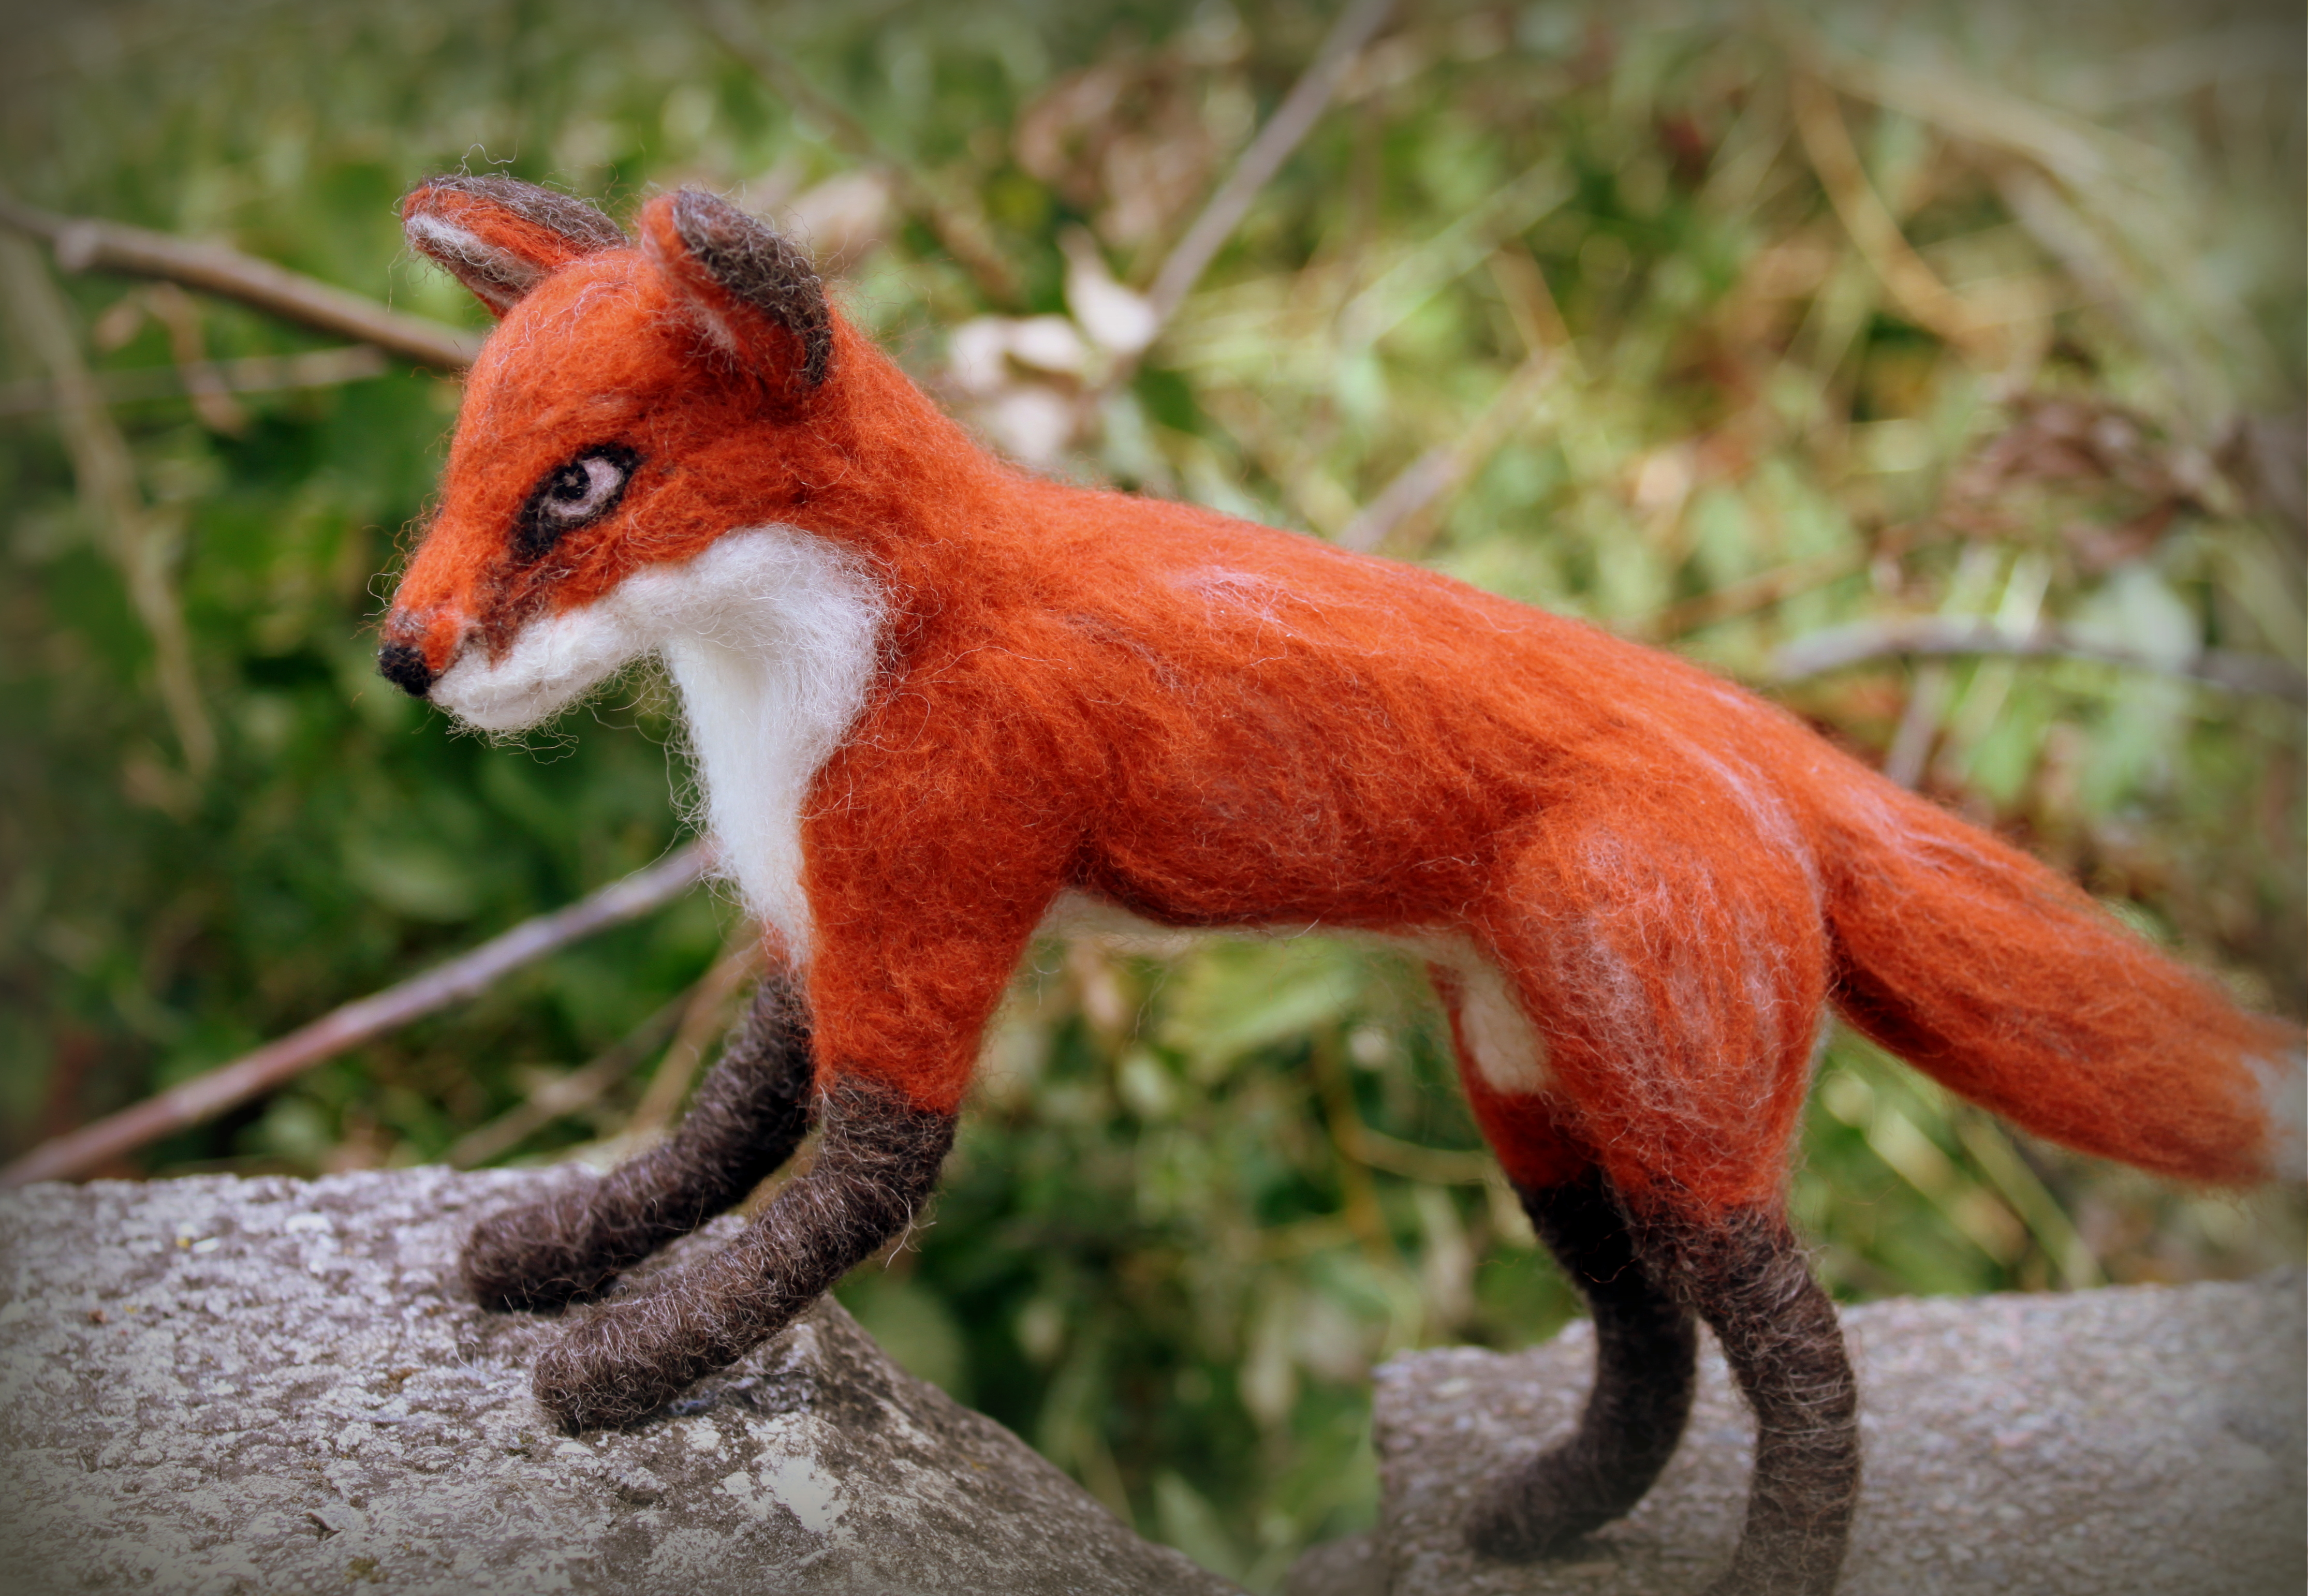
For some of my felted animal sculptures I decided not to give their feet too much detail. Here you can see that my hare and fox merely have simple dark rounded feet. Their sitting or standing positions mean that you only really see the top of their feet. Of course I could have spent more time on them but I didn’t want to over emphasise their paws and was satisfied with how they looked as they are. Their expressions and character come through enough in their faces and other cute features.

A bit more detail
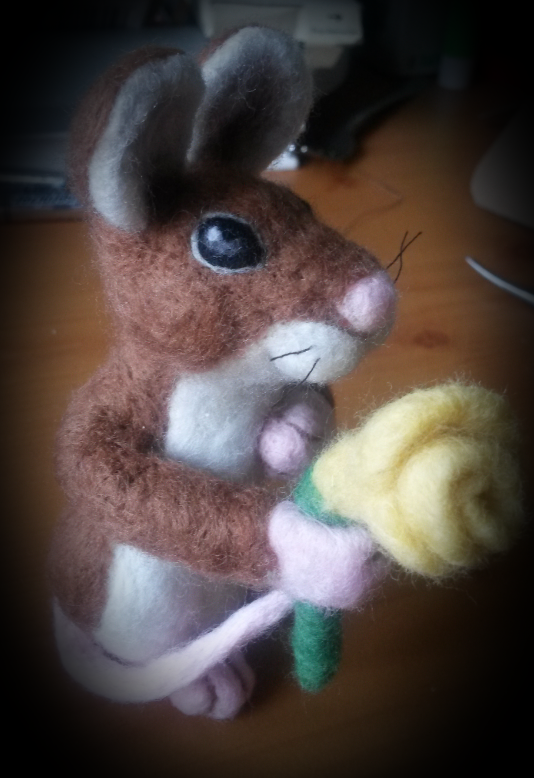
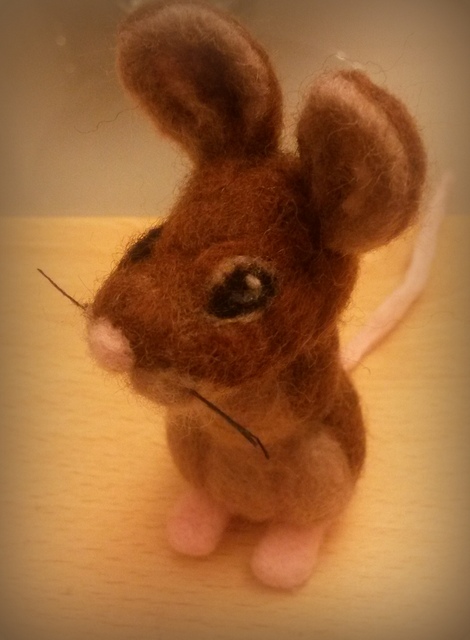
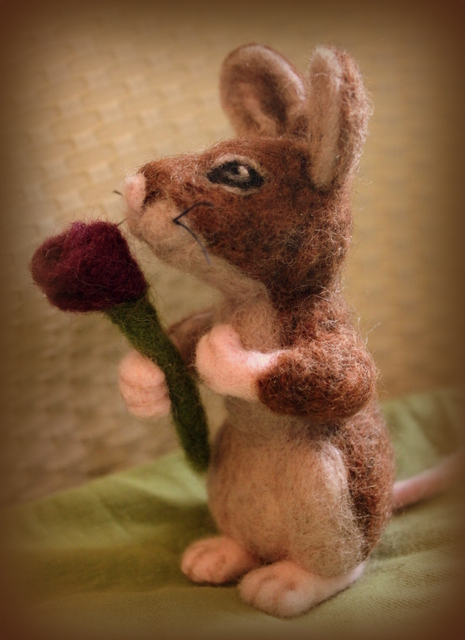
When it came to the mouse I made for my mum; his little feet were pink and would have looked a little bare with no detail. Again he is standing up so you don’t see his paw pads anyway for his back feet but I decided to add some tiny threads of wool fibre with a thin needle to show that he has separate toes. I also stabbed away to sculpt obvious paw shapes for his ‘hands’; one holds a beautiful flower and the other is pressed against his humble mouse heart to say ‘I love you!’

Cute paw pads
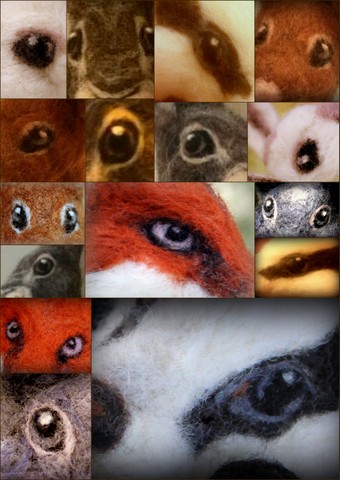
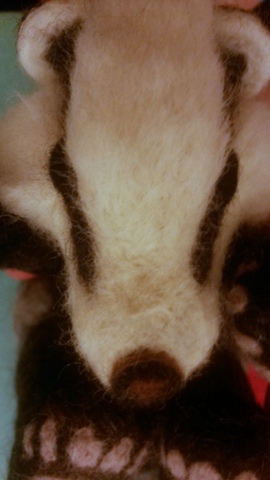
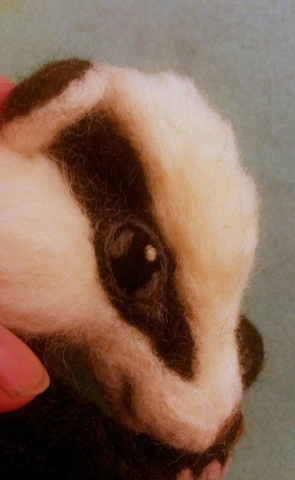
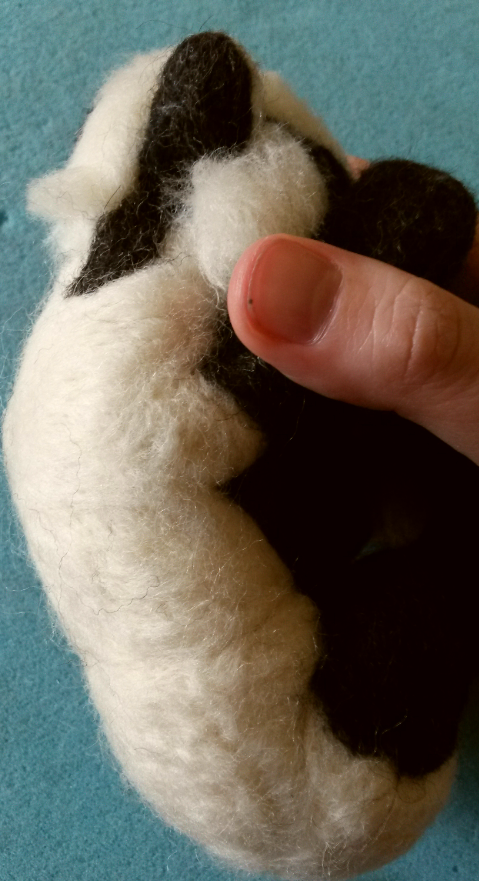
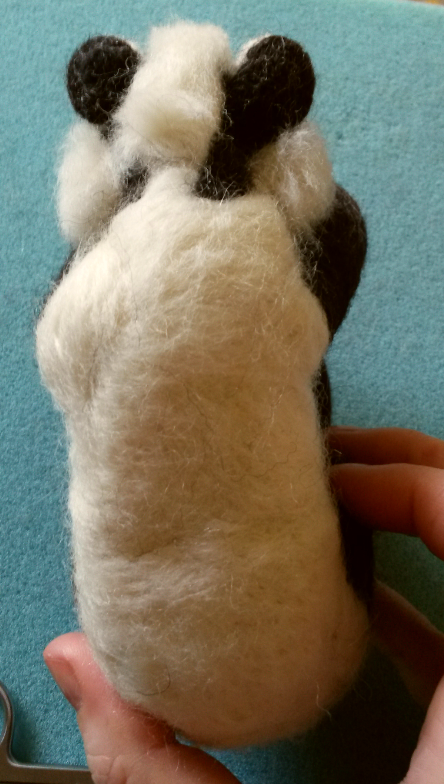
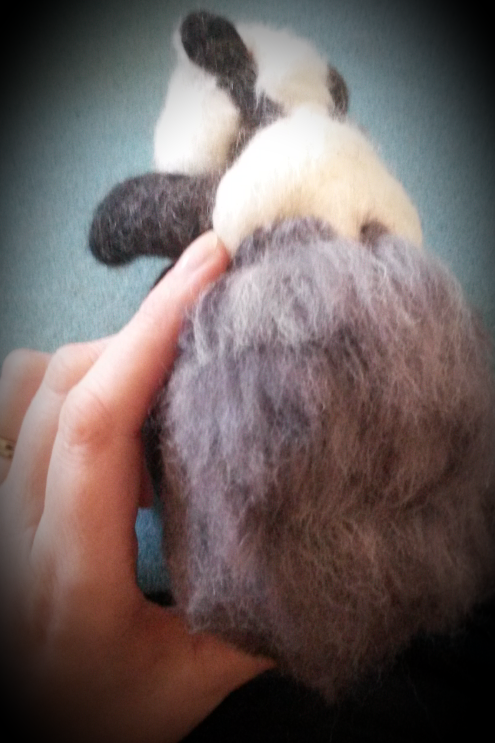
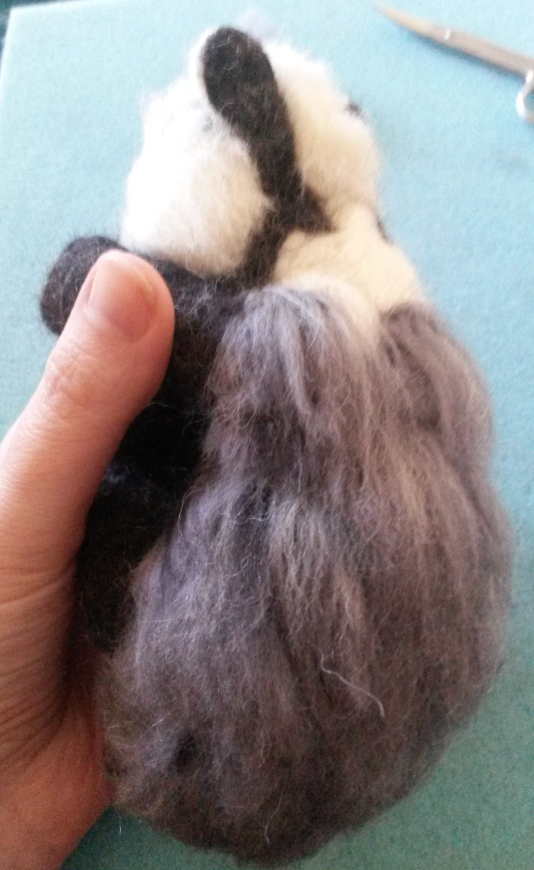
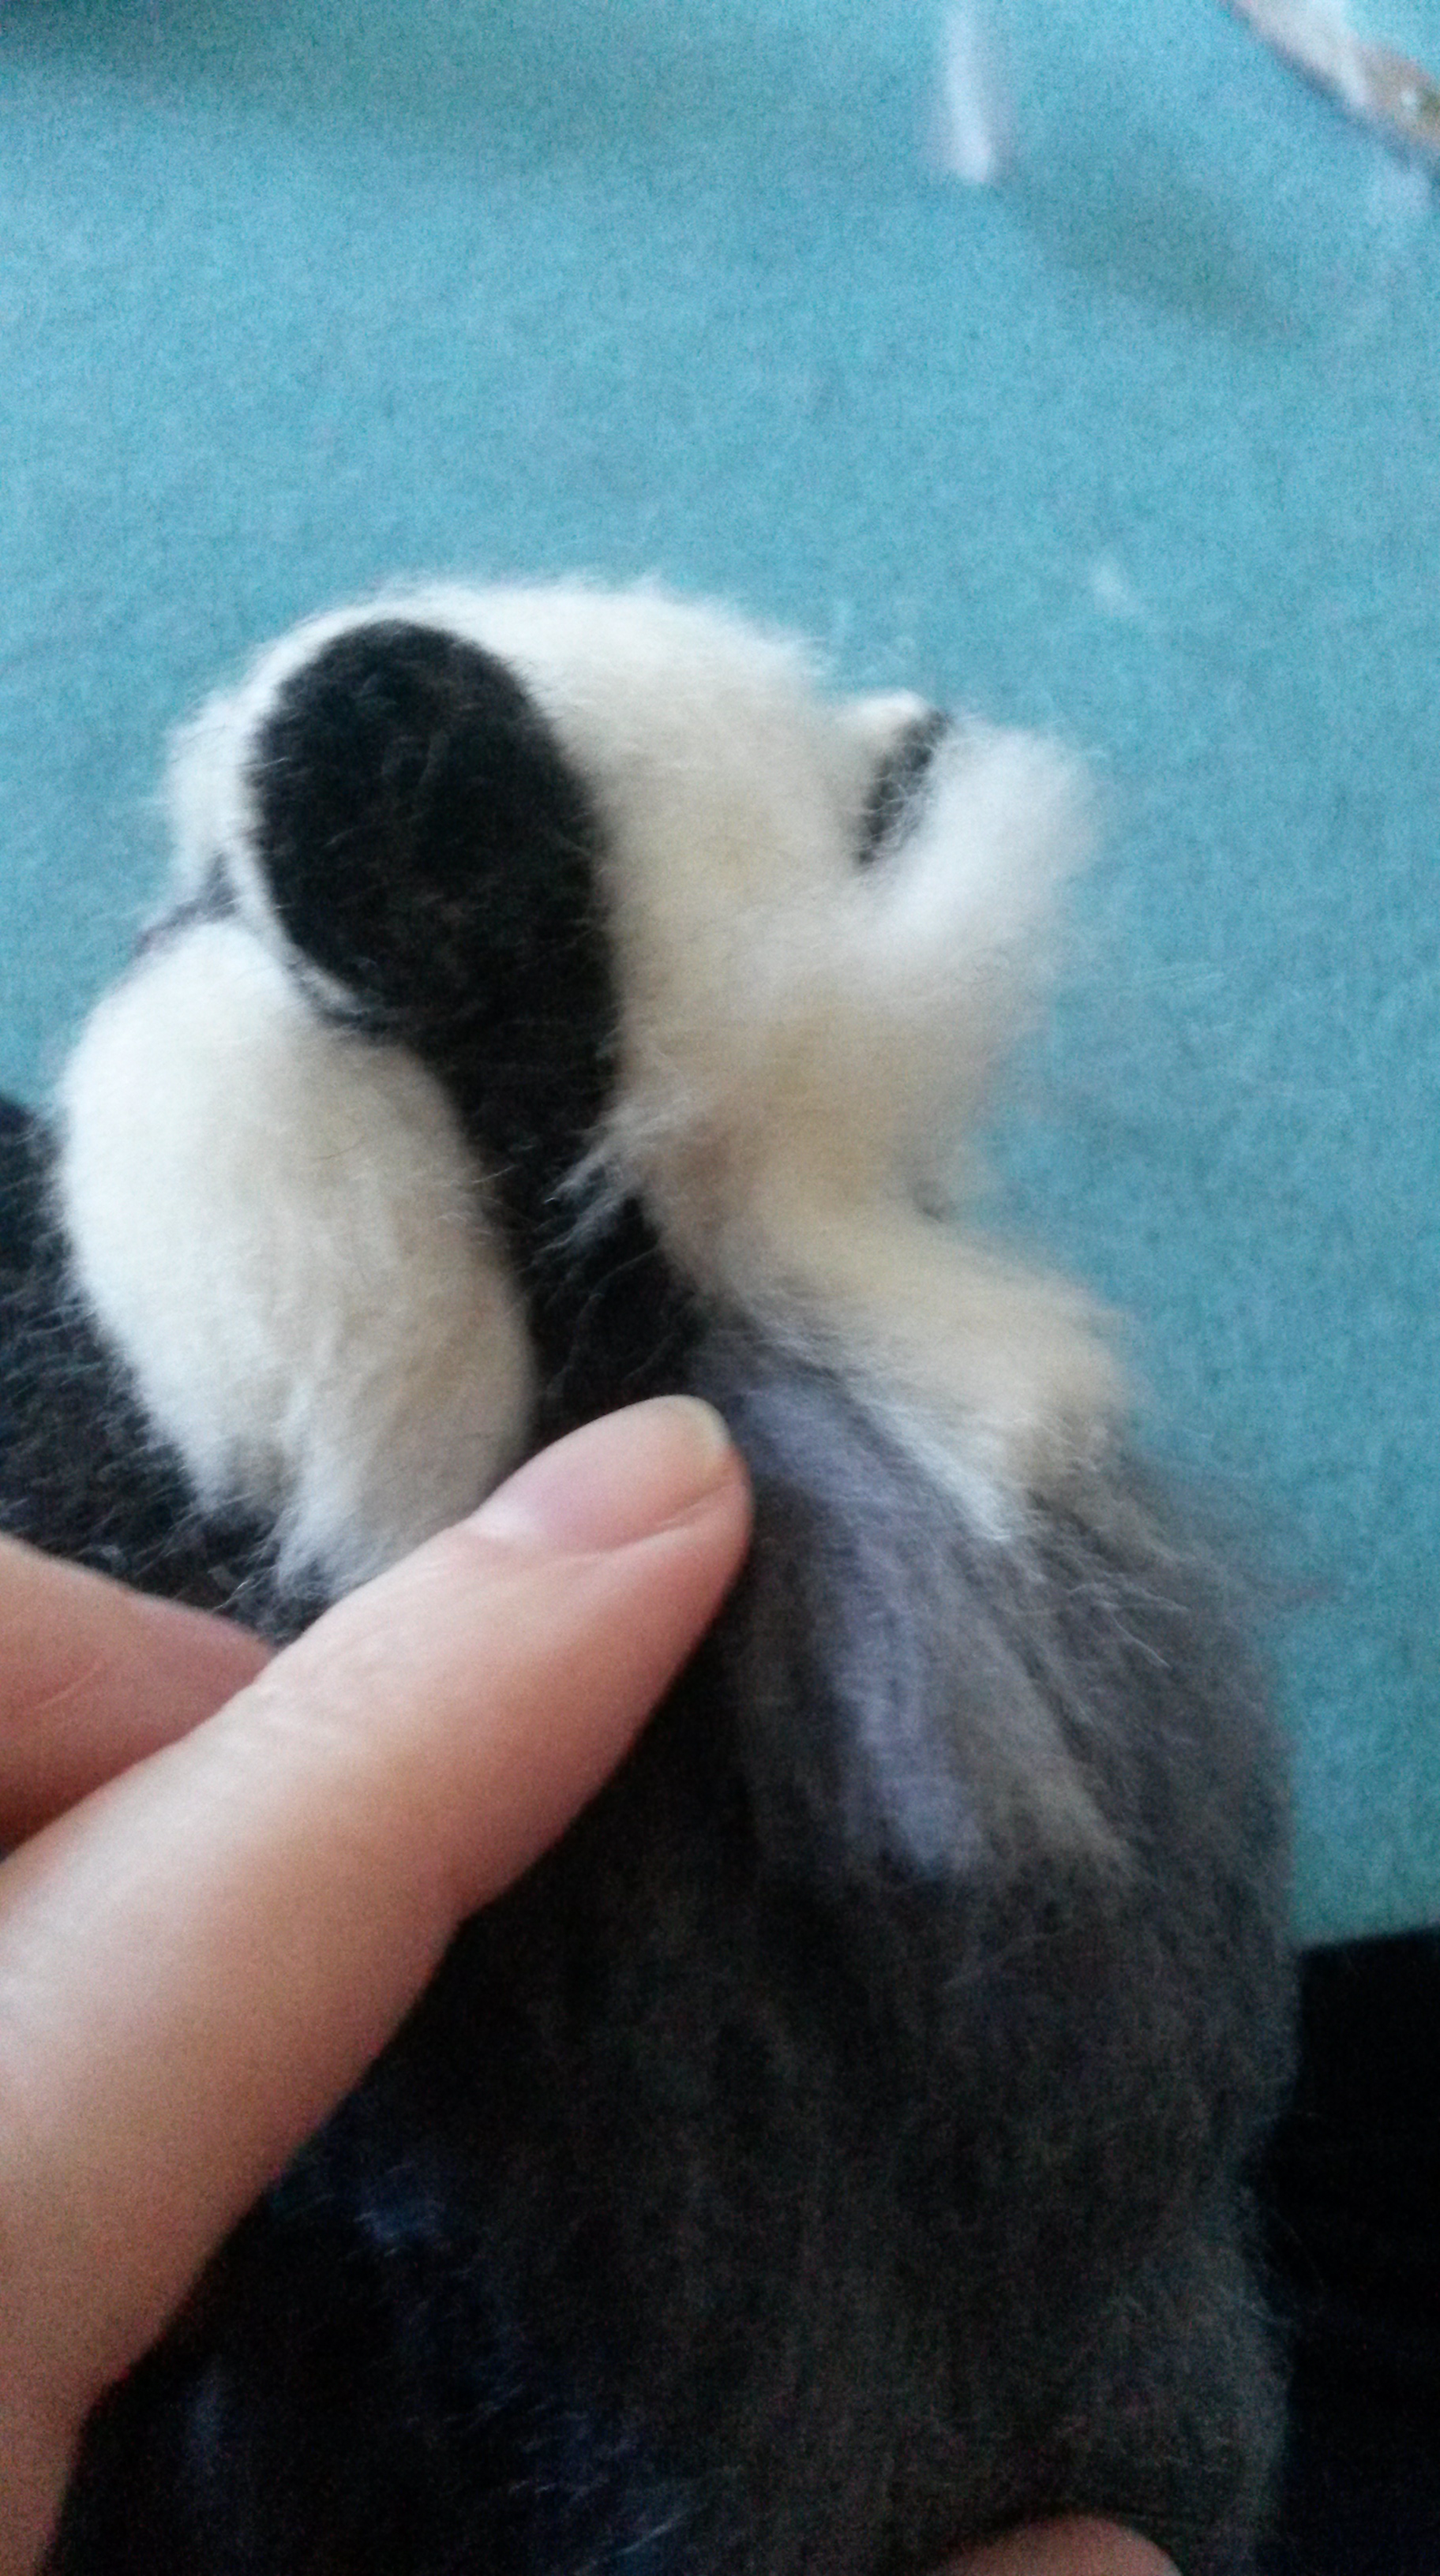
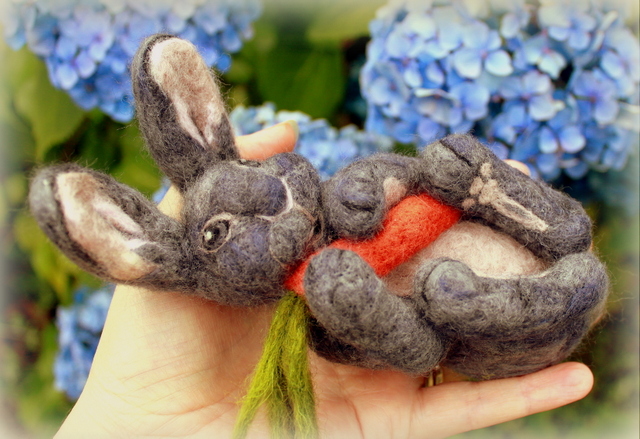
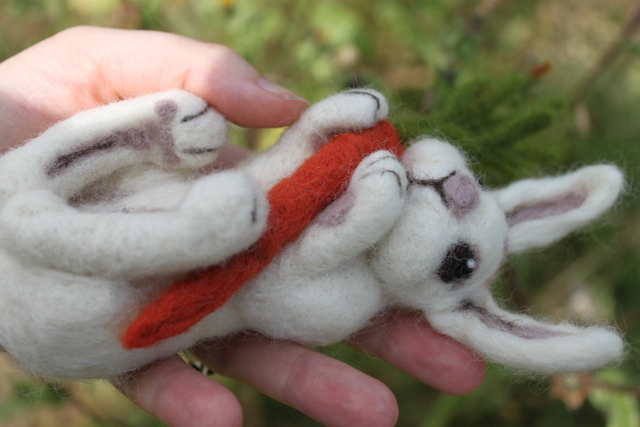
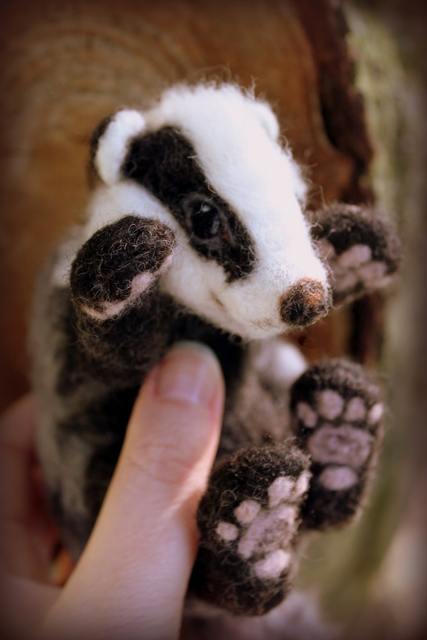
Sometimes though you will want to do so much more! Have you ever looked in detail at the underneath of bunny paws and considered how absolutely small, perfectly proportioned and adorable they are? When making my bunnies and badgers I just couldn’t resist felting the little details that make them look so much more like real paws and make your friends want to say ‘squee’ 🙂 especially as these sculptures are laying on their backs with feet in the air ready to be cuddled or tickled.
To get ideas for how these should look, google images of paws or look at photos of your own pets. All I did with my bunny here was to just felt little blobs of lighter coloured wool onto the underside of the feet and then add some darker fibres on top as shading/ furry bits to make them look more natural. So simple but effective!


Why not have a go? As you can see in the pictures below, leaving their feet as just rounded shapes would not have had the same affect!


Tiny toes that bend
For some animals you may want to take it a step further and make some tiny toes. If you have enough patience you can carefully sculpt the toes from making long sausage shapes that you felt firmly together. You can see I did this with my Christmas owl.

I have found however that using wire makes this much easier, the toes don’t flatten or fray as much, they are stronger, take the weight of the animal’s body better and it also means you can bend the toes to the position you want them to stay in.
Those of you who already make your animals from wrapping wool over a wire armature will likely already know how this is achieved but please do read on in case there is anything you find useful. Those who prefer not to use a wire armature for the main body can still use wire for the feet , why not mix it up a bit?
There are several ways to wrap wool over wire to make tiny toes; one way is to wrap the wool over bare wire (See my video tutorial afterwards to demonstrate this). This works really well especially for animals where you really want the toes as thin as possible and make them taper at the ends or for projects which are on a very tiny scale. (Some people use hot wax to fix the first layer of wool)
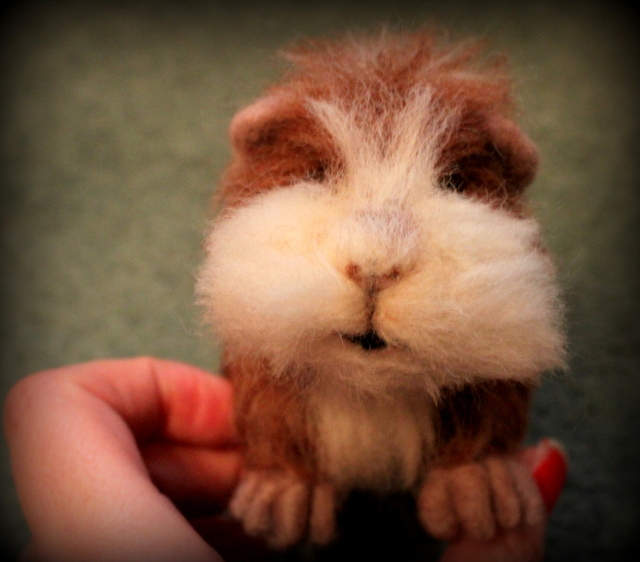
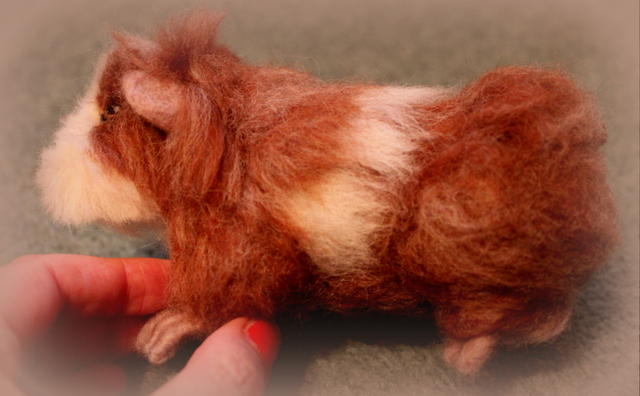
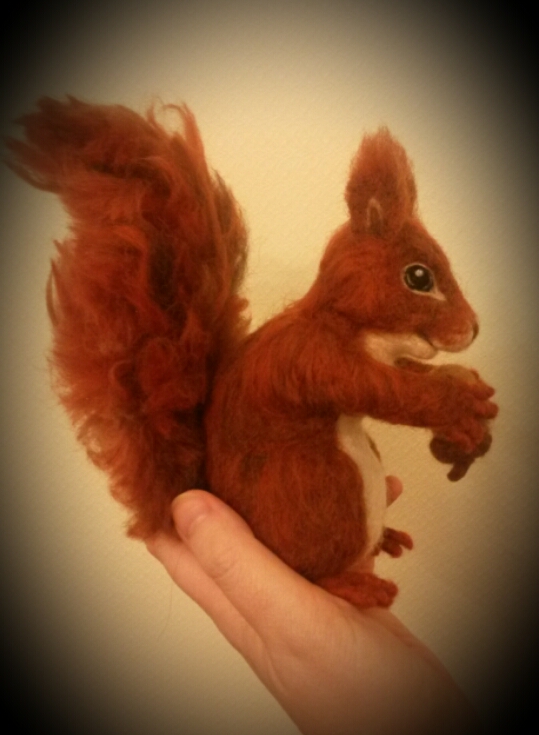
Another simple way (and far less messy if using wax!) which I will demonstrate in this tutorial is to felt wool over a pipe cleaner to ensure it says well (which is basically a very thin piece of wire already wrapped in a layer of material such as cotton or chenille). These can be used for feet where toes can be a bit thicker and for medium or larger projects. I used this method for my guinea pig and Chestnut, my red squirrel. You can see that I also added a bit of paw detail on to the guinea pig afterwards.

Step by step guide for felting feet with tiny wired toes
I will demonstrate here how I made Chestnut’s feet. I decided that each foot would have four toes. My guinea pig however had three toes at the back and four at the front like a real guinea pig. You can decide what you think looks best!
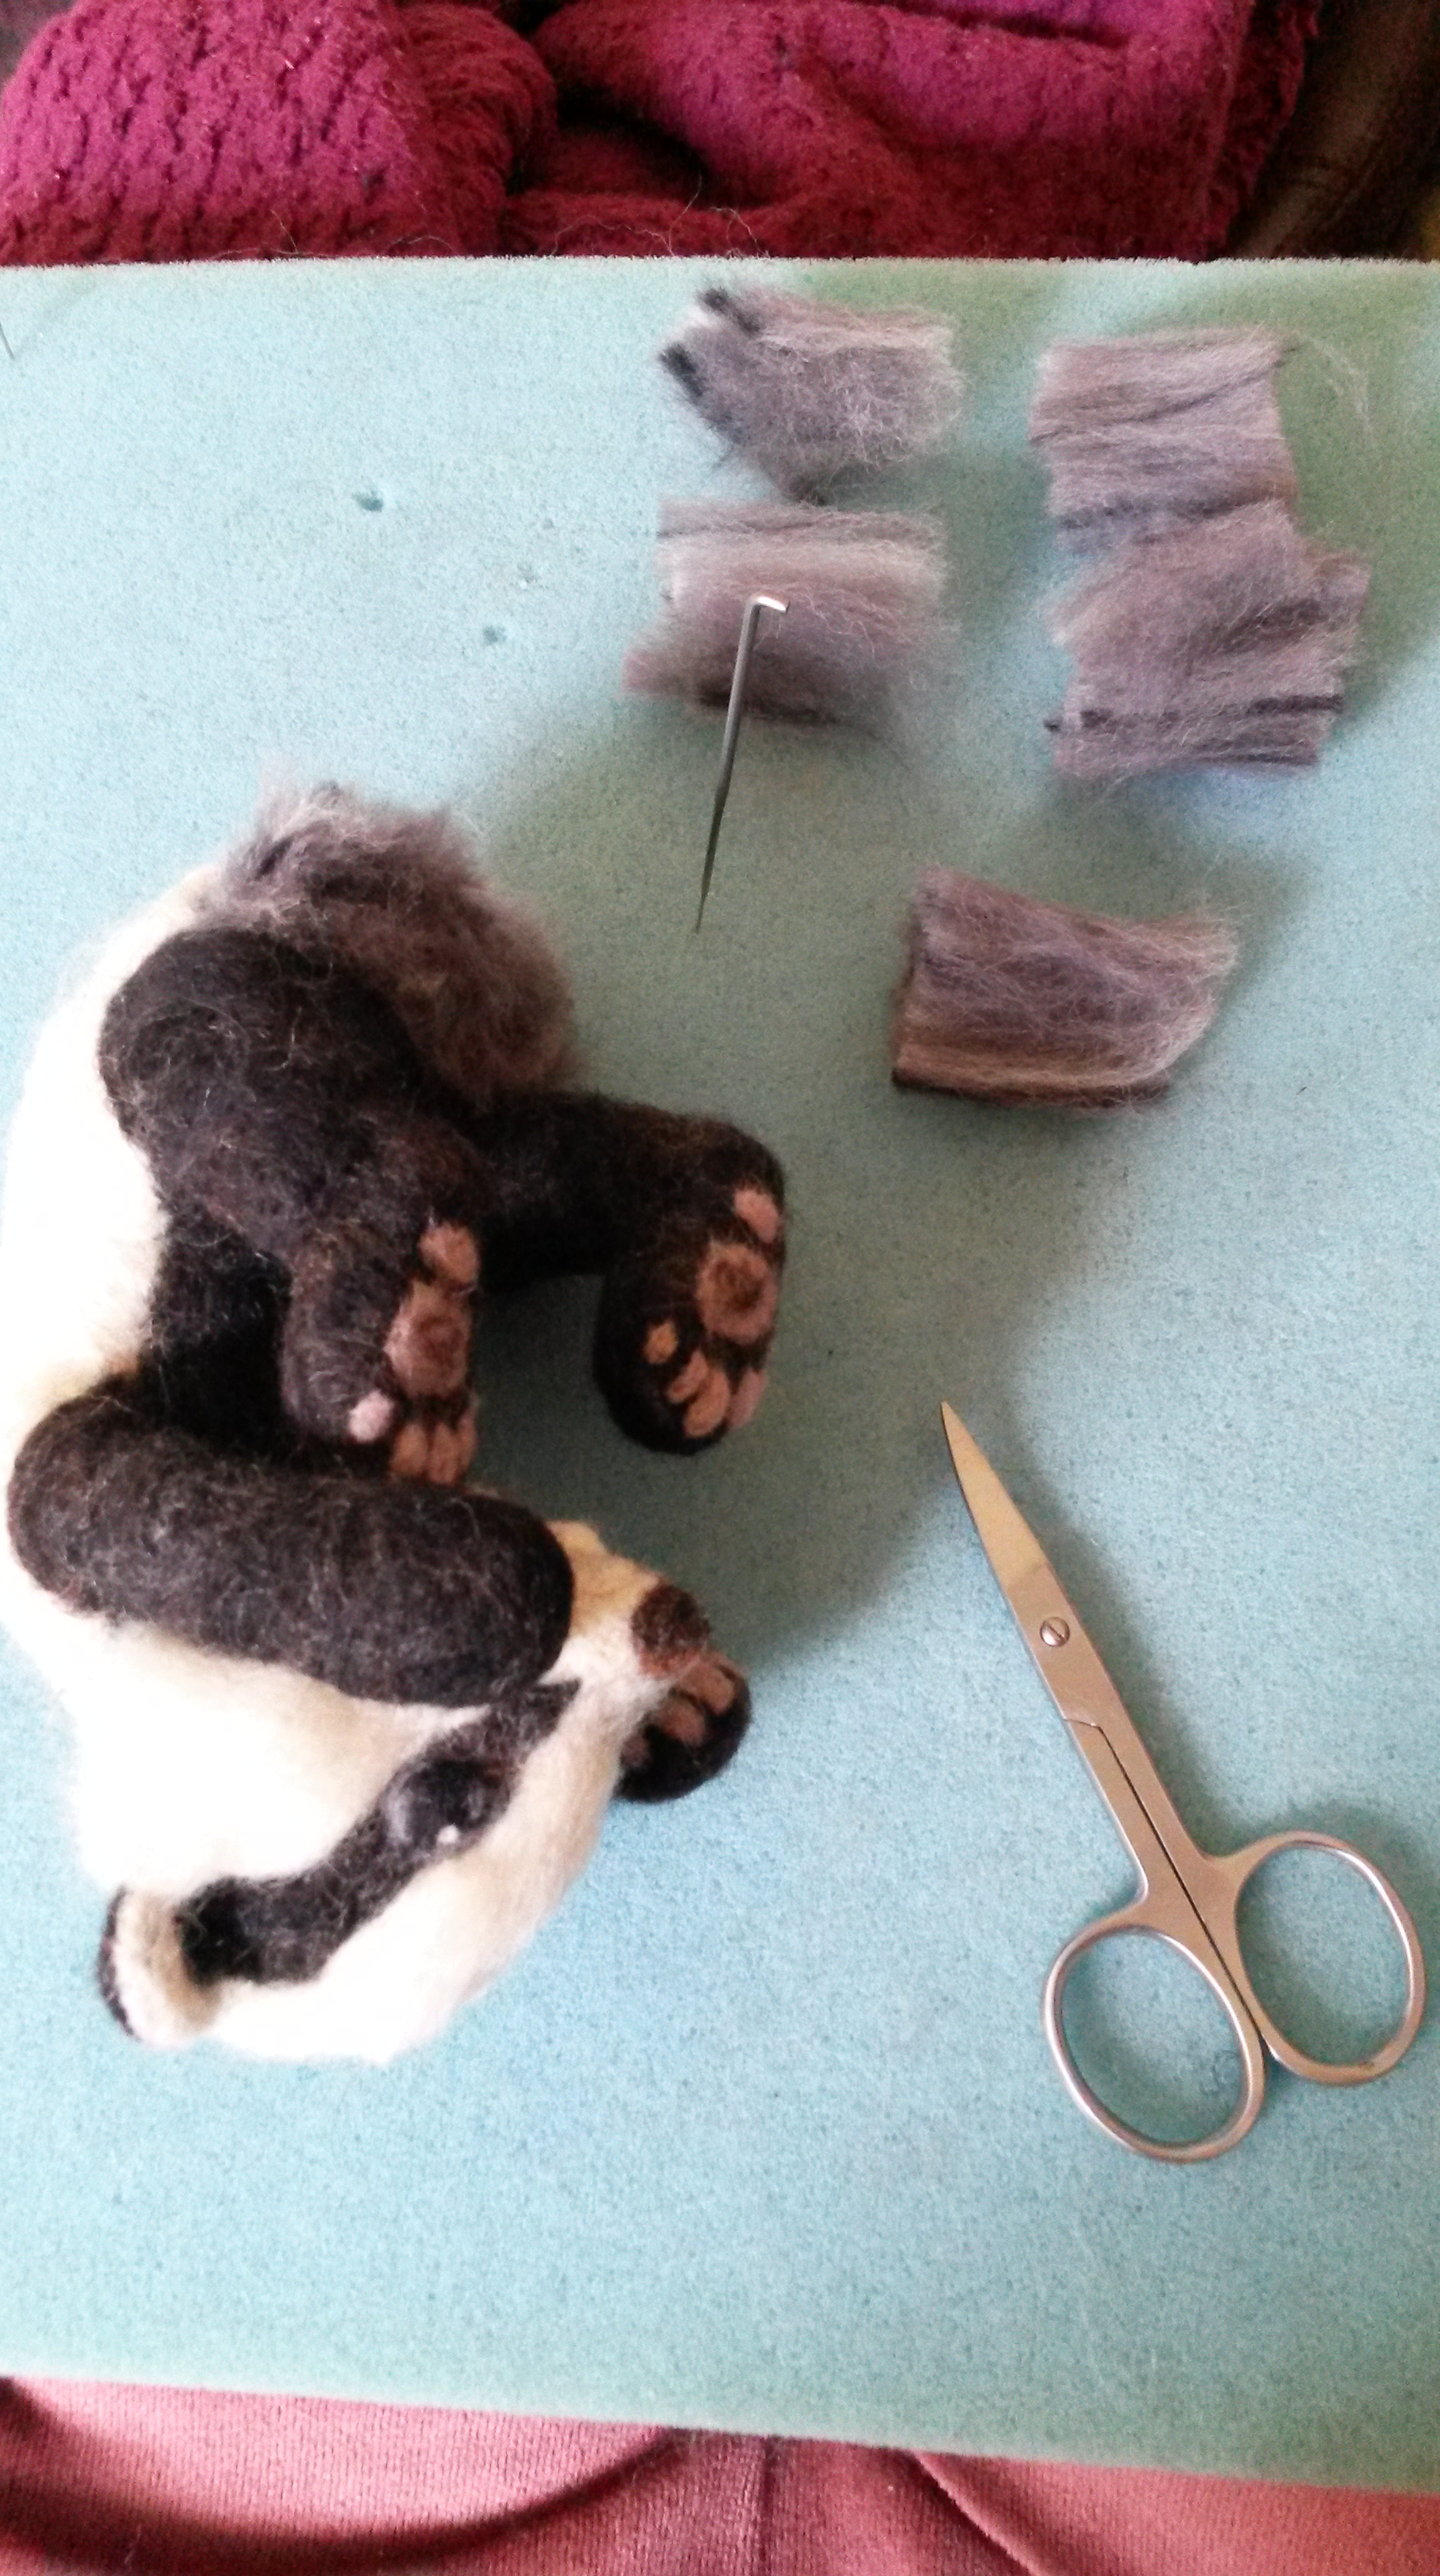
What you will need:
- Pipe cleaners (I bought 30cm length cotton ones)
- Scissors to cut the pipe cleaners to size
- Wool (I used merino wool which felts well and is soft to touch)
- Barbed needles (thinner ones are best for tiniest toes)
- Felting pad/brush (to prevent you from stabbing your knees)
- Lots of love and patience and time – this is worth the effort believe me! 🙂
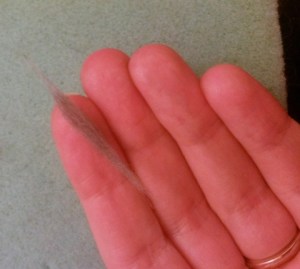
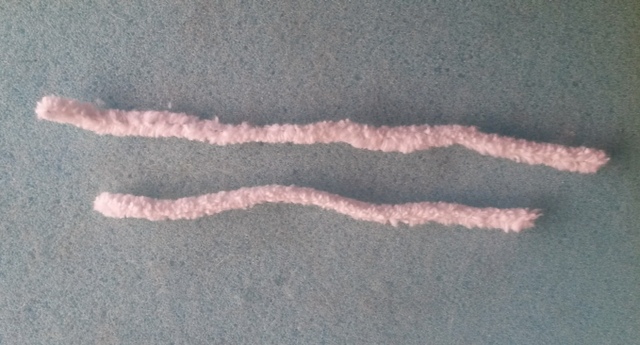
1) Cut two lengths of pipe cleaner for each of your feet (I measured one twice the length of my index finger and the other slighter shorter) It is easier to make two toes from one piece. Prepare these for both feet at the same time.

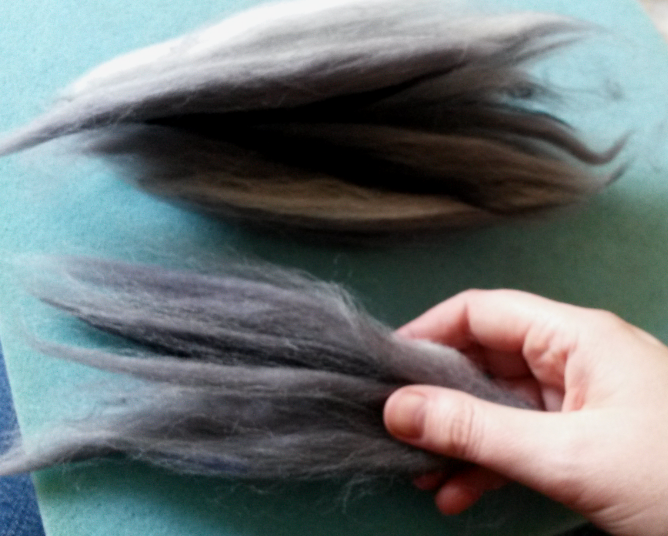
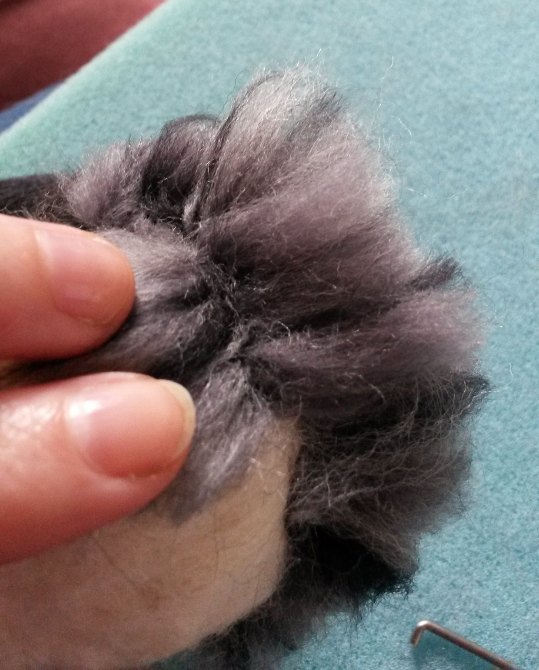
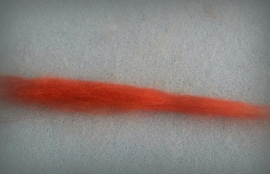
2) Take a thin piece of wool measuring at least one and half times the length of the pipe cleaner and roughly a finger’s width.
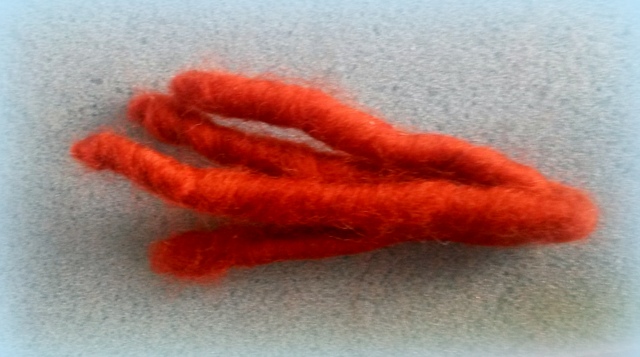
3) Tightly wrap the wool over each length of pipe cleaner; keep the wool flat and wind around, carefully overlapping the previously wrapped fibres all the way along. You can start at the end but I prefer to go from the middle and work to each end.
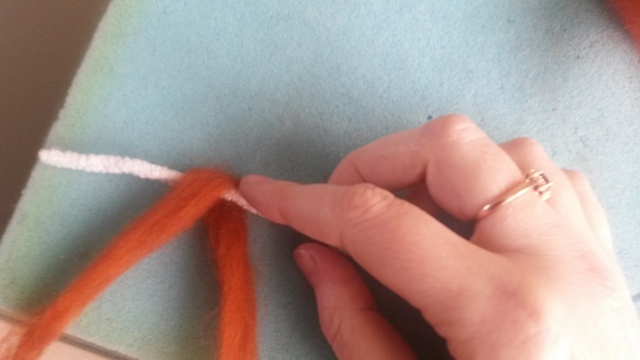
The tighter and smoother you wrap the less felting will be needed later on to fix it in place.

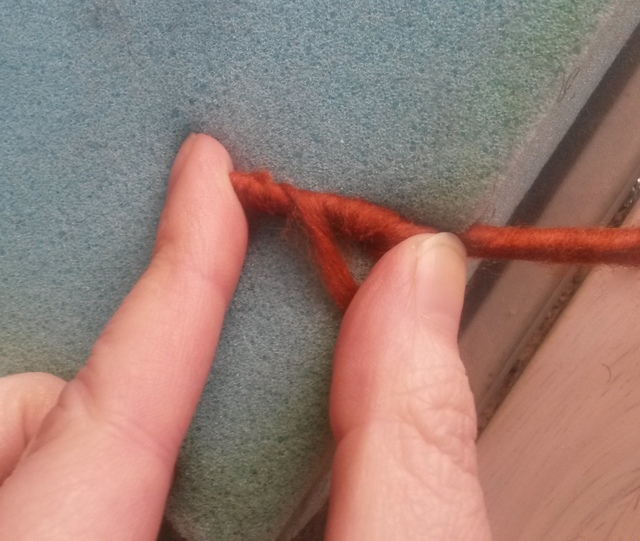
4) On reaching the ends tightly fold the fibres over the end, hold a finger over the end to keep in place whilst overlapping the work you have done very tightly for a few wraps back the other way towards the middle until you reach the end of your wool. Pull off any excess wool if you find you have too much (you don’t want to make the toes too thick).
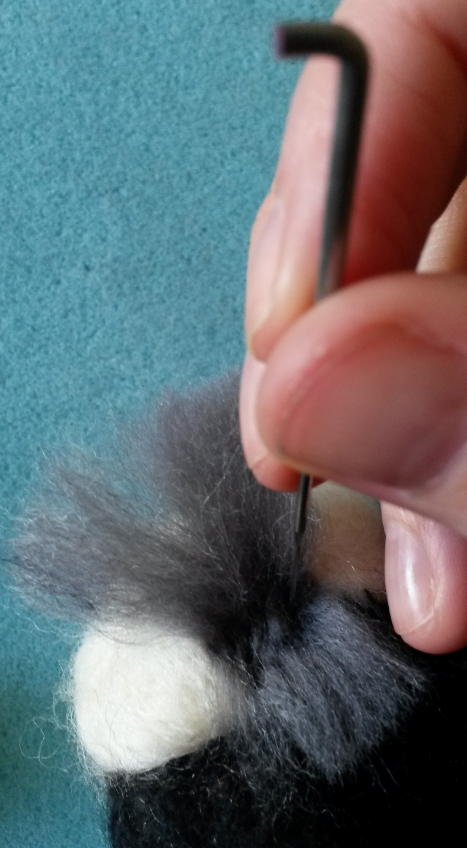
5) Using your barbed needle, stab the fibres in place along the length of the structure and especially at the ends to secure them and prevent them from fraying, taking care not to break your needle by hitting the wire as you go.


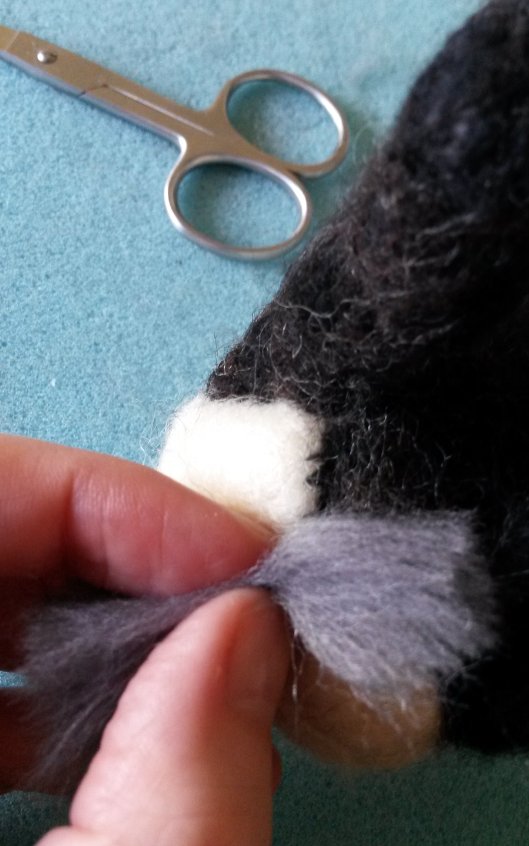
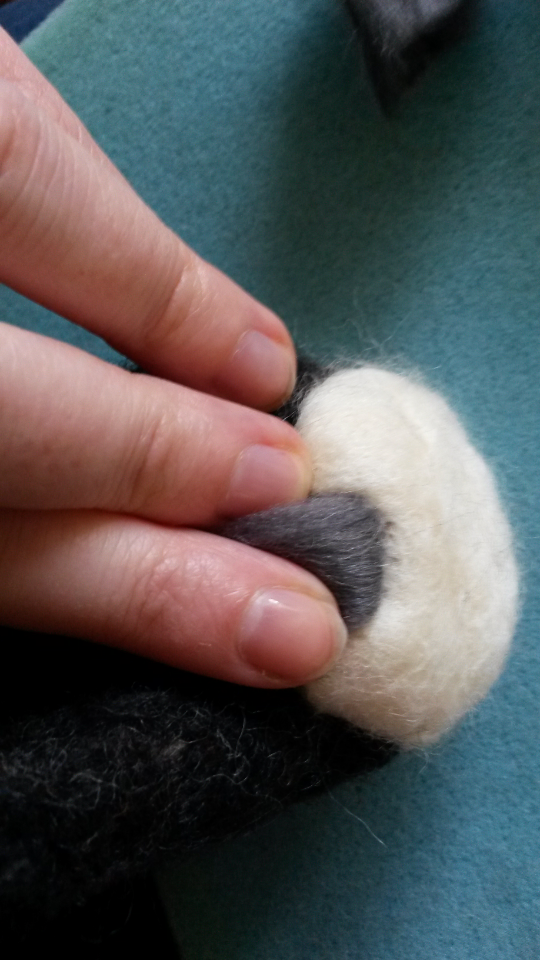
6) Bend the pieces in half and then overlay, squeeze and slightly twist the bases of the two toe pairs together, the two longer pieces will become the two centre toes.

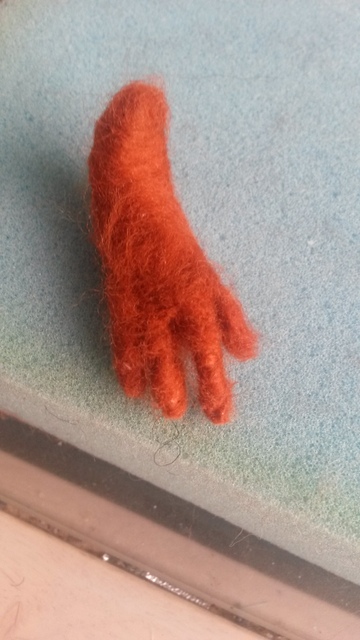
7) Wrap some thicker wool over the twisted section to form the rest of the foot. Spread out the toes into the position you wish them to be in.


8) Add more wool and felt onto the foot on both sides to shape the foot, and ensure you fill in between the toes and make the ‘knuckle area’ thicker. See how your tiny toes are becoming reality ? 🙂


9) Build up layers of wool. Your cute little feet are beginning to really take shape!
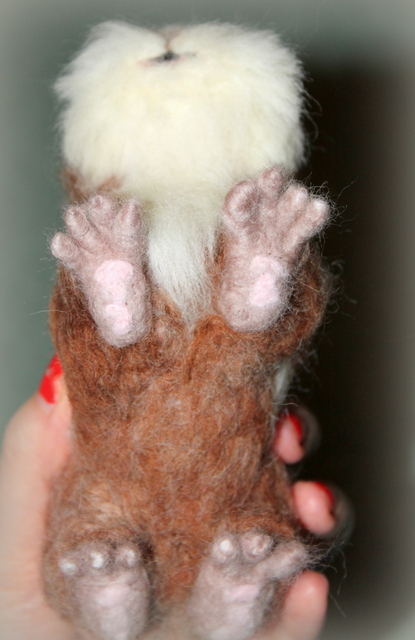
For the hind feet you will see I kept the toes and foot fairly flat and long and built up a heel. One of the toes ended up a little longer but I quite like this; gives a more natural look.
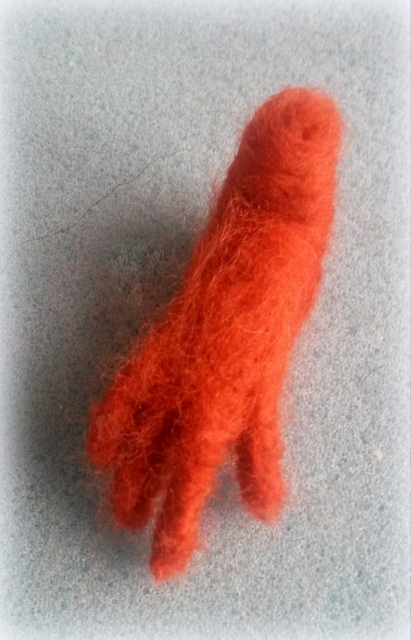
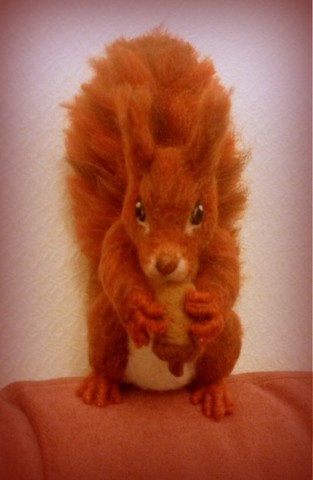
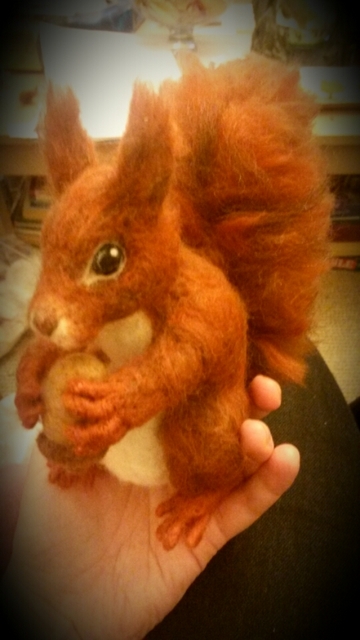
For the front paws (which will be holding a felted acorn) I kept them daintier and shorter and curled the ‘fingers’ into a gripping position, and added an ‘arm’.

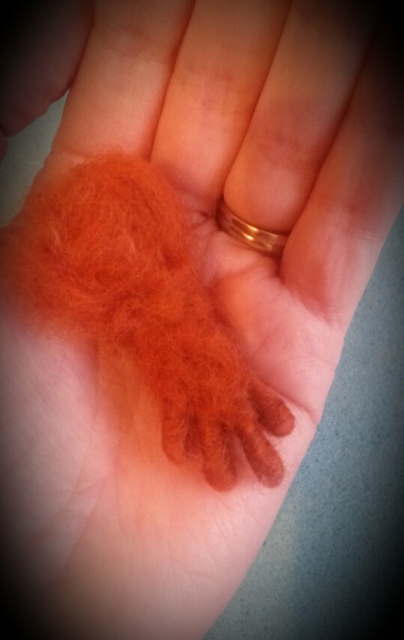
10) Keep going and ensure you have left some loosely felted wool where the foot/leg will join onto the body. See here for a tutorial on how to add head and limbs to animals.


and …. SQUEEE!
Did you find this tutorial helpful? What would you like to learn about next? Please leave comments. Why not post a photo of your own creations?
For more tutorials like this please visit my Tutorials, tips and ideas page.
Don’t ever miss out on my latest tutorials! Insert your email address and click the ‘Follow’ button on the right hand panel to receive notifications of when the next post is up..:-)
Don’t have time to make one but would love a one of a kind needle felted animal by Fit to be loved for yourself or for that special someone? Visit my Etsy shop today to see my latest creations. Or like my facebook page to see what I am making next.