So today I thought I’d answer a common question that I get asked a lot- “if I’m needle felting a long furred animal, how do I stop all of these lovely, luscious fibres from getting all matted, flattened, tangled and just looking a complete mess?”
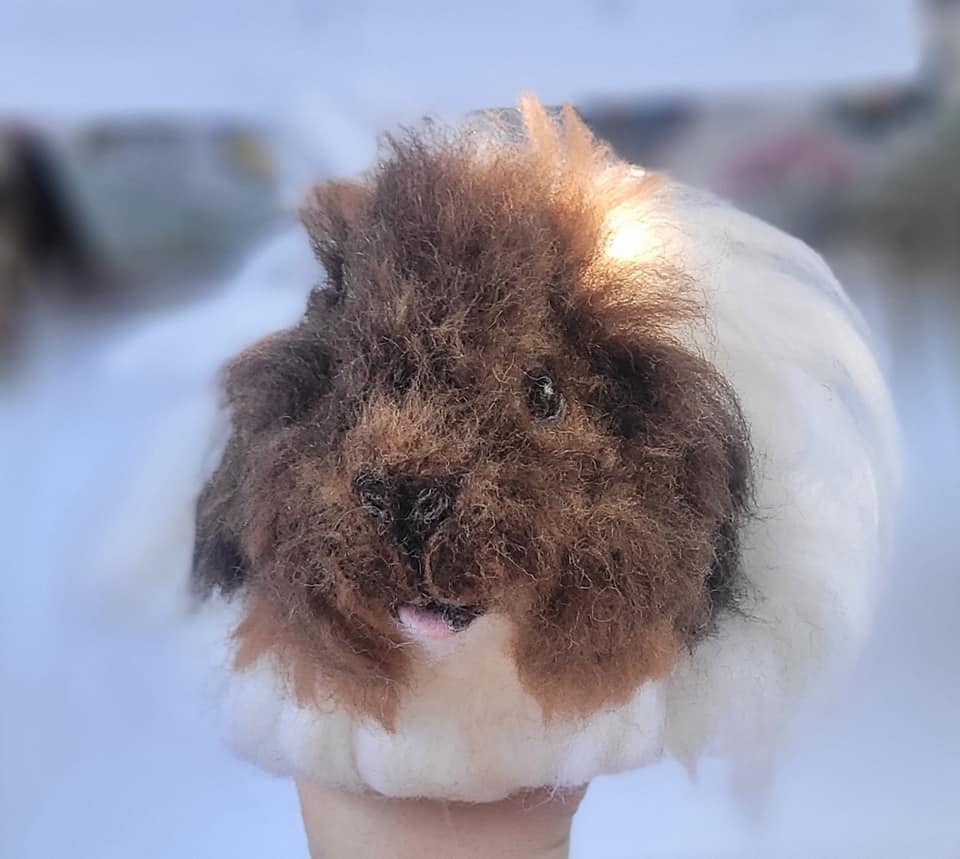
As you’re working on an animal, like this guinea pig I am making here, at some point you may have to turn it over or on its side.
Some of it will get fluffed up a little bit and that’s just the big challenge with felting very long fibres like this, but you can eliminate some of the issues with my three tips!
Please feel free to comment and say what you do about this because that would be really helpful to share tips and ideas with each other as well.
3 Tips to help prevent over felting, matting, frizzing, of long animal fur
(Scroll to the bottom if you’d like to watch my video version)
- PLAN AHEAD
For an animal that’s upright I try to always start adding wool on the underside i.e it’s tummy and legs first so that I’m not having to turn over the lovely top layer. If I start off with the underside, that’s the bit that you’re less likely to see so if it gets a bit flattened it doesn’t matter so much.

I then turn it over and work on the top side and that’s the bit you’re mostly going to see. So you’re not going to be laying it down on all the lovely fibres and squishing them. The moment you turn your animal over, it’s going to flatten and potentially fluff up or leave the fibres looking frizzy and it’s just not going to look so great like how you added it in the first place.
- CONSIDER WOOL TYPE
Think about the kind of wool that you’re going to be using.
So a lot of us will use merino wool tops for long fur. These are great because they’re really well priced. They come in the kits and you can get loads of different colours. I love the range of colours for needle felted animals here.
However you do need to think about the way that the fibres lay and the way they can potentially matt and frizz up easily.
I have been trying some other kinds of fibres recently. One I want to mention is alpaca wool (you can get some lovely alpaca tops here) and suri alpaca. They seem a lot finer and softer, but you will notice a silky like consistency to them.

So I’ve been mixing these (hand blending) with my other fibres and finding that the mix is less likely to frizz and tangle with a silkier result.
Your animal fur can still end up flattening if you’re not planning your animal properly, but generally I’m finding that I can achieve a more natural looking fur as well as it matting less. It’s a beautiful, beautiful fibre to work with!
If you’re using a coarser natural wool top, such as a corriedale top. This is brilliant for replicating a coarse rough looking kind of animal hair rather than one that is smooth and soft looking.
You can incorporate that into your animal fur look as well. I used this in some of the brown shades on my sheltie for example.

The only thing with it is that it is rougher in texture and so tends to felt a lot quicker. I find it’s tougher and not so soft and fine. But at the same time if you rub it against anything that is also rough, the friction will make it end up looking frizzy which may not be the look you were hoping for..
So think about the kind of wools that you might want to use. Try out a variety of fibres…
- A ‘GLIDEY’ SURFACE
Think about what surface you’re working on. A lot of us will be using something like a felting mat or pad. My Eco felting mat from Heidifeathers has a really nice consistency and firmness to felt on. I can do all my core work sculpting on there really well and also add shorter fur fibres.

But when I come to attach my long fur, the last thing I want to do is allow my fibres to rub against the felting mat material and felt my fibres a lot further. I want them to end up looking really lovely on the animal. I don’t want them to rough up and get tangled.
So when you’re thinking about what you’re working on, think about something that is not going to be fraying your felted animal fur.
Once I’ve made the core animal shape base, I often move it off of my felting pad and I will use a slippery surface for the majority of my time…you’ll often see me use the inside of one of my beautiful storage box lids.


This allows my piece of work and the fibres to glide against it and not rough up and felt. It might move around a little bit but because my animal is contained in the lid area, it’s not going to slip too far. You don’t need to use a felting pad because the needle is not going to go through and stab into my knee or anything. Much of what I am felting onto is the thick body of the animal and as long as I don’t felt too deeply the hard surface is fine.
If I want to get at an angle though e.g. side of tummy, under a neck or felting fur on a leg I can still use the felting pad but lay a material over it.
A shiny smooth material like satin or silk is really good though test it out and see what you think. You don’t want to get too much static adding to your issues so trial it. You could get a bit of this material to lay over the pad. Tightly wrap it if you can so it doesn’t slip as you felt or buy a purpose made satin or silk surfaced pillow.

Or use a plastic bag or sheeting over the pad (I simply use the flat slippery bags that my wool come in). It can slide a little but that’s fine.
A shiny paper like tissue papers or wrapping paper or card can also work but less likely to last as long potentially.
The felting needle can enter the material a little but that’s ok.
If adding long fur to a thin piece of the animal anatomy e.g an ear or tail I would rather go back to just using my felting pad and just be very careful about not messing up the fibres.
Try a few options to see what works for you and find out what is most effective and comfortable for the process.
Whatever surface you choose, lay the animal down carefully against the surface before stabbing and ideally lay fibres in the way they should flow so they are less likely to fray at the ends or flatten or frizz from laying the wrong way.
A few extra tips
Remember to make sure that you’re not constantly touching or pulling at the fibres. Make sure you aren’t using greasy fingers of any sort, and that you’ve washed your hands really well and you’ve got no extra oils in your skin when you need to touch them.
For particularly long pieces of fur you can twist the ends carefully and tuck them down before laying your animal down when you’re working on it to prevent the ends from being vulnerable to fluffing or fraying.
To finish off your animal so it has beautiful fibres
Once you have added all the fur to your needle felted animal you can then revive the fibres if they have become a bit flat or disheveled and plump them up.
Depending on the wool you have used and how you want the fur to look you could carefully brush them with an eyebrow brush or similar brush. For many of my animals however a brush can be too much for the delicate fibres and I don’t want to break or pull out the fibres I have taken my time to add and so I simply use a clean finger and thumb to tease fibres in the direction I want them to go and to unflatten them.
A normal sewing needle or sometimes my barbed needle is also a perfect tool to manipulate the fibres and to separate them out so they still look like realistic animal fur. Then a final trim with scissors if needing to tidy or remove any excess fluff!
I hope these tips have been helpful. Let me know your thoughts on them. 😊
Here is a video version if you prefer to watch or listen: How to protect long wool fibres while needle felting animals.
Please let me know what you do to help protect your long fibres, I’d love to hear your hints and tips too 🙂


These are great tips. But what do you do when your long haired animal is finished? How do you keep the hair from flattening? I have seen someone ask about hair spray or using a dryer sheet? Any tips so you do ‘t have to fluff it all the time?
LikeLiked by 1 person
Glad you like the tips. Best kept behind glass from dust and moths and not handles. I’ve heard of using sprays which can work, but I’d worry about effects to colour and strength of wool over time.
LikeLike
Thank you, I had this very problem with a cat I made, the long hair was matting. So next time I’ll try your suggestions. Appreciate all your sharing.
LikeLiked by 1 person
I’m pleased you find it helpful. Thanks for your lovely comment.
LikeLike
Dear Amanda, thank you so much for all the details advice about this. It is very, very helpfull.
Am following you for a long time now and feel honored to get help from an expert like you!
LikeLiked by 1 person
That’s so very lovely of you to say! Thank you so much for your support and encouragement it means so much. I am glad it could be of help to you.
LikeLike