Are you wondering how to get a smooth on your Needle Felted Animals?
In this tutorial I share my 13 Top Tips for how to get a smooth finish! No more holey, lumpy or fuzzy sculptures! Get stabbing and needle felt a smooth surface with confidence!
I include advice on the process, needles, wool, use of tools and much more! Look out for my extra FAQs (about long furred animals and reverse felting) at the end.
Do you prefer to learn by watching instead of reading? if so please do skip to the bottom of this page to watch the video on YouTube 🙂
What are you wanting to achieve?
Are you wanting to needle felt a short furred animal like a horse or short haired dog breed? or maybe you want to felt a part of the animal such as around the muzzle so that it’s smooth and soft?

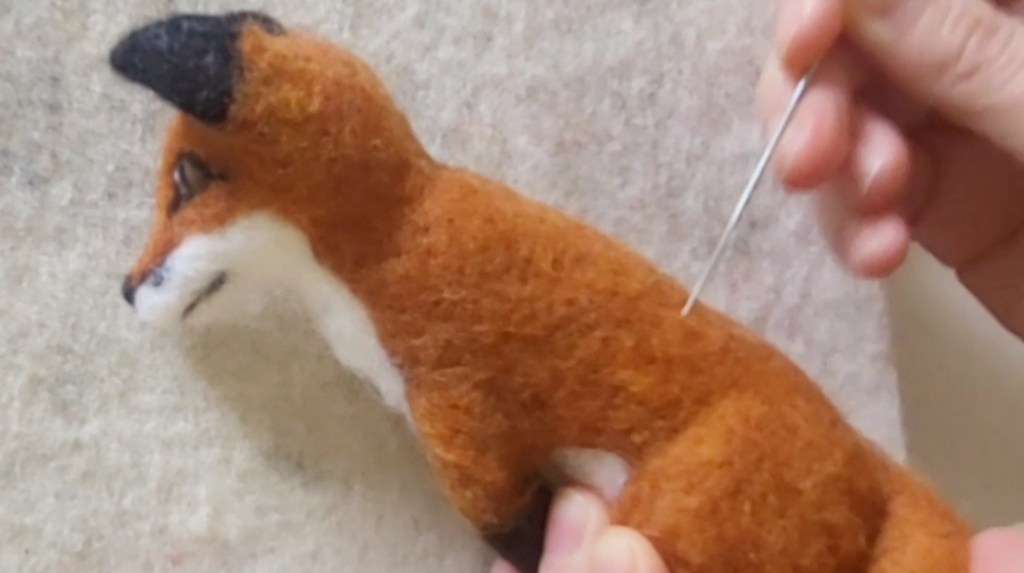
Or maybe the style of your sculpture is that you want it to look firm and no fluff but smooth looking, for example with my sitting foxes I made in preparation for an upcoming needle felting course, I wanted them to be quick and easy to make for my students without all the long fur attachment which can take hours.
Tip 1: It’s about the Entire Process!
Think of this in terms of it being about the entire process. It’s not just about the end result. You can’t grab your wool and stab it any old how and then expect a sudden smooth finish by the end. It is possible but it could take a lot longer to achieve. So start off really well, have intension and a plan! Through the process of stabbing, layering carefully and keeping it firm and using some of the other tips below you’ll hopefully end up with that lovely smooth finish!
Tip 2: Wool
It’s important to understand about wool and consider the type of wool you will use for your needle felted animal.

If using merino wool, this is soft and fine so is going to look and feel soft and smooth. Be careful though if using merino tops (tops are where the wool is in long lengths which go in the same direction). The structure can mean that stabbing will show holes so you need to use finer and finer needles for it to look smooth and it can take a while to get the result you like.
Carded Wool usually comes in batts (sheet) or slivers (long lengths). Carded wool is where there are short fibres that go in different directions so fibres will felt fast and you can firm up your sculpture much quicker but the overall look can be more messy and less smooth so you’ll need some effort to prevent fuzziness and not show holes.
If you would like to know more about wool. Here is my Guide to Wool

Tip 3: Barbed Needles
Barbed needles for needle felting come in different gauge numbers (thicker or thinner), the end you stab with comes in a few different shapes e.g. star, triangle, spiral, crown, and they have varying numbers of barbs. So it’s vital to know which needle to use at the different stages of the sculpting, firming and finishing process.
When starting off you’ll need a lower gauge number (thicker needle) and when you finish off you’ll need a higher gauge number (thinner needle). For example when making the core shape of my fox I used a 36G triangle, then after a while I moved to a 38G triangle to firm it. I then smoothed the surface with a 40G triangle needle.


Tip 4: Keep Stabbing
If you find that your needle felted creation is not firm enough and is therefore too soft when you squeeze it, or there are areas that are lumpy, then you’ll need to keep on stabbing!


If you keep stabbing and then feel some resistance as you stab into the wool with the needle you are using, then you’ll need to move up to the next number gauge needle e.g. move from a 38 to a 40.
When I am sculpting with wool I like to keep my shapes medium firm while I perfect their form. Once I have manipulated the wool with fingers and happy with the overall look, then I go ahead and firm up further and keep stabbing.

Tip 5: Even out any Dips

If you have continued to stab but the odd indent is still there in the surface of the sculpture (sometimes this can happen with core wool where areas are thicker or thinner) then you may need to fill with more wool to even out and smooth the surface.
Tip 6: Felt Shallow and at an Angle
Once you are using higher gauge needles to smooth the surface (e.g. 40G or 42G) these will leave very tiny holes compared to the lower gauge needles but make sure you also shallow felt by only felting with the thin end tip of your needle. Felting at a slight angle e.g 45 degrees and not stabbing at right angles (90 degrees straight down) into the wool also shows less holes!!


Tip 7: Spiral/Twisted Needle
Once at the stage to smooth your surface you can also use a spiral (also known as a twisted needle). This is a great needle for getting a smooth finish. When you look at the needle close up you’ll see that the end of the needle is twisted as a spiral, shaped like a mini drill.

Tip 8: Layering wool
When layering wool e.g. when adding a coloured layer of carded wool over core wool, avoid creating harsh edges and bumps in your wool by looking for and removing any unusual blobs or strands and vegetation matter before you add it. Also be careful to select the right amount of wool as a wad to lay so that it is not too thick nor too thin in thickness and the fibres are evenly spread. Lay it over your core base without folding edges then lay the next piece along side it but slightly overlapping.
Stab the wool with your higher gauge needle shallowly and at an angle as described above and you should end up with a nice smooth finish.


An extra Tip for Merino tops
A merino top can be more of a challenge to layer and look hole free – don’t worry if this is all you have in your supplies- it is possible but needs lots of stabbing with fine needles to finish off. Sometimes though I take the top and pull it apart with my fingers to shred it up into shorter strands and to ensure the fibres end up in different directions. Then I add evenly spread wads of this to my animal. It really helps with blending along any edges with another colour. Why not try it out and see what you think 🙂


Tip 9: Use Hands/Fingers
If you’ve used your fine and spiral needles and shallow felted at an angle but still seeing holes, others may not notice but maybe you do …. what do you do? Well it’s a simple thing but really works! Just use your hand/s or fingers to carefully rub over the wool surface! the warmth of your hands and movement will manipulate the surface and move fibres over any holes. Be careful not to do this too briskly as this can add to the ‘too much fuzz’ problem. You can roll a ball shape or long cylindrical shapes such as legs or tail of an animal between your hands with some pressure , you can rub large areas of the animal over a warm palm of your hand in a circular motion or back and forth, or rub a finger end in circular motion over patches of wool that need it.


Tip 10: Needle Brush
Another way to help cover holes is to use your sharp needle end (can also use a normal sewing needle) to carefully brush fibres. This is a tiny movement but can be really effective. You might quite like this look to add a little texture at times so more animal-like whilst still being soft and smooth to the touch.
Tip 11: A Tiny brush
If you have a soft tooth brush or baby brush or an eyebrow brush then you can also brush tenderly over the fibres to again move strands over holes. If choosing the eyebrow brush it will need to be one that has a bristly brush rather than a comb edge. I like to press against the wool surface with my brush and move in a circular motion a bit like I would with my fingers rather than actually ‘brush’ the fibres. Brushing or rubbing too vigorously will certainly create more texture and possibly fuzz the surface but this may be a look that you like too!


Tip 12: Scissors
If your issue is still that your needle felted animal looks too fuzzy, messy or there are stray strands then this is time to get out your small scissors and give it a really good trim. Sometimes though fuzz on an animal is a great look… this is the wonderful thing about needle felting and playing with textures. You can try both looks and see what you prefer!!
Tip 13: Super Smoothness Ideas
Using pressure and heat is a brilliant way to smooth down any fuzz and you can achieve this with your every day iron if you are careful or you could try a mini crafting iron over the surface of your small needle felted creations.
If you want sleek slim smooth animal ears or feathers (or other flat pieces you are making) then how about try some hair straighteners? you can lay your felted item between the plates for as little as 5 seconds on a fairly high heat and wow what a wonderful result! those stray fibres proper flatten down.

Bonus FAQs
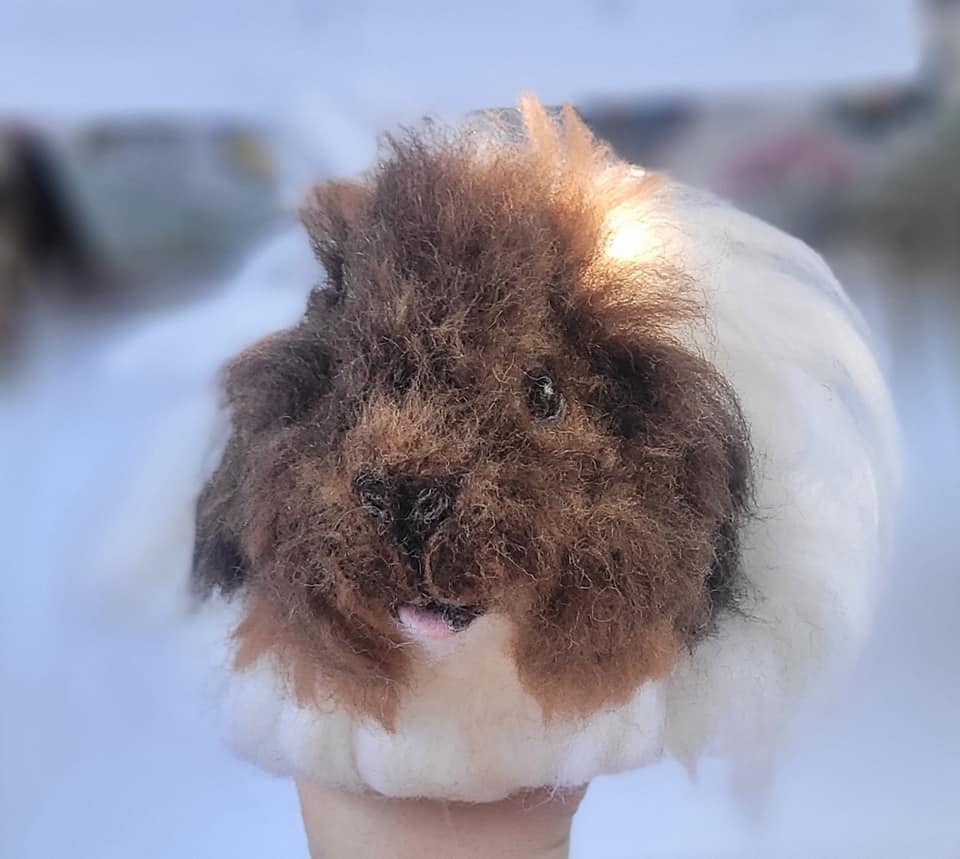
1: What if I’m making a long furred animal, Does it really matter if the core wool is firm or smooth?
Well, you don’t need the surface perfectly smooth no as you won’t see it. However it is important to get the core of your animal firm and be free from any lumps or dips. If too soft then when attaching the long fur the animal core can shrink slightly, the surface may become uneven and the whole creation can become misshapen. If you start with a firm smooth surface the fur will layer nicely and flow well. If you’d like to learn how to add long fur to your animals there is a video series here.


2: What if I’m reverse felting? Does it matter about the wool being firm or smooth then?
Again it doesn’t need to be perfectly smooth but you need the wool firm with an even surface so that when you pull out the fibres with your reverse needle the wool maintains its stability and shape. You want to be pulling out even tufts of fibres that will look like fluffy fur not pulling out big chunks! If you’d like to know how to reverse felt, your ultimate guide to the reverse felting needle can be viewed here.
Here is the video version for how to get a smooth finish on your needle felted animals.
I hope you found this tutorial useful. What smooth surfaced animal are you making?? 🙂