Needle Felted Tabby Kitten

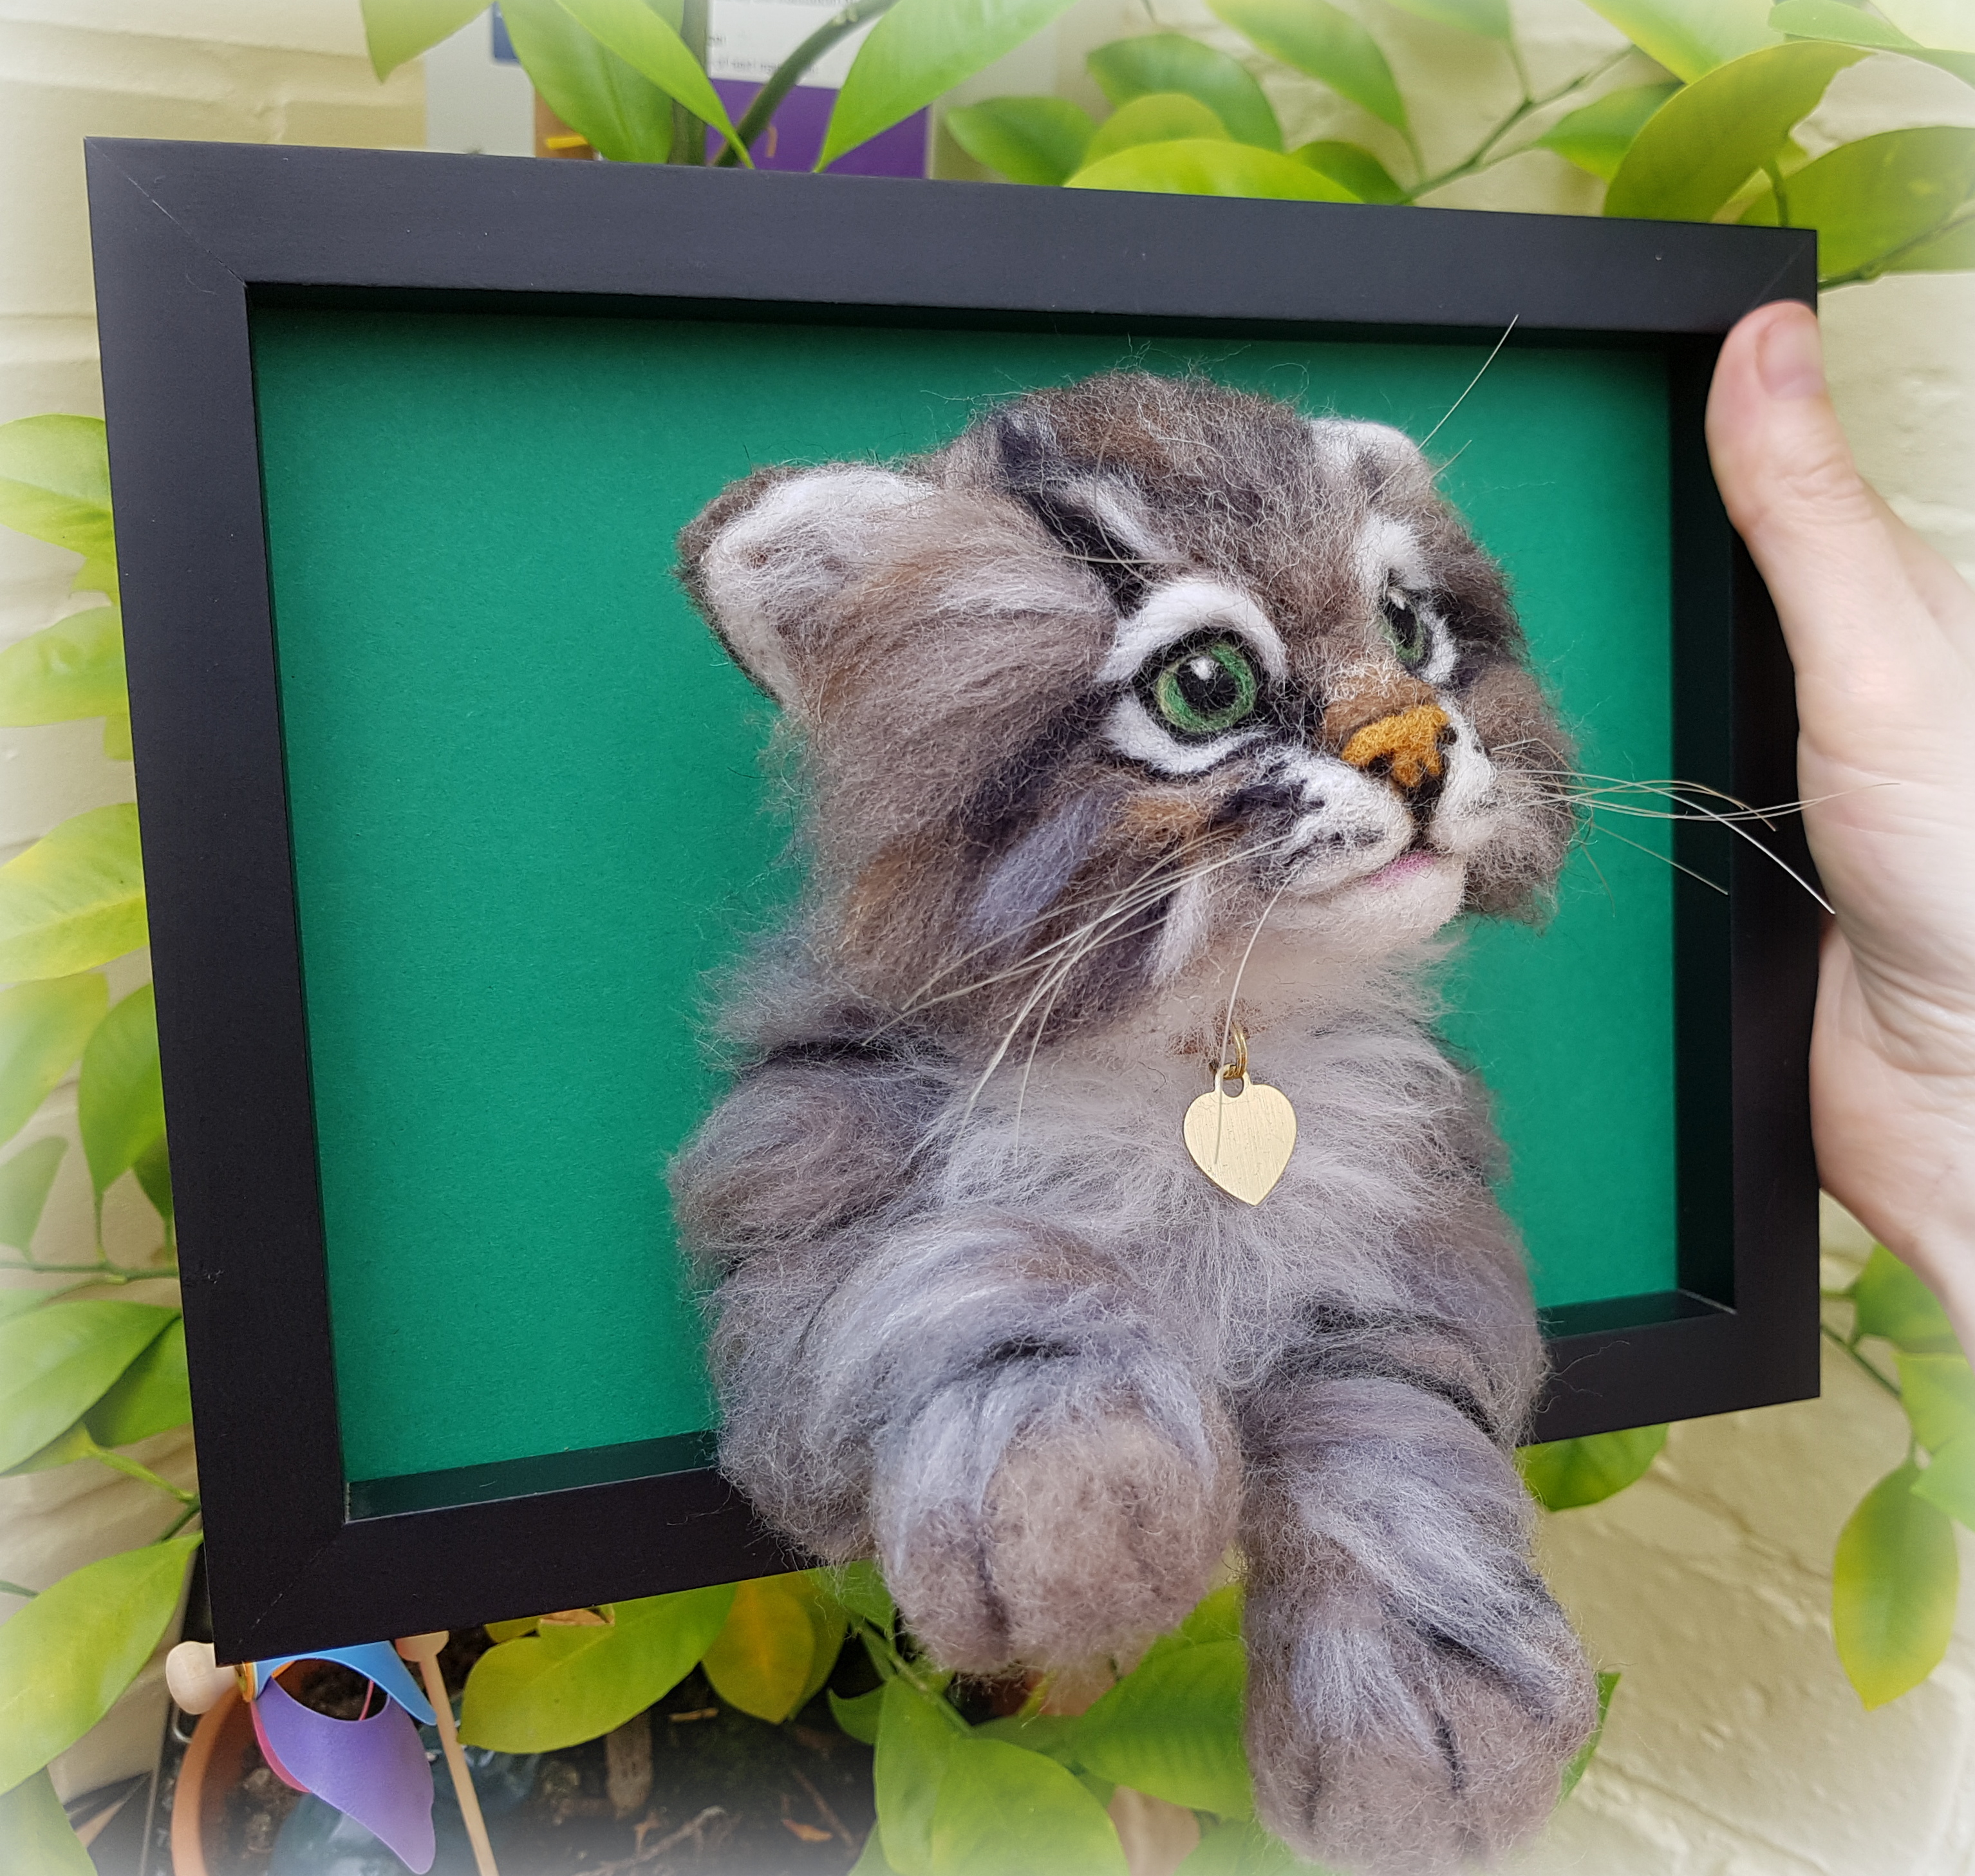
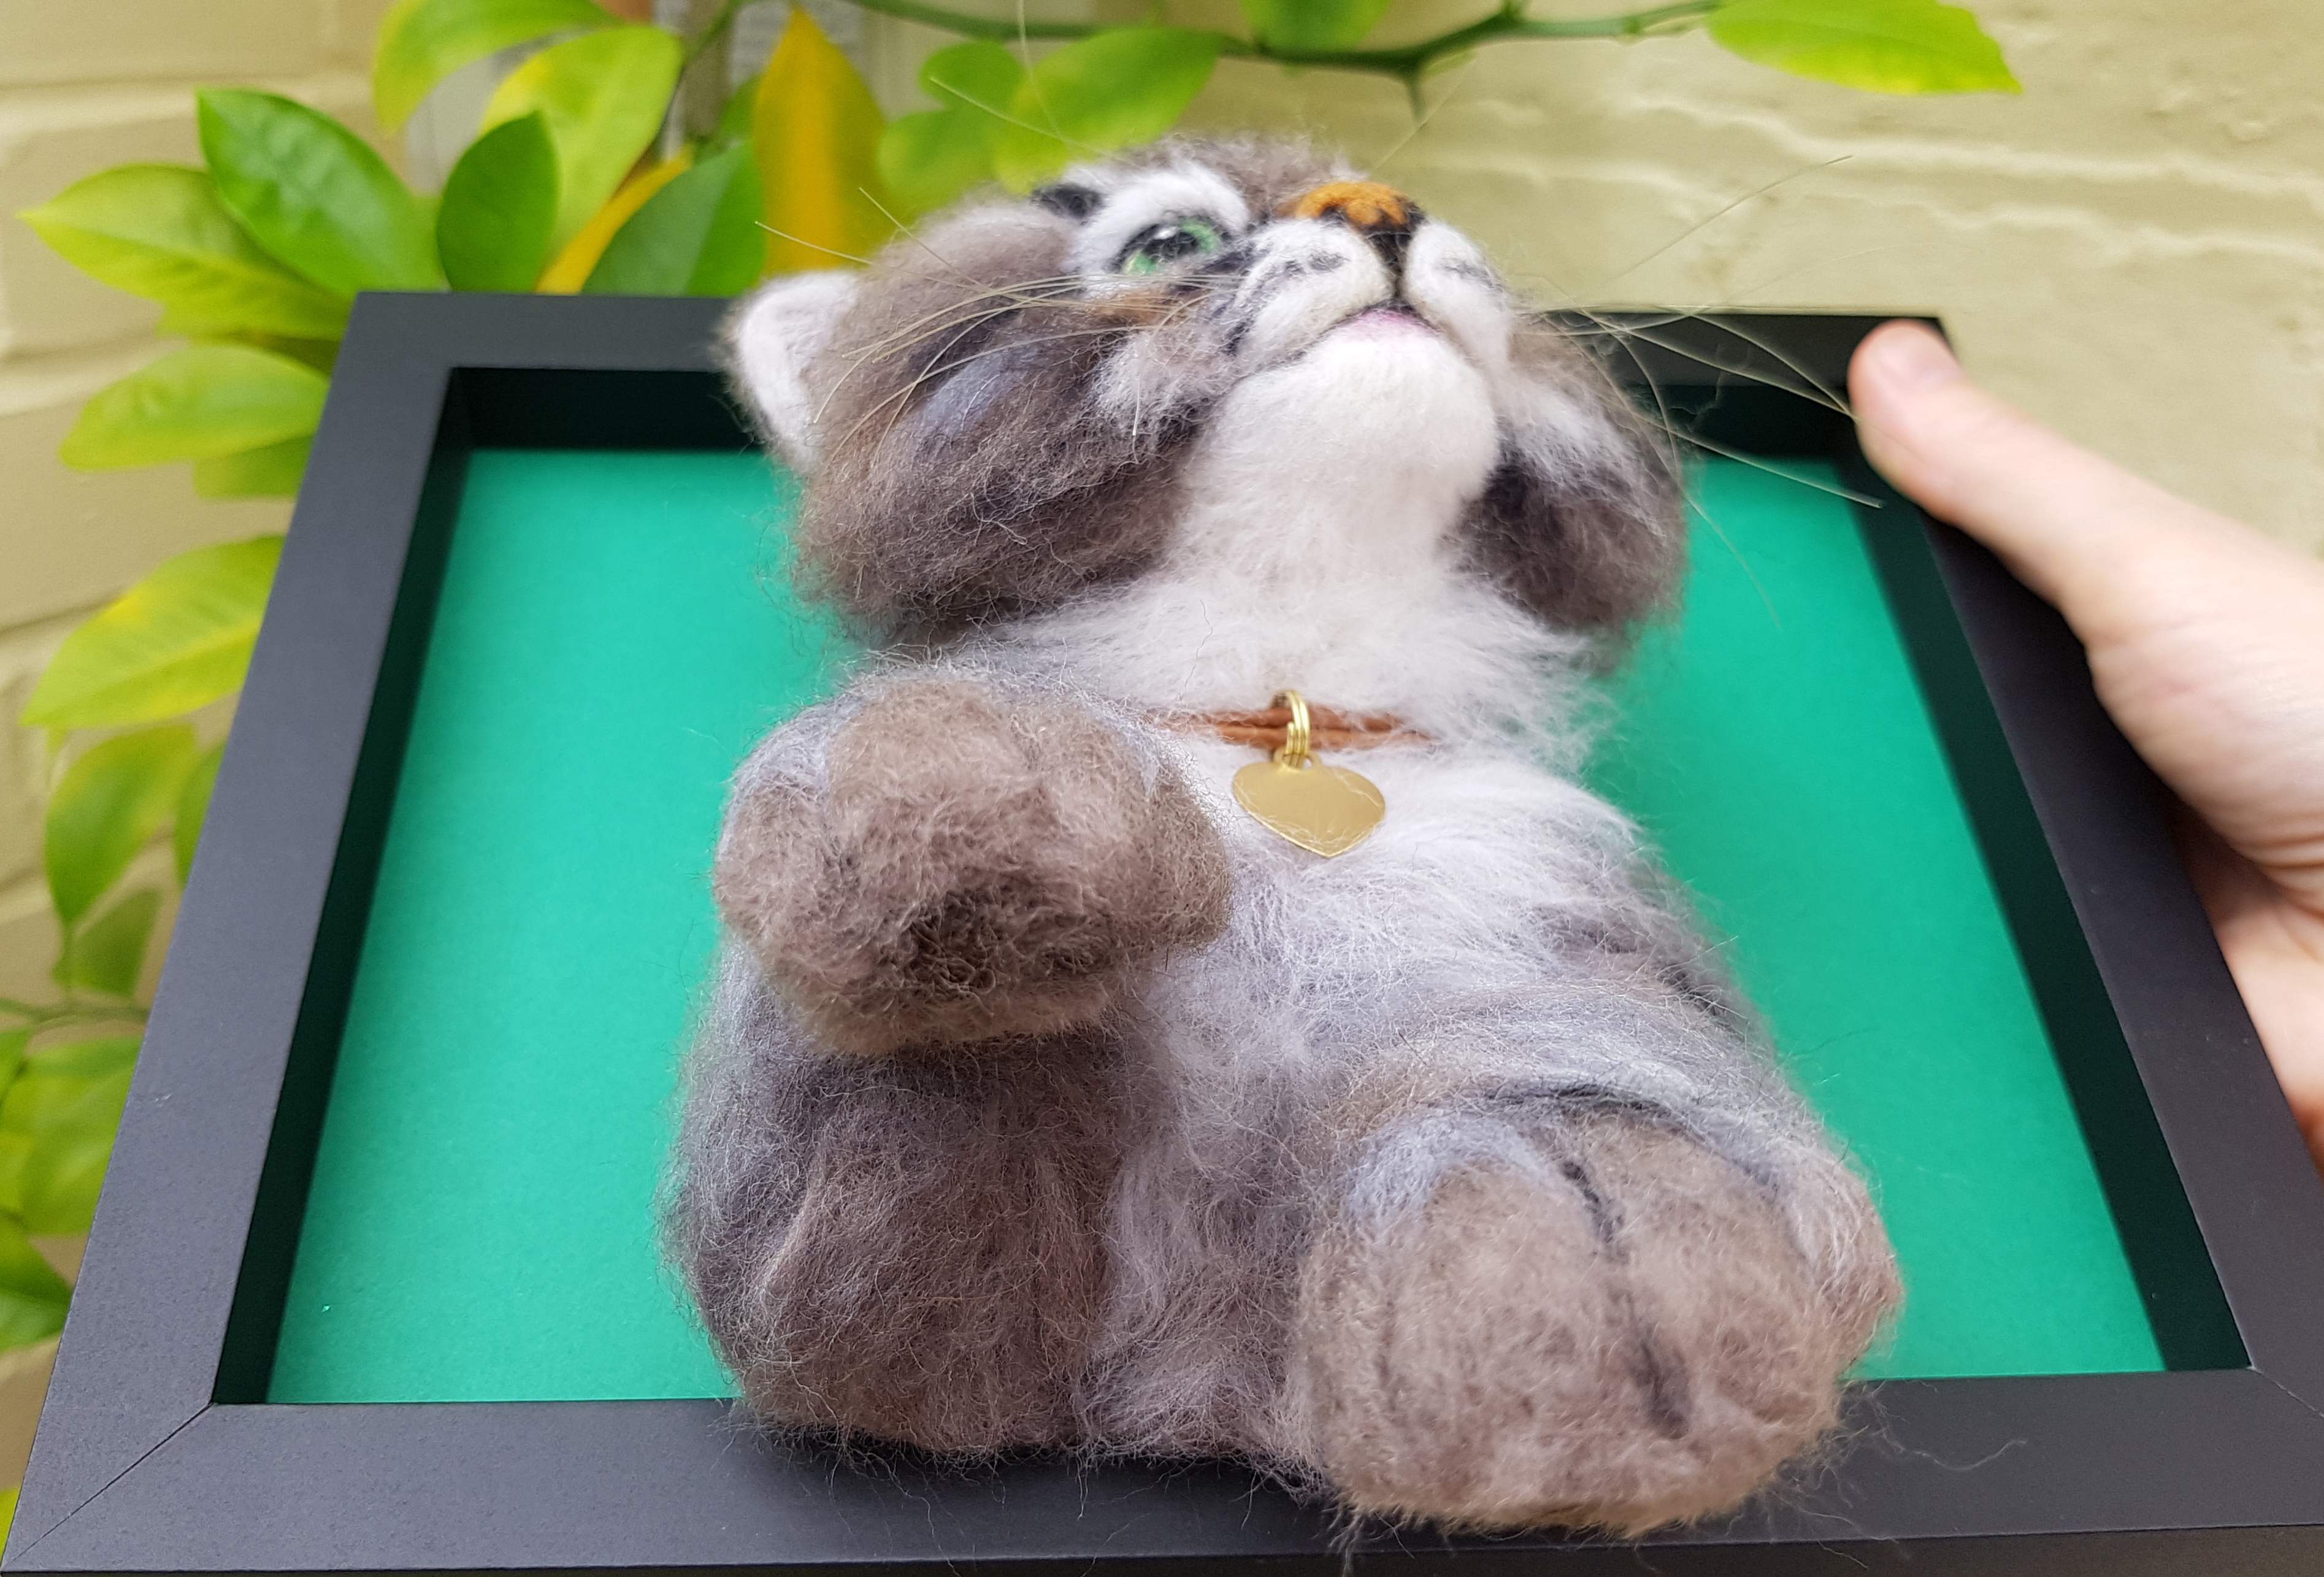
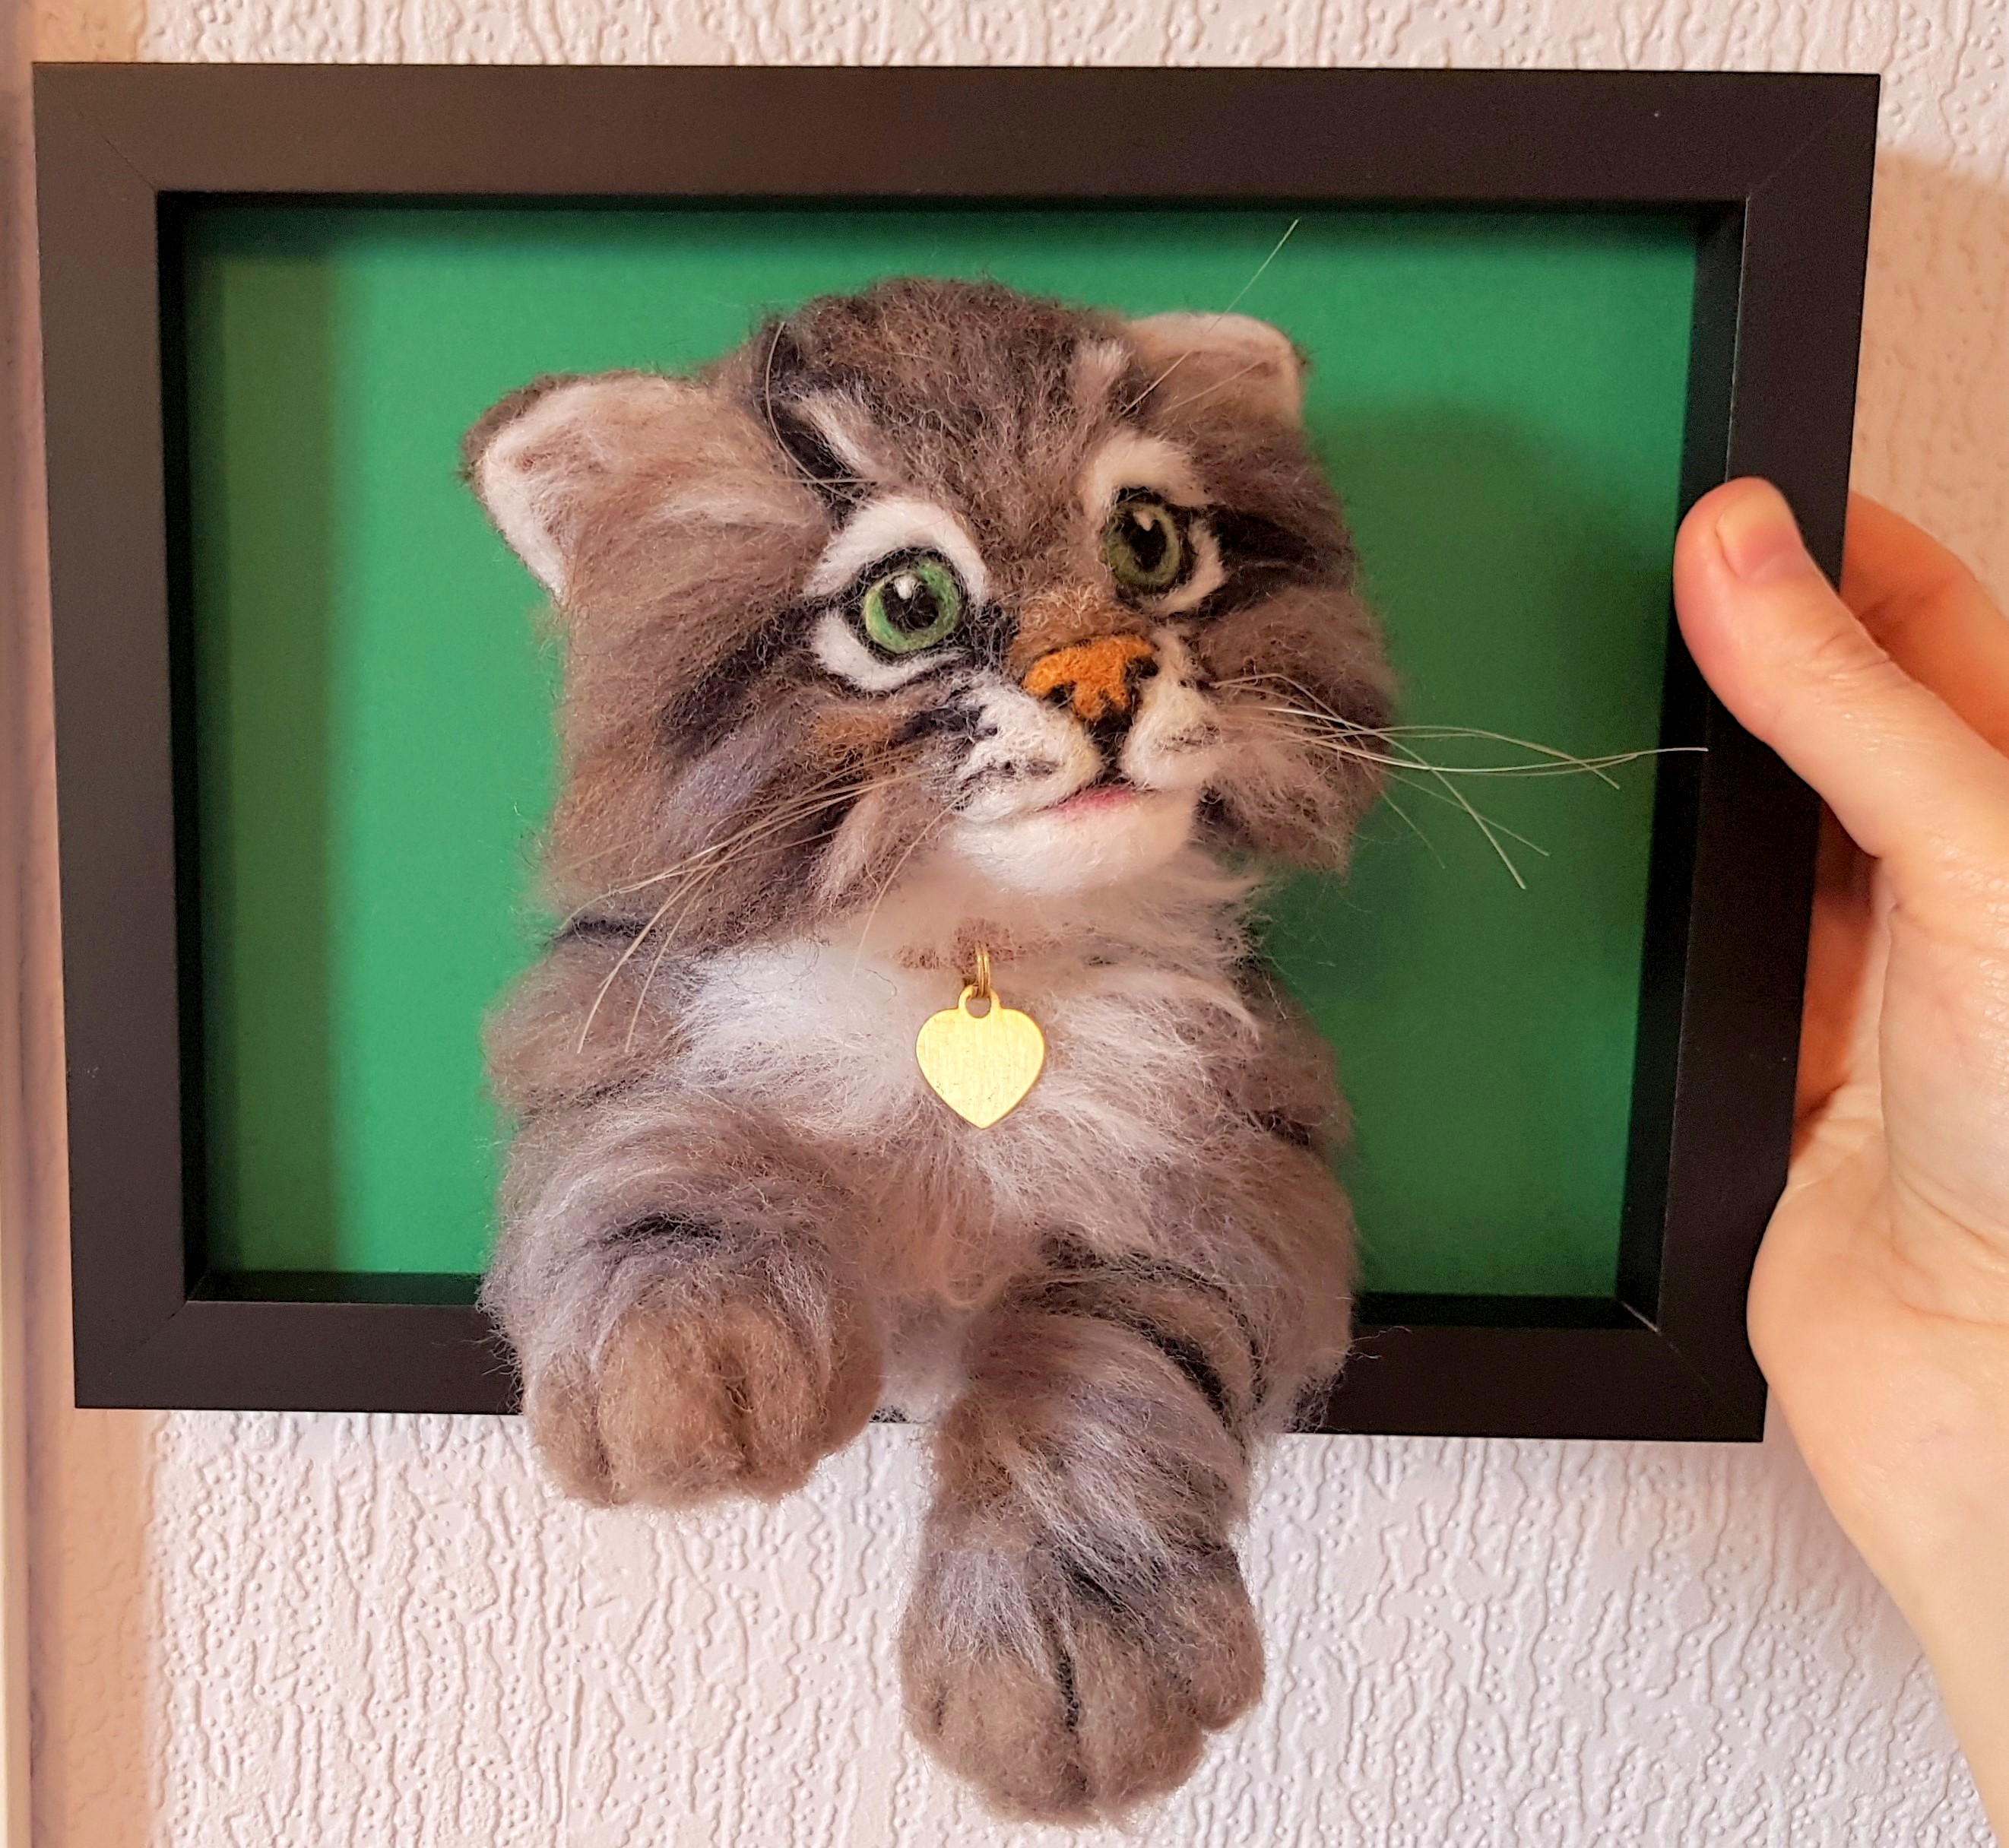
“Paws”, an adorable and realistic looking Tabby kitten, is looking up at you with those big green eyes. His little paws playfully protrude out of the picture. He has been lovingly hand-made and is ‘fit to be loved’. As you can see from the photos he is in a black frame with green insert to compliment his eyes.

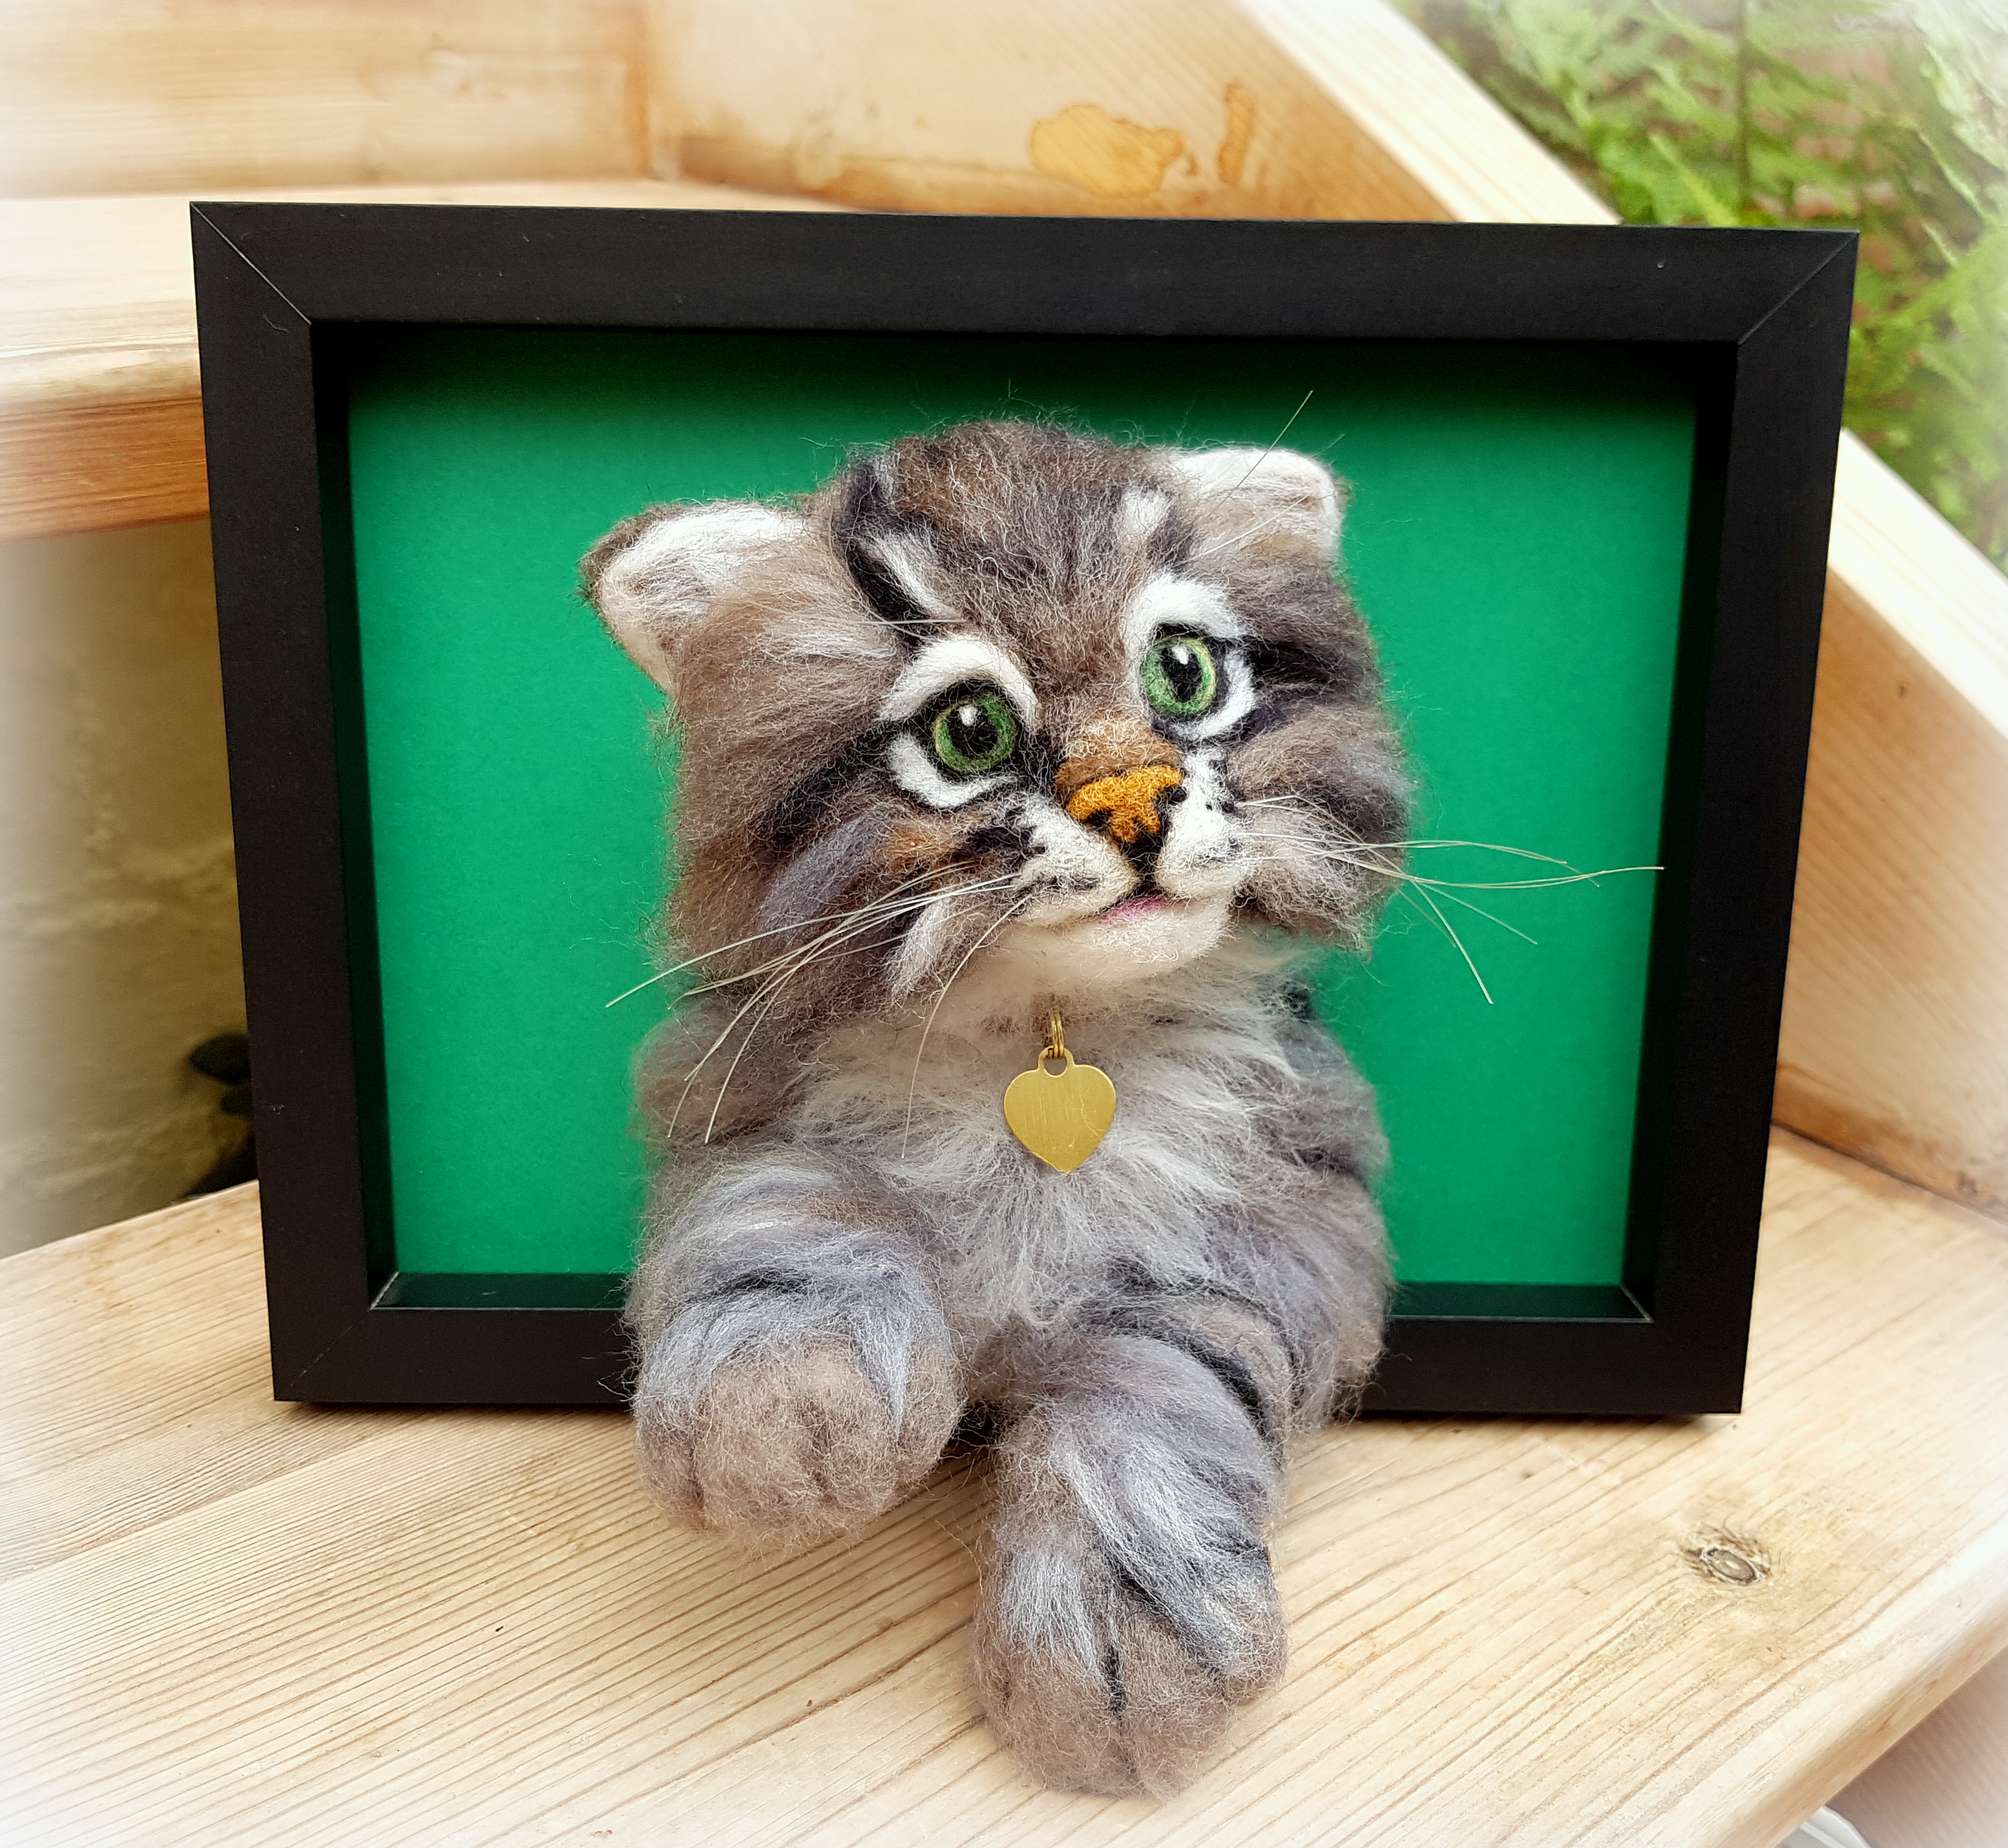
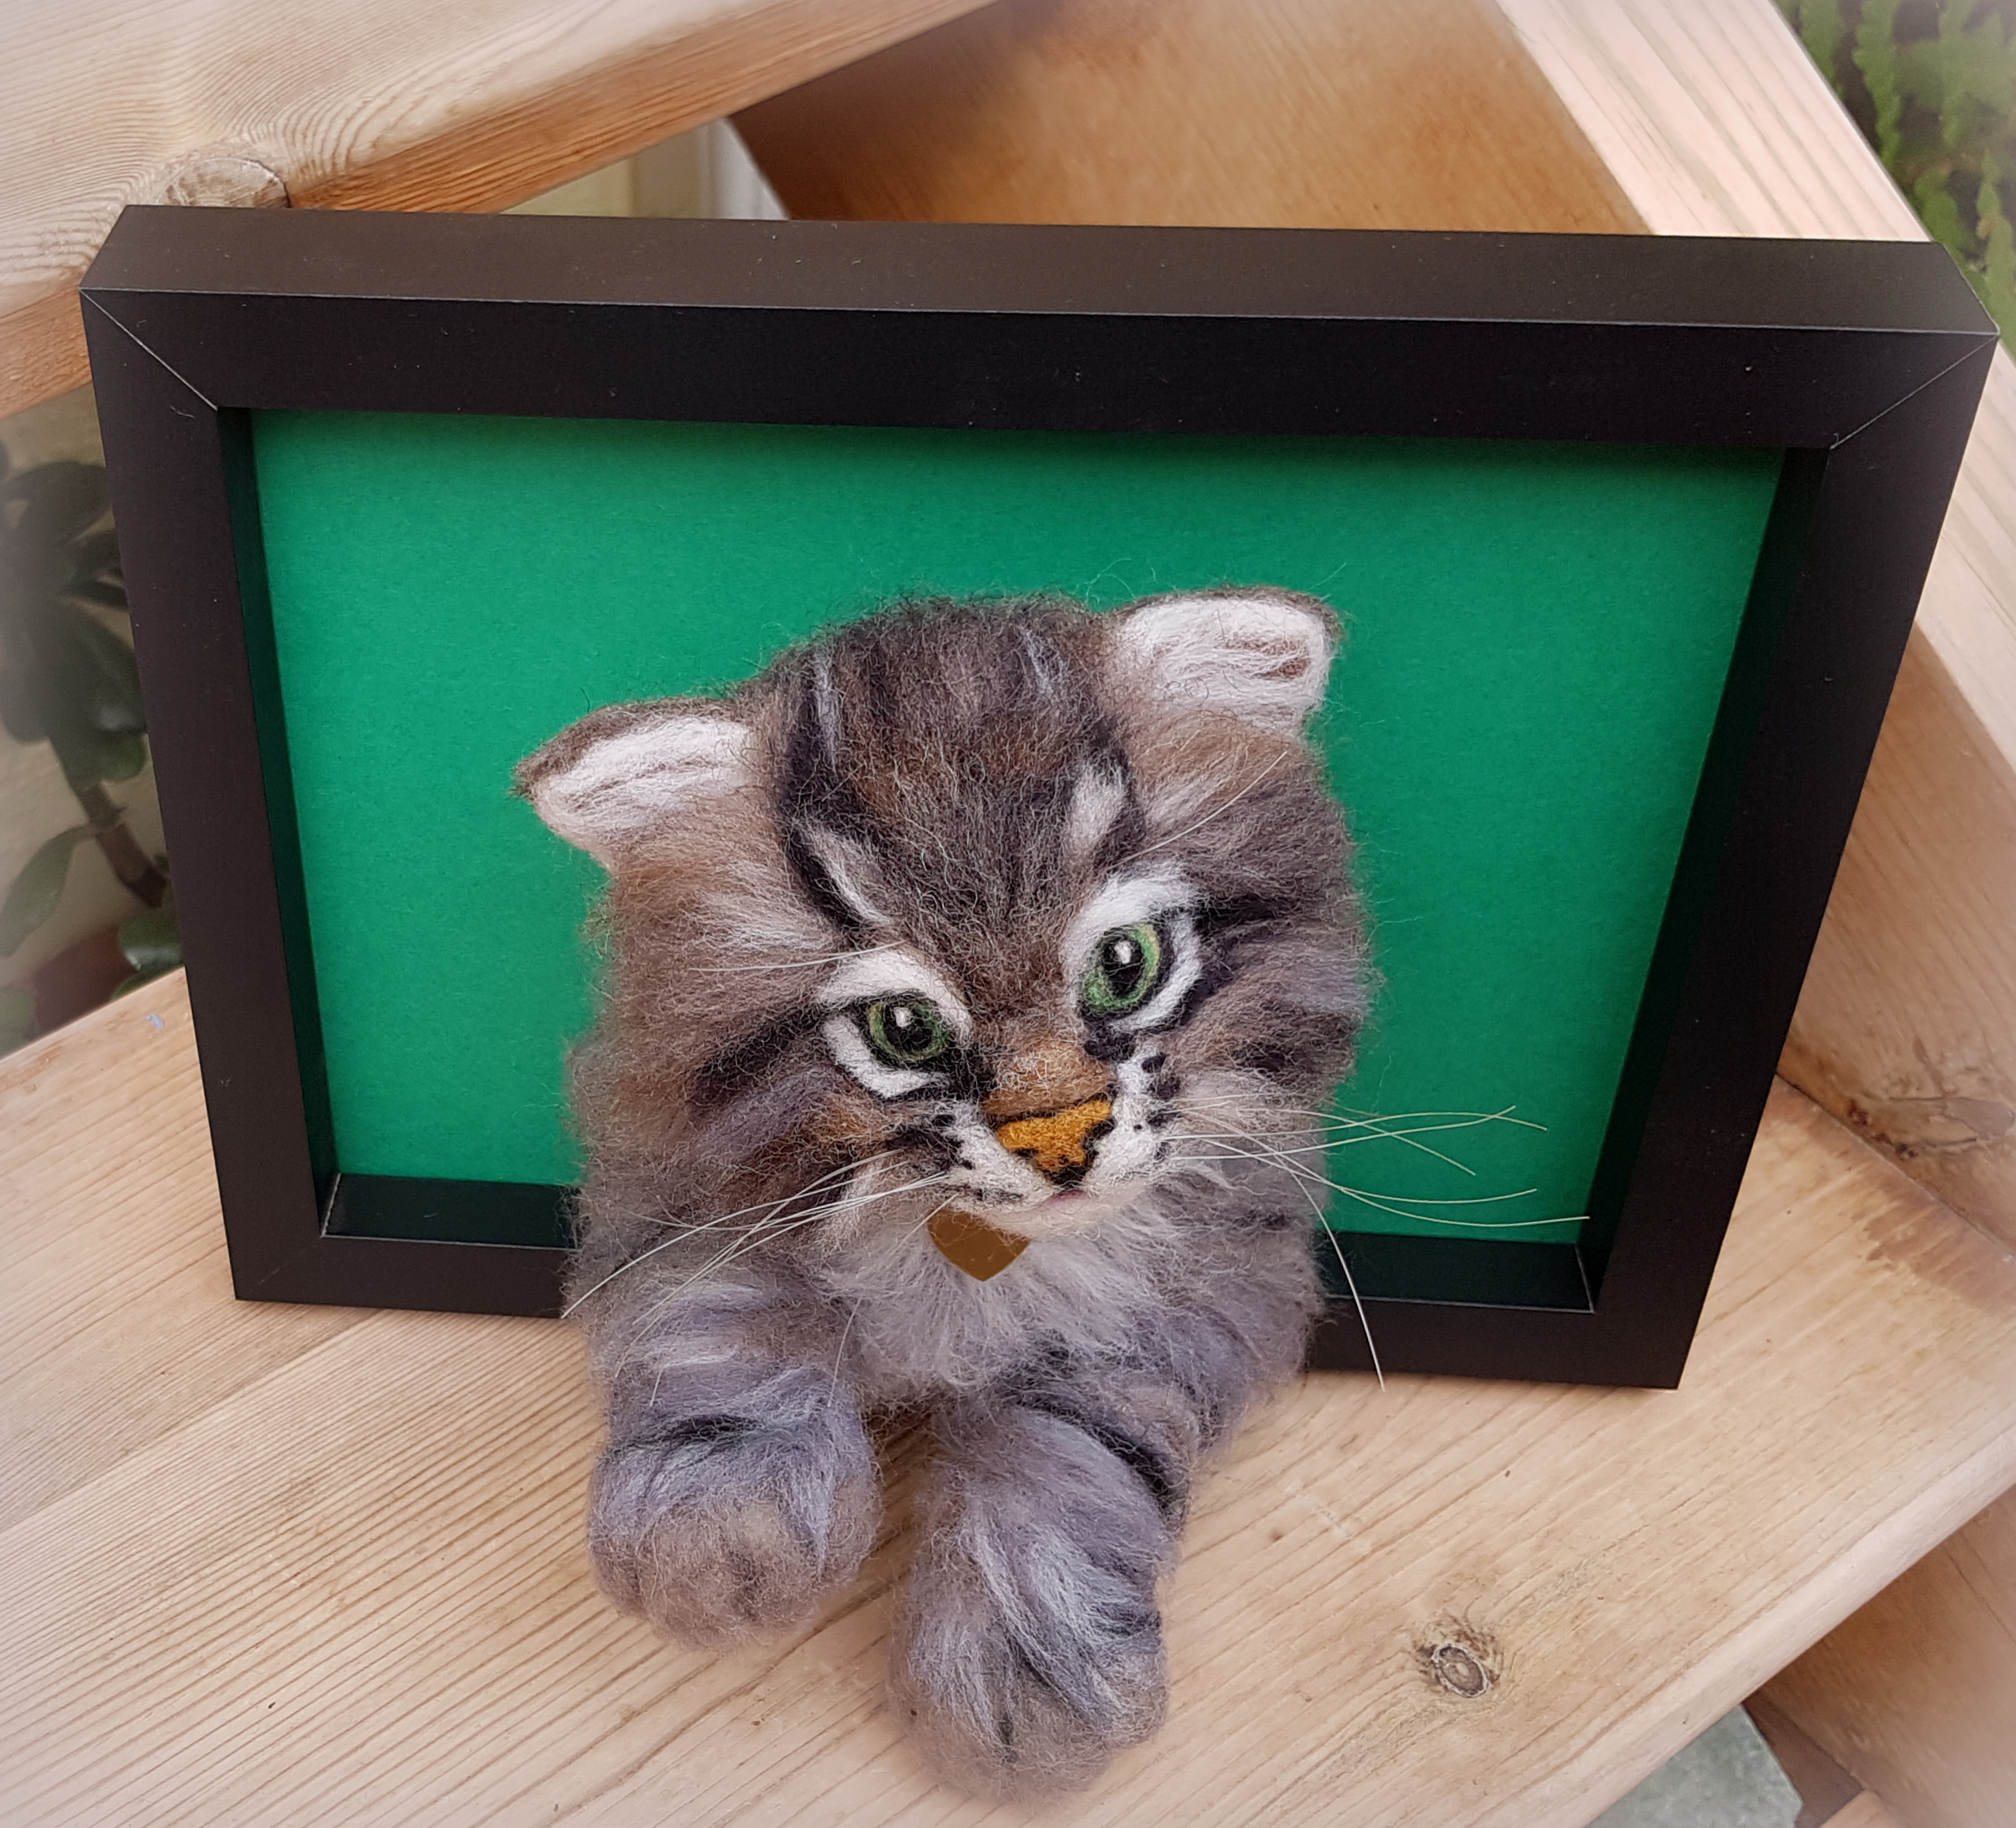
The frame I used measures 9 inches wide by 7 inches tall perfect for fixing to a wall or standing on a table/chest of drawers. It took many hours of hard work and love to give him his playful character through the art of needle felting.

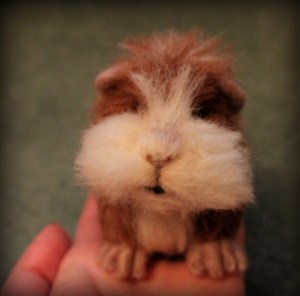
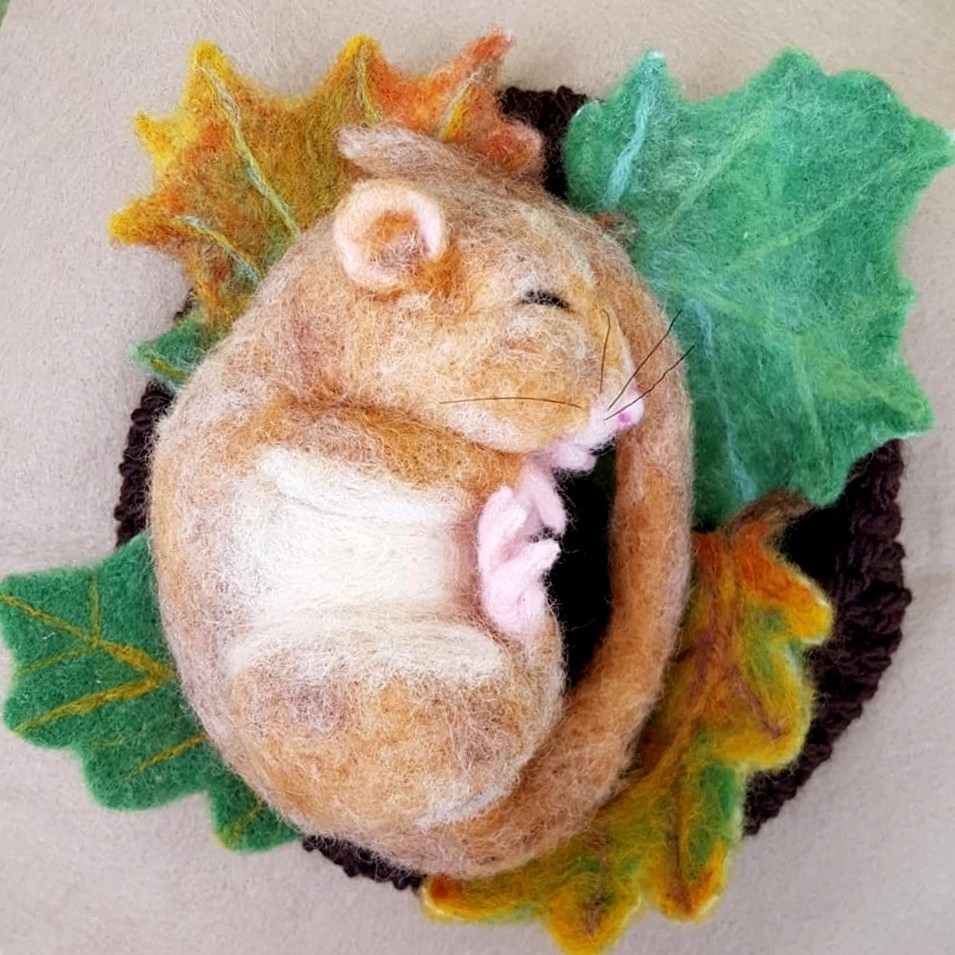
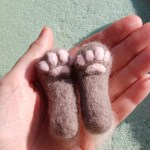
His beautiful soft fluffy fur is a blend of merino sheep’s wool (non-mulesed) from South Africa and British Corriedale wool. His nose and eyes are made of wool too, so no glass or plastic. He even has cute brown wool paw pads when you look underneath! His core is made of undyed mixed rare breed sheep’s wool from Scotland with a wire frame inside his legs for extra support. His white whiskers are made from horse tail hair for a realistic finish. He has a little collar with gold coloured heart pendant.


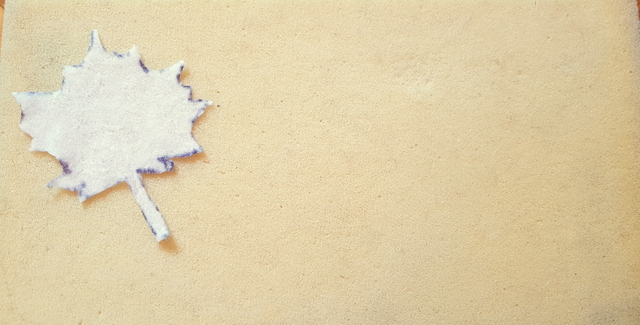
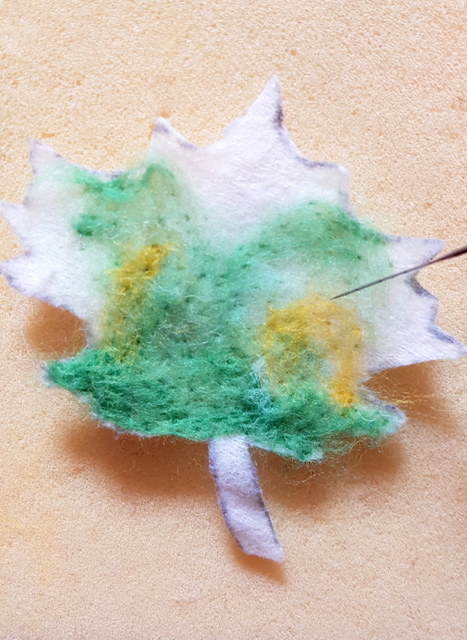
Here are some photos of the needle felting process.

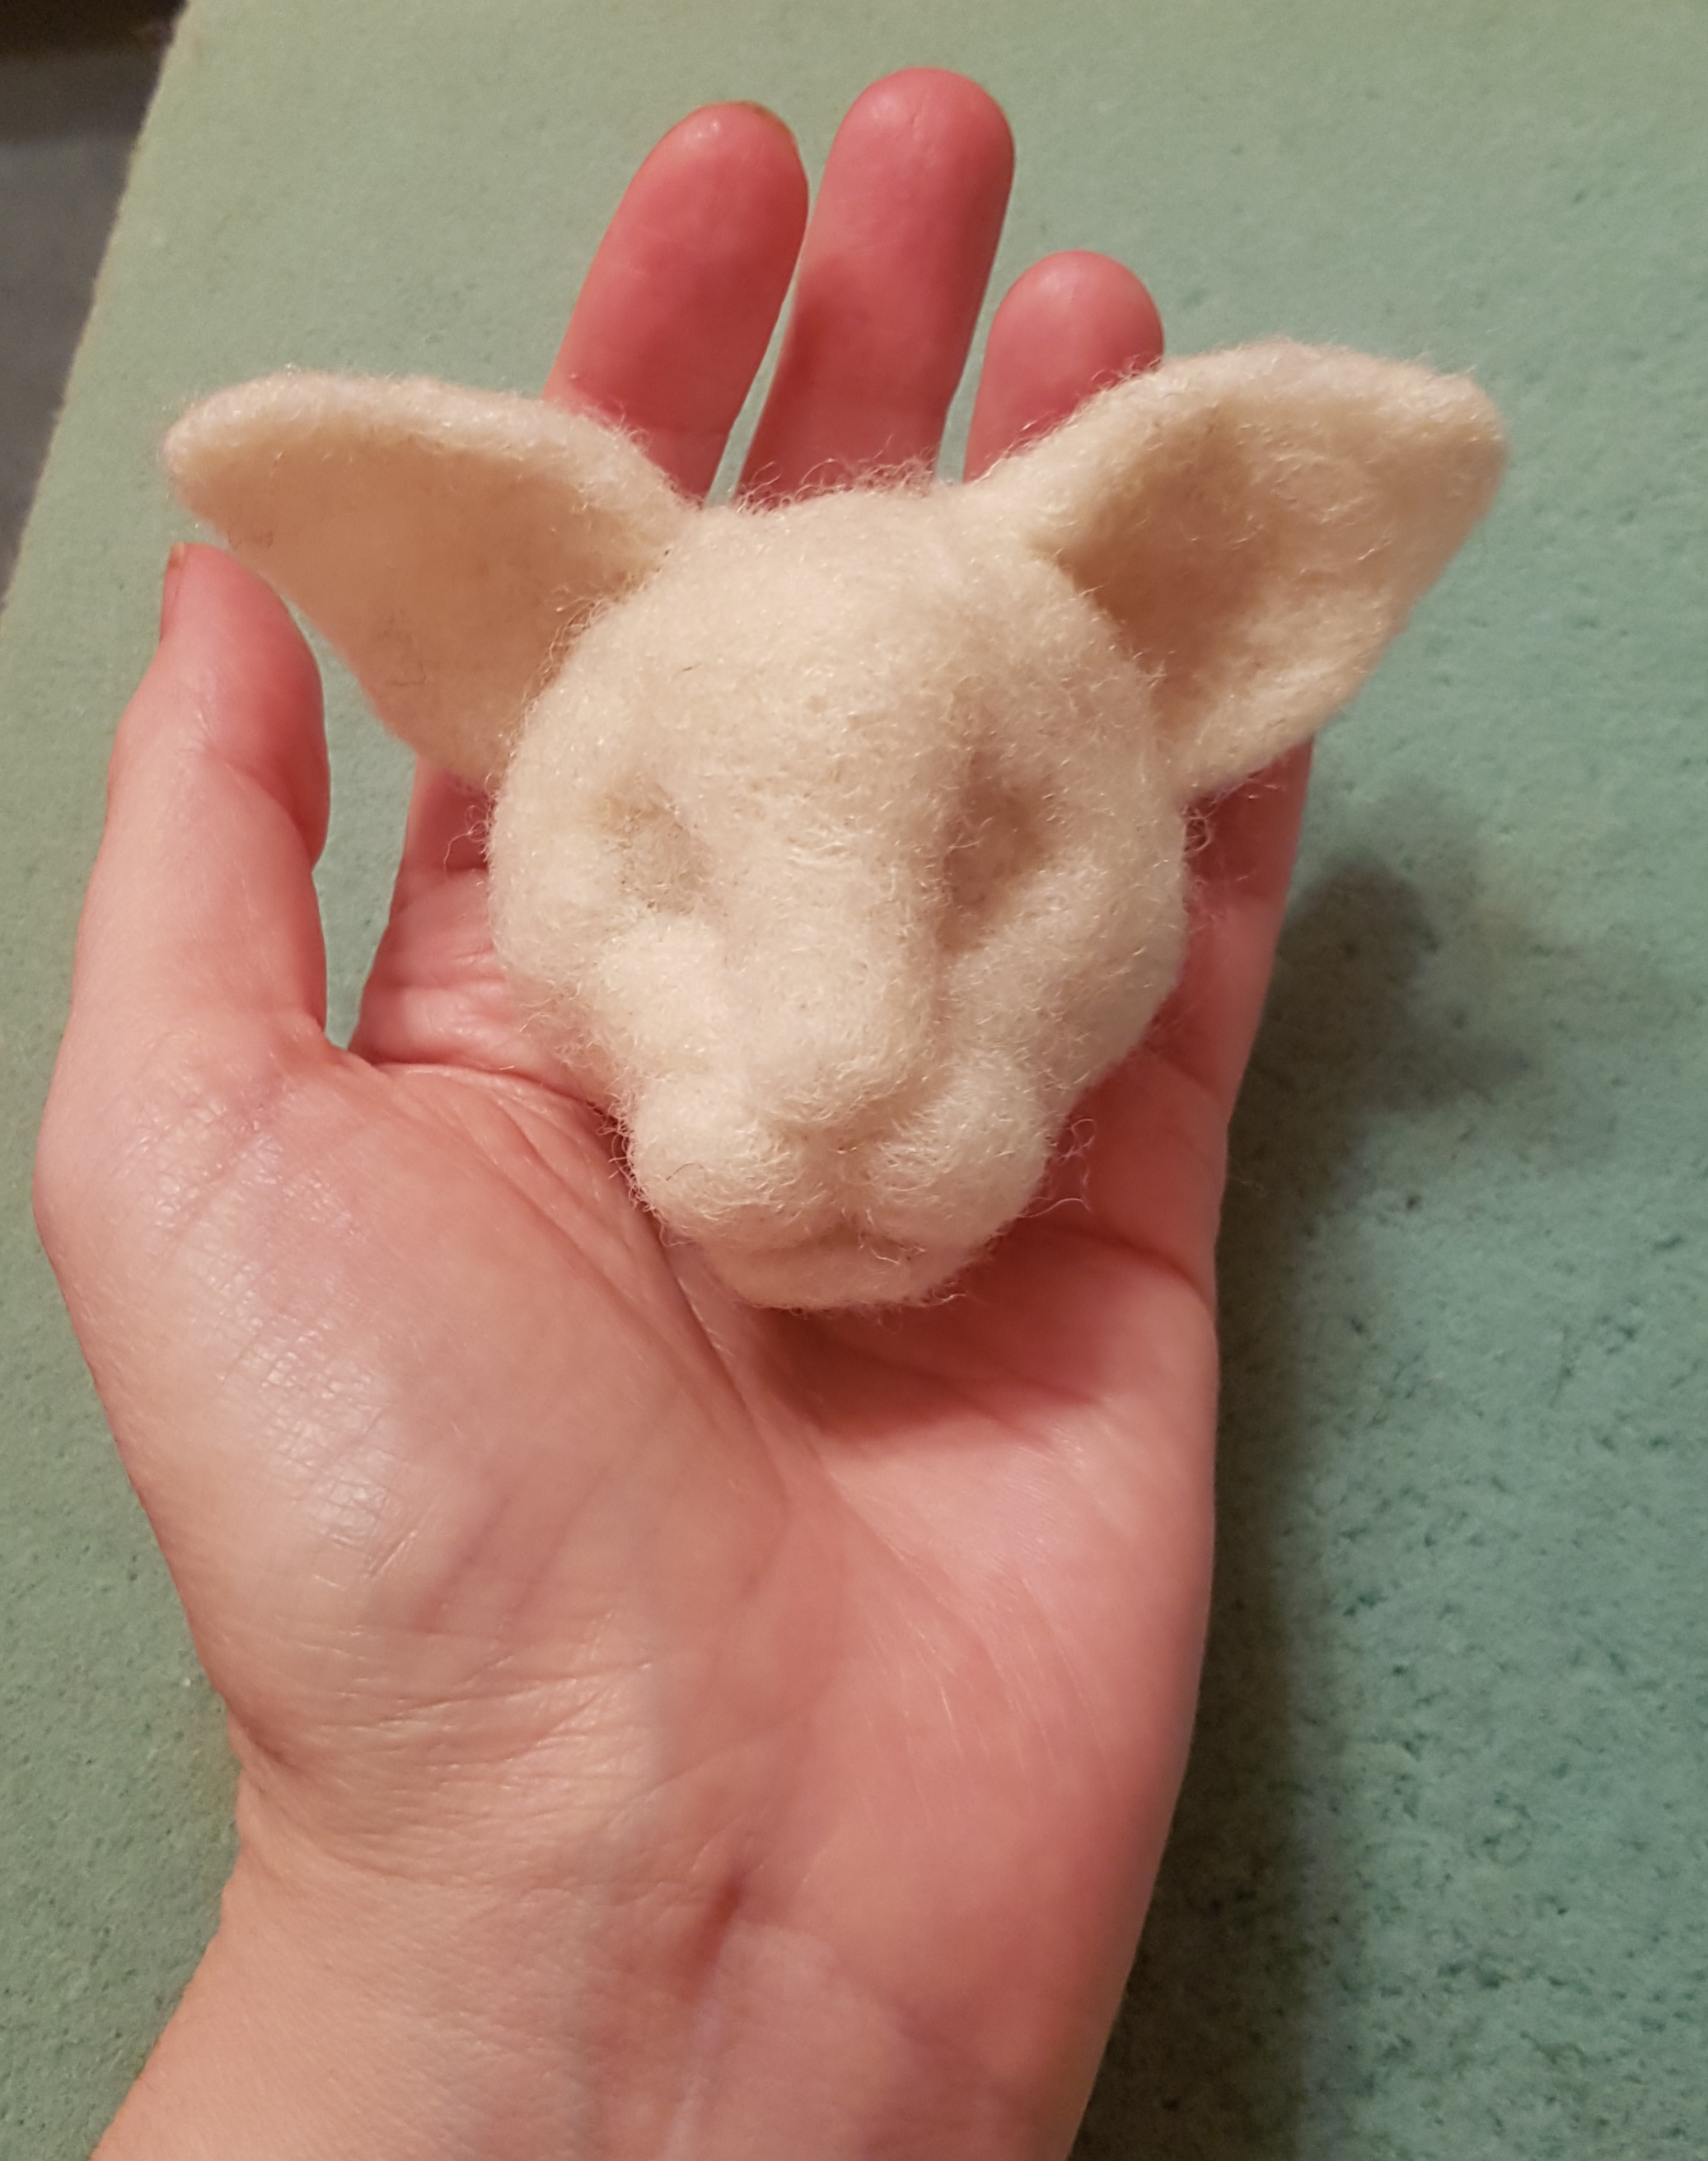
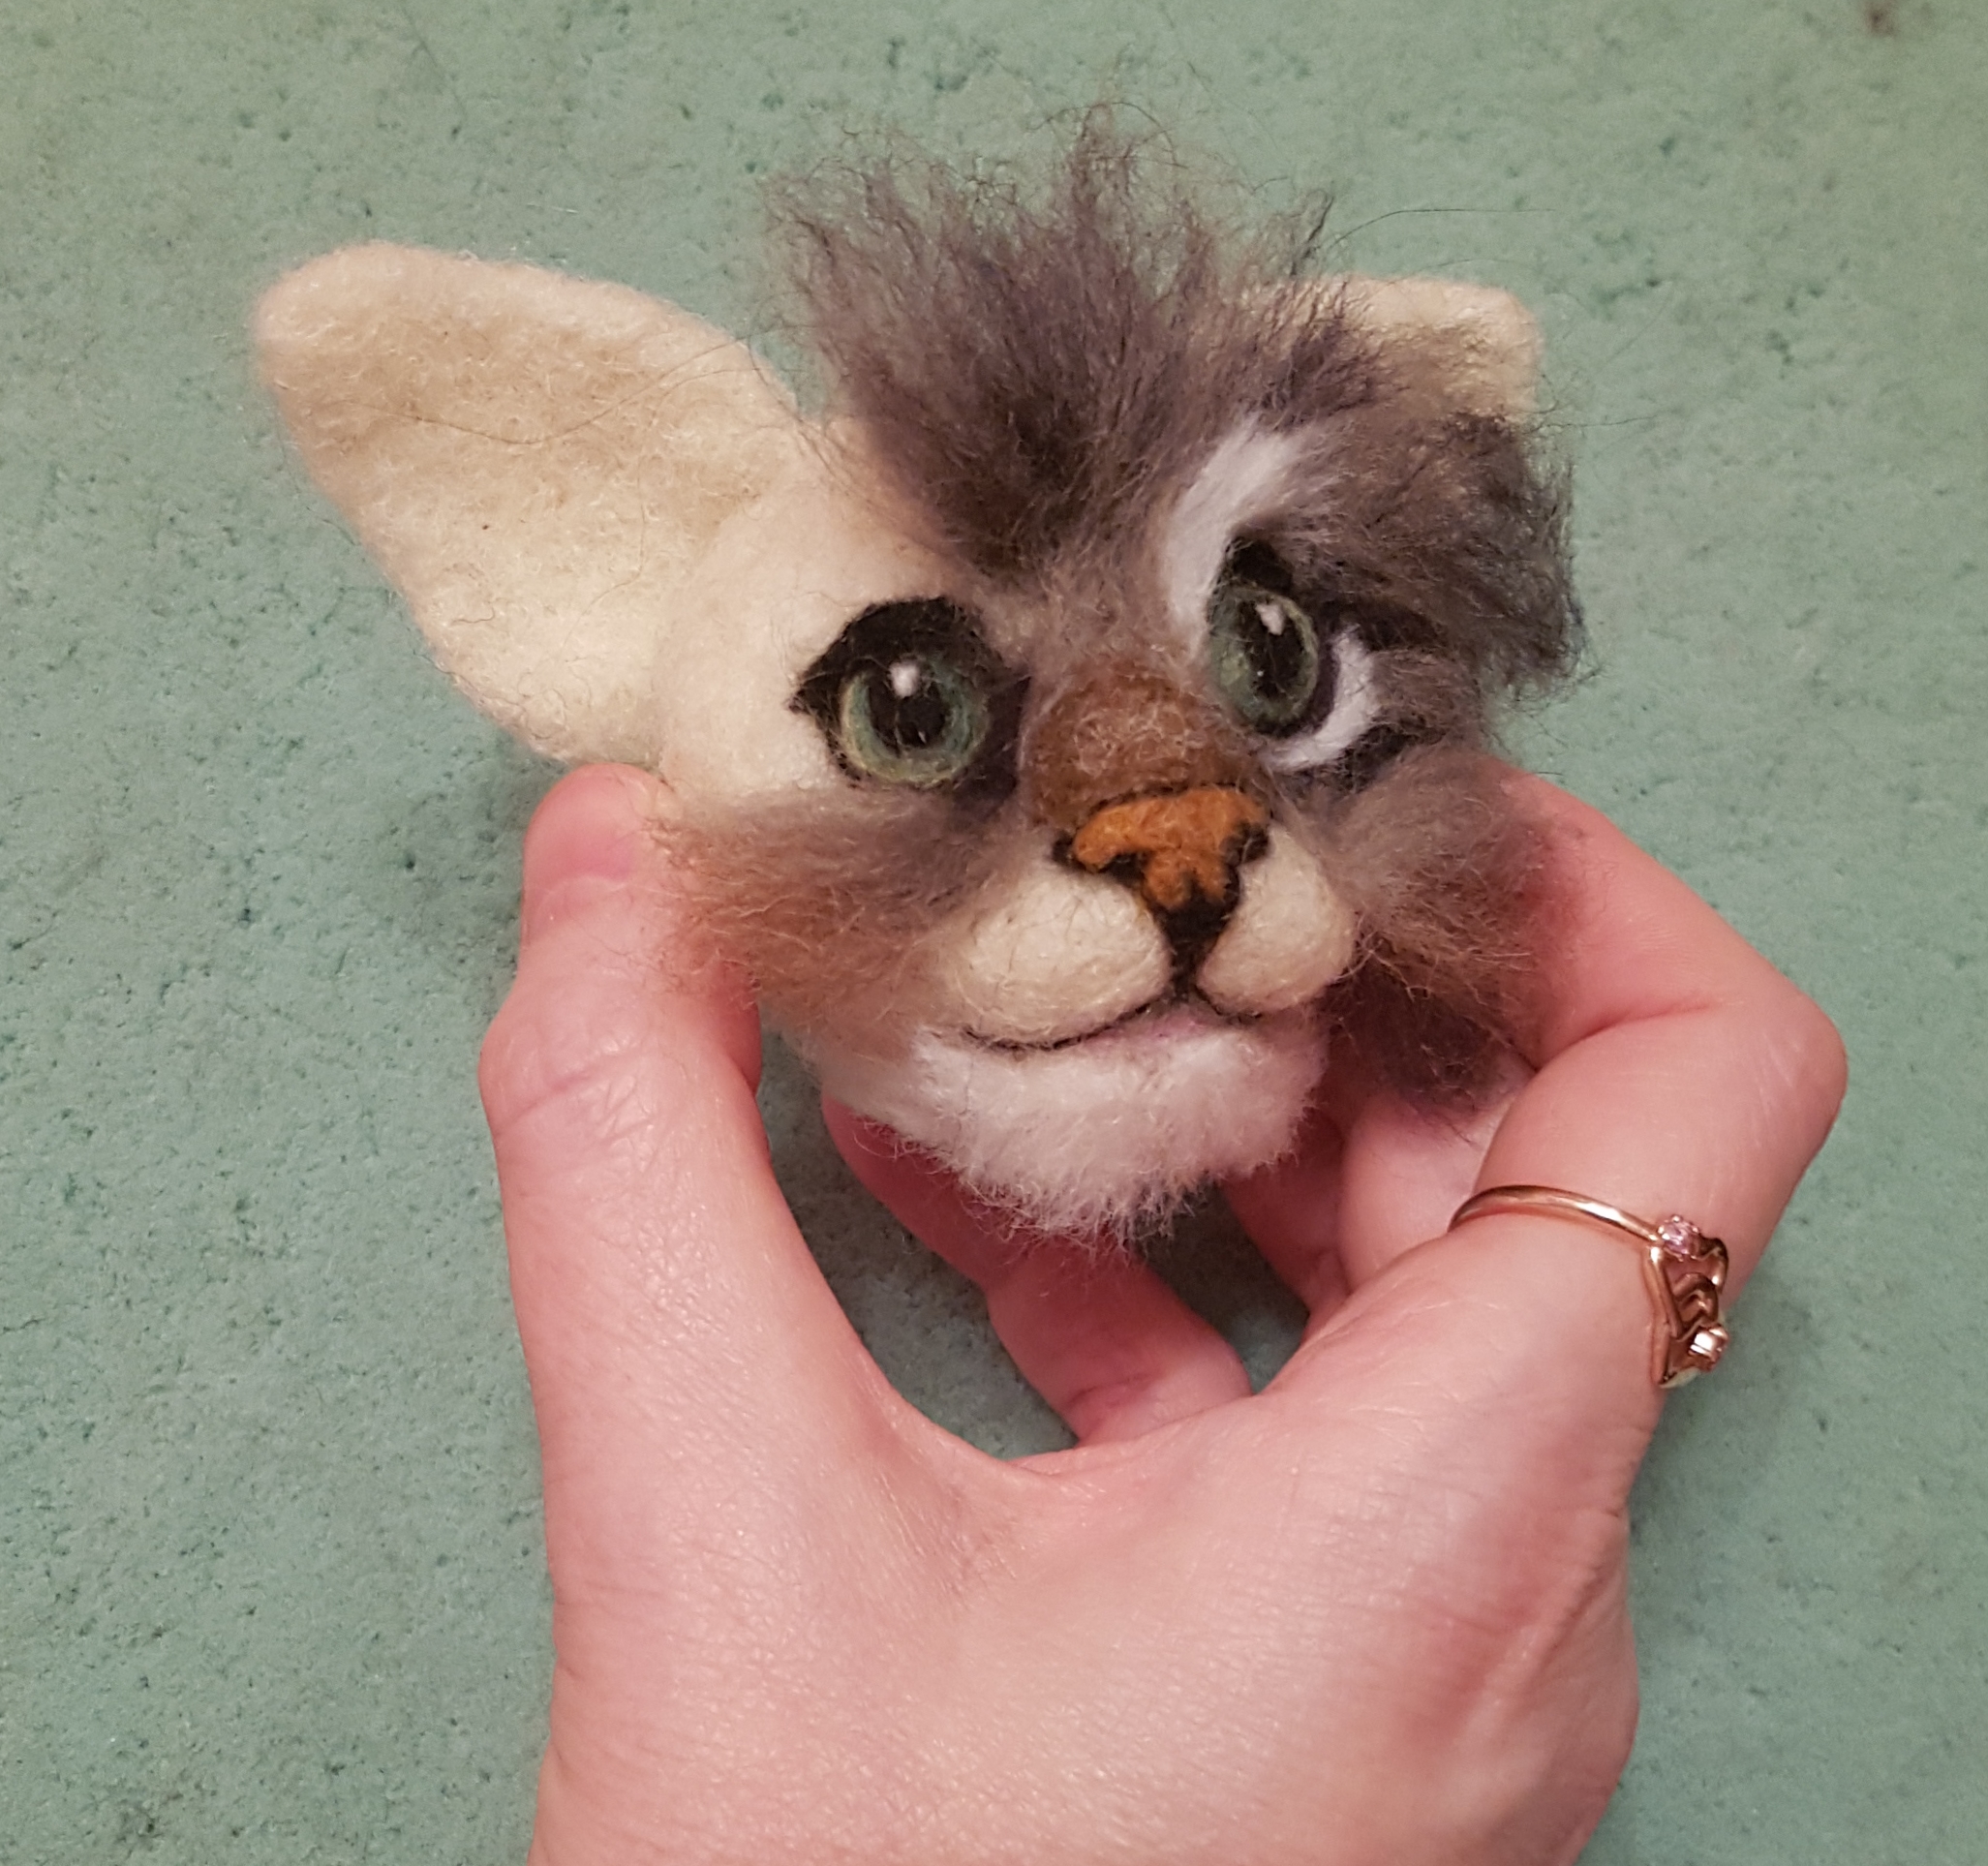
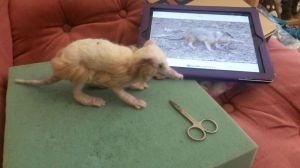
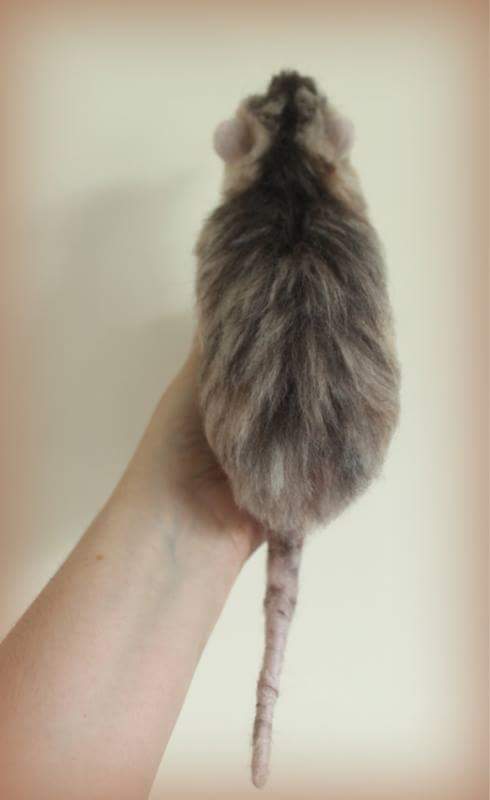
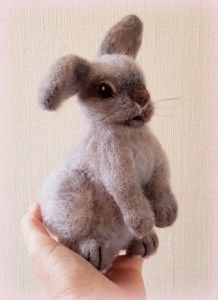
  1. With real cat photos as reference, I started sculpting the core wool to make the head,
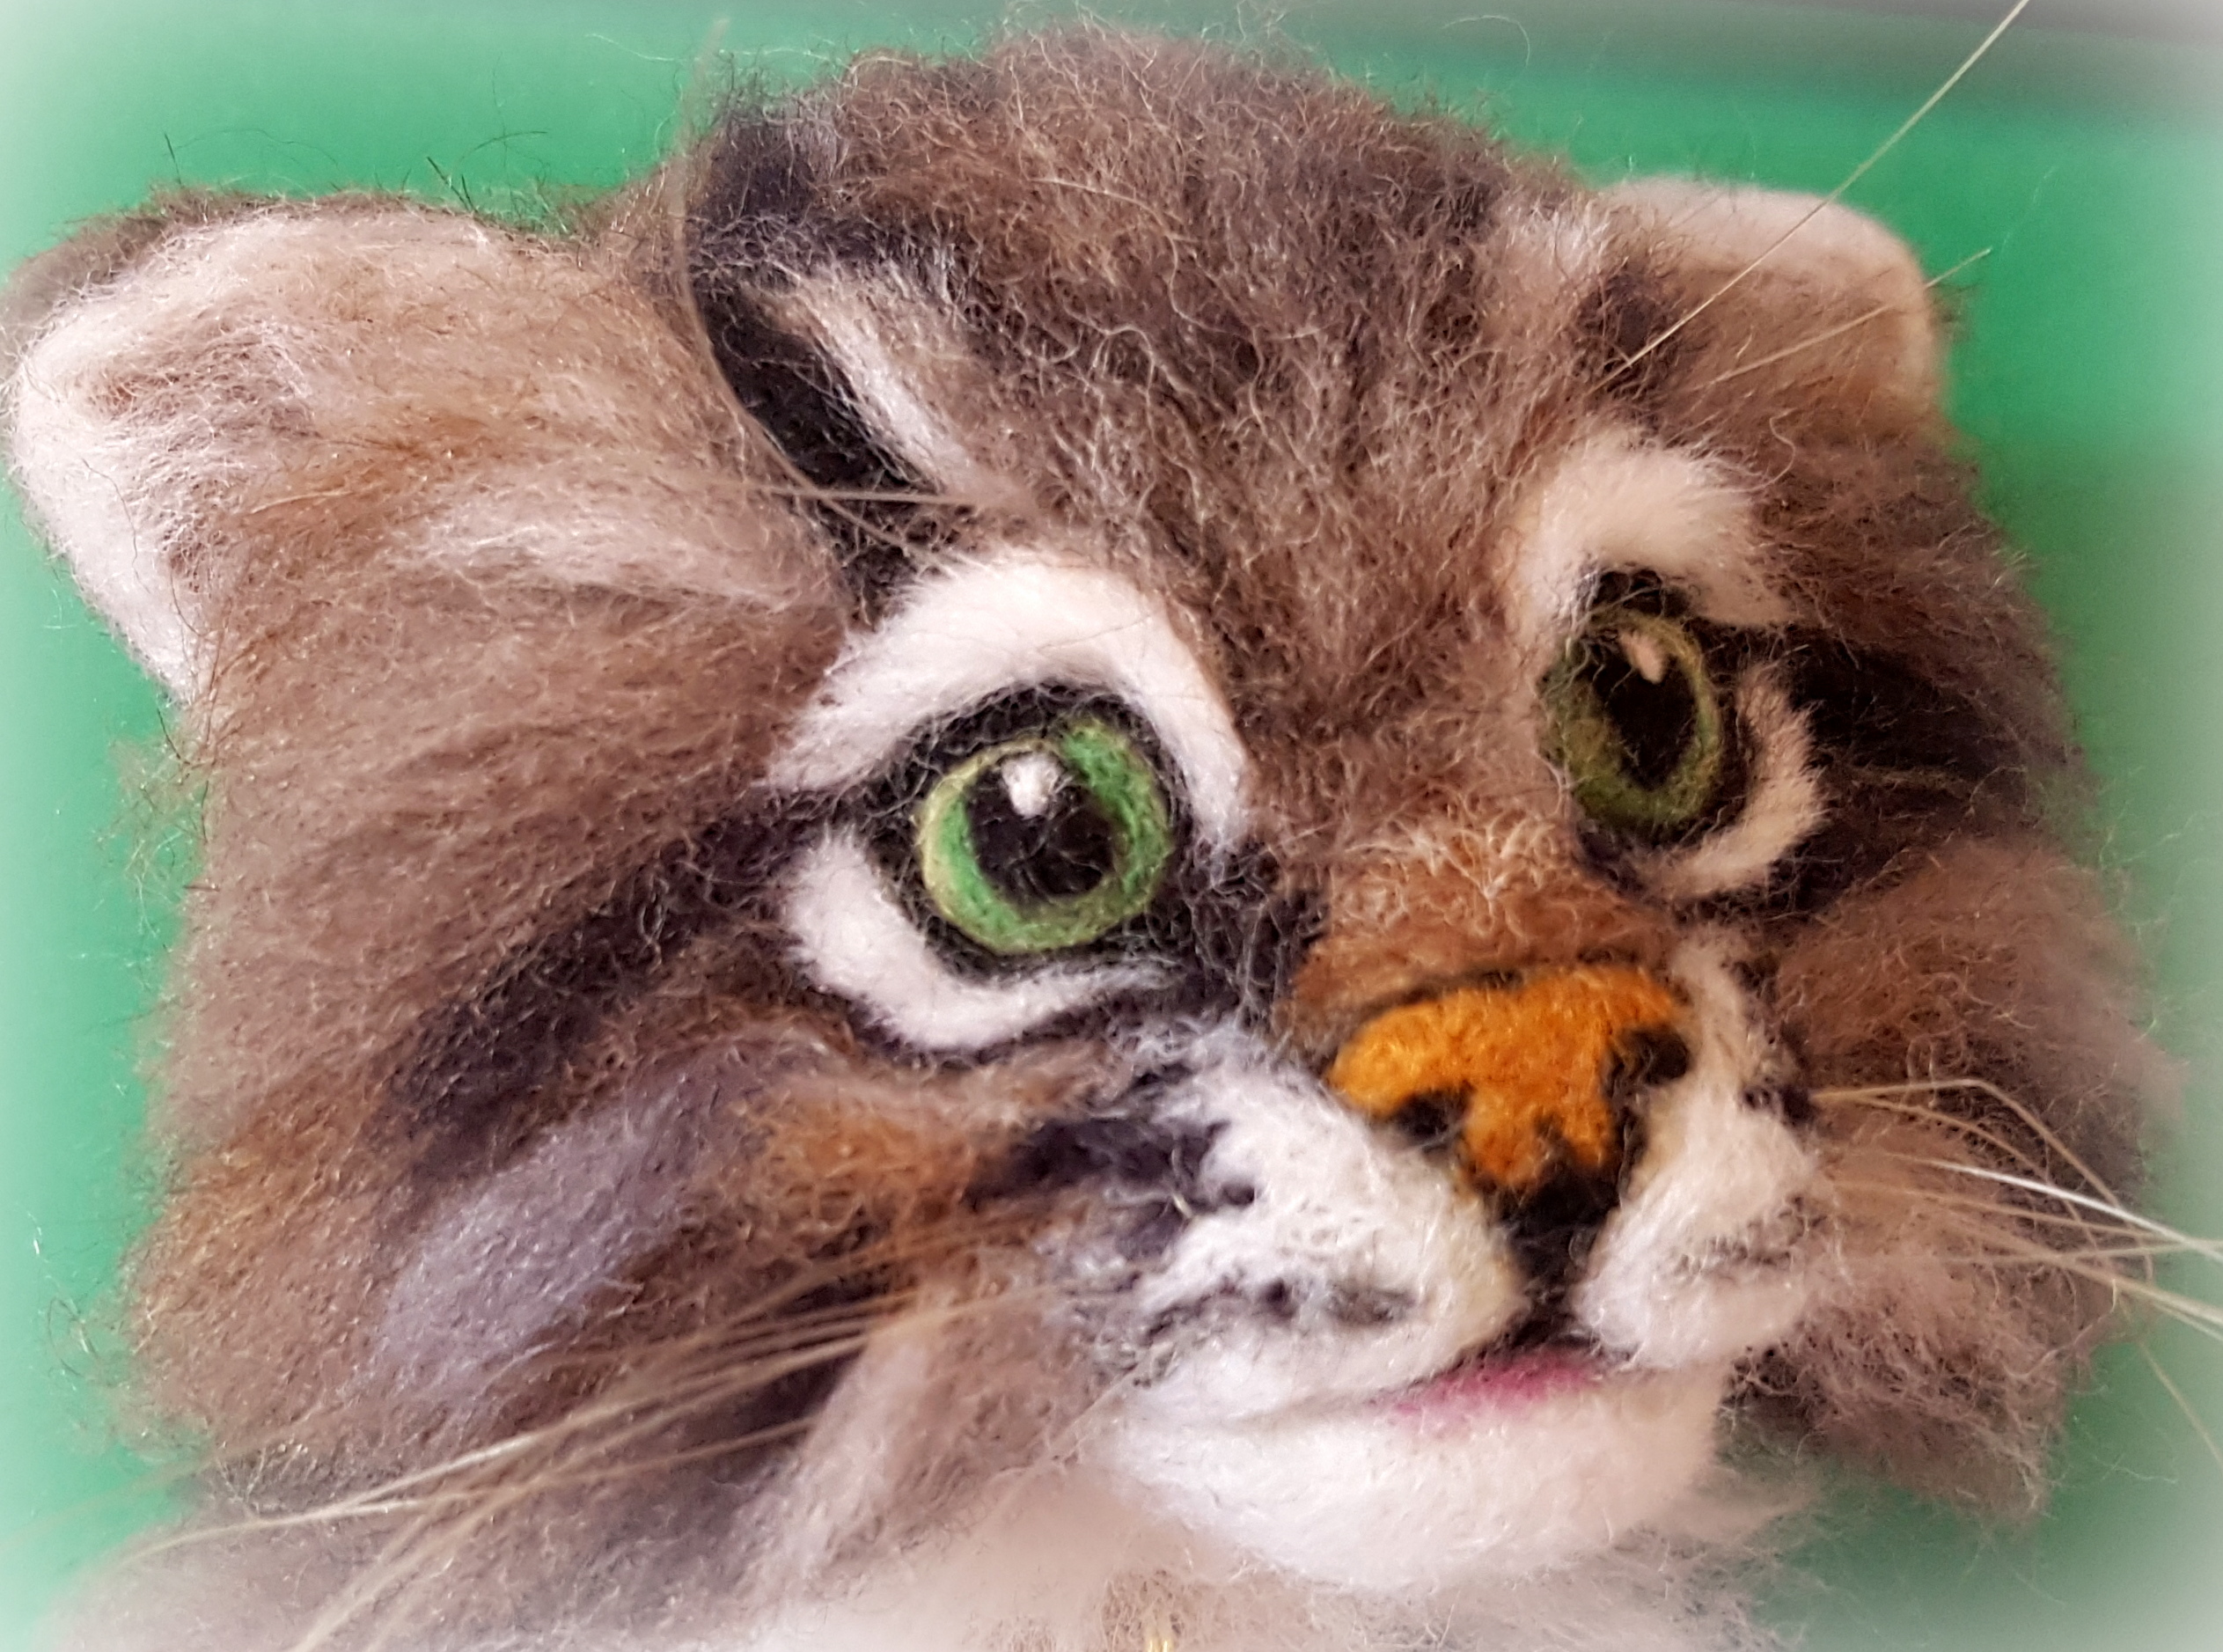
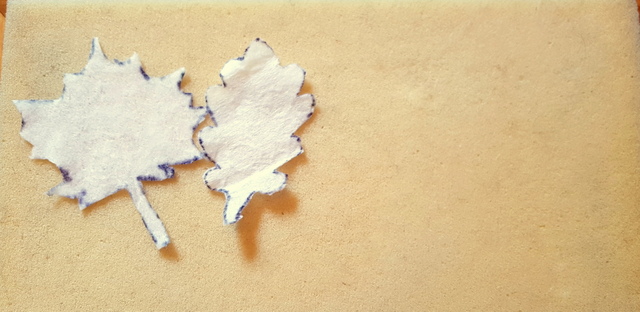
  2. I then filled in the eyes and added layers of grey, black, brown and white wool to resemble cat fur.
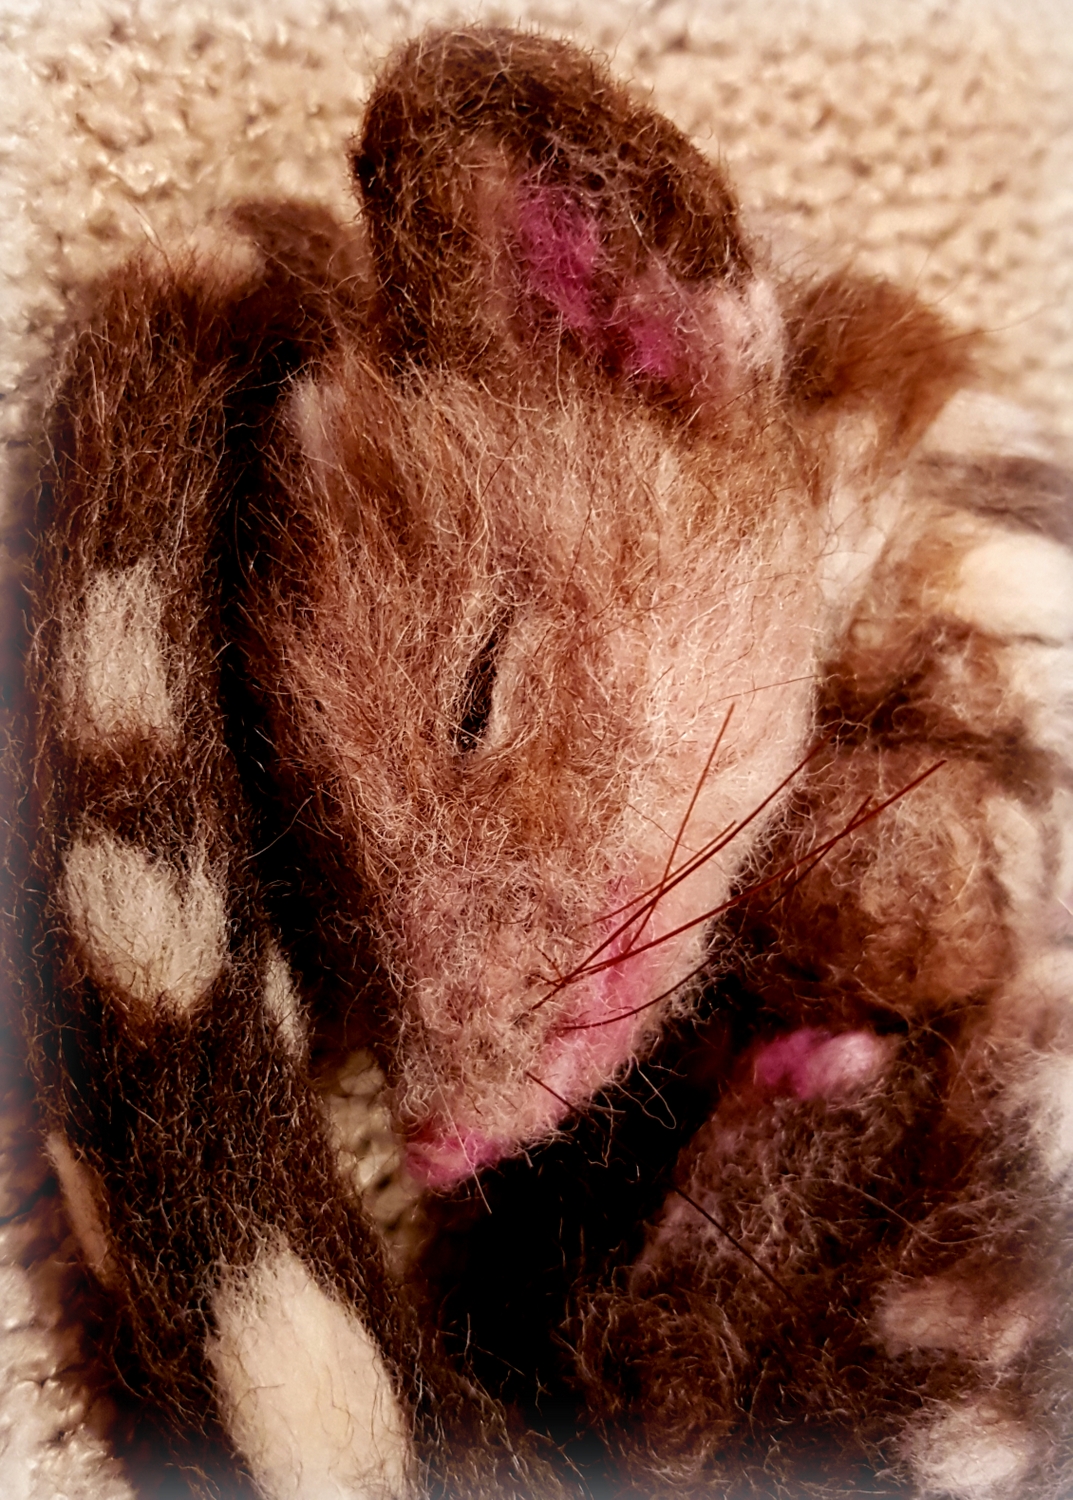
  3. I added nose and mouth detail.
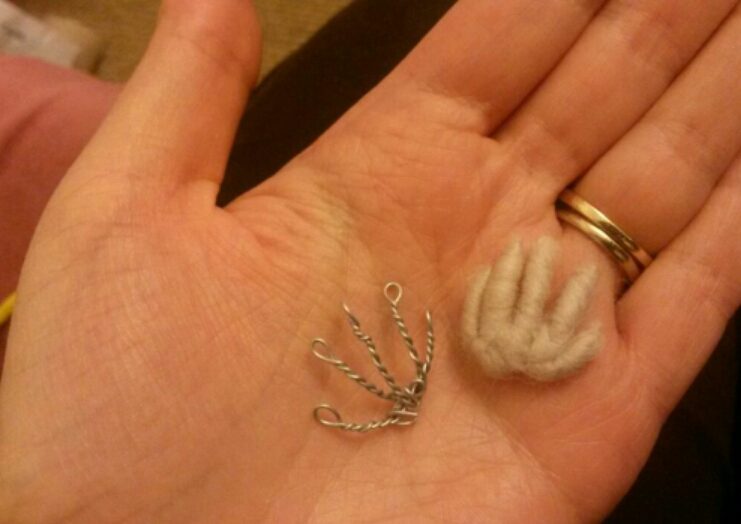
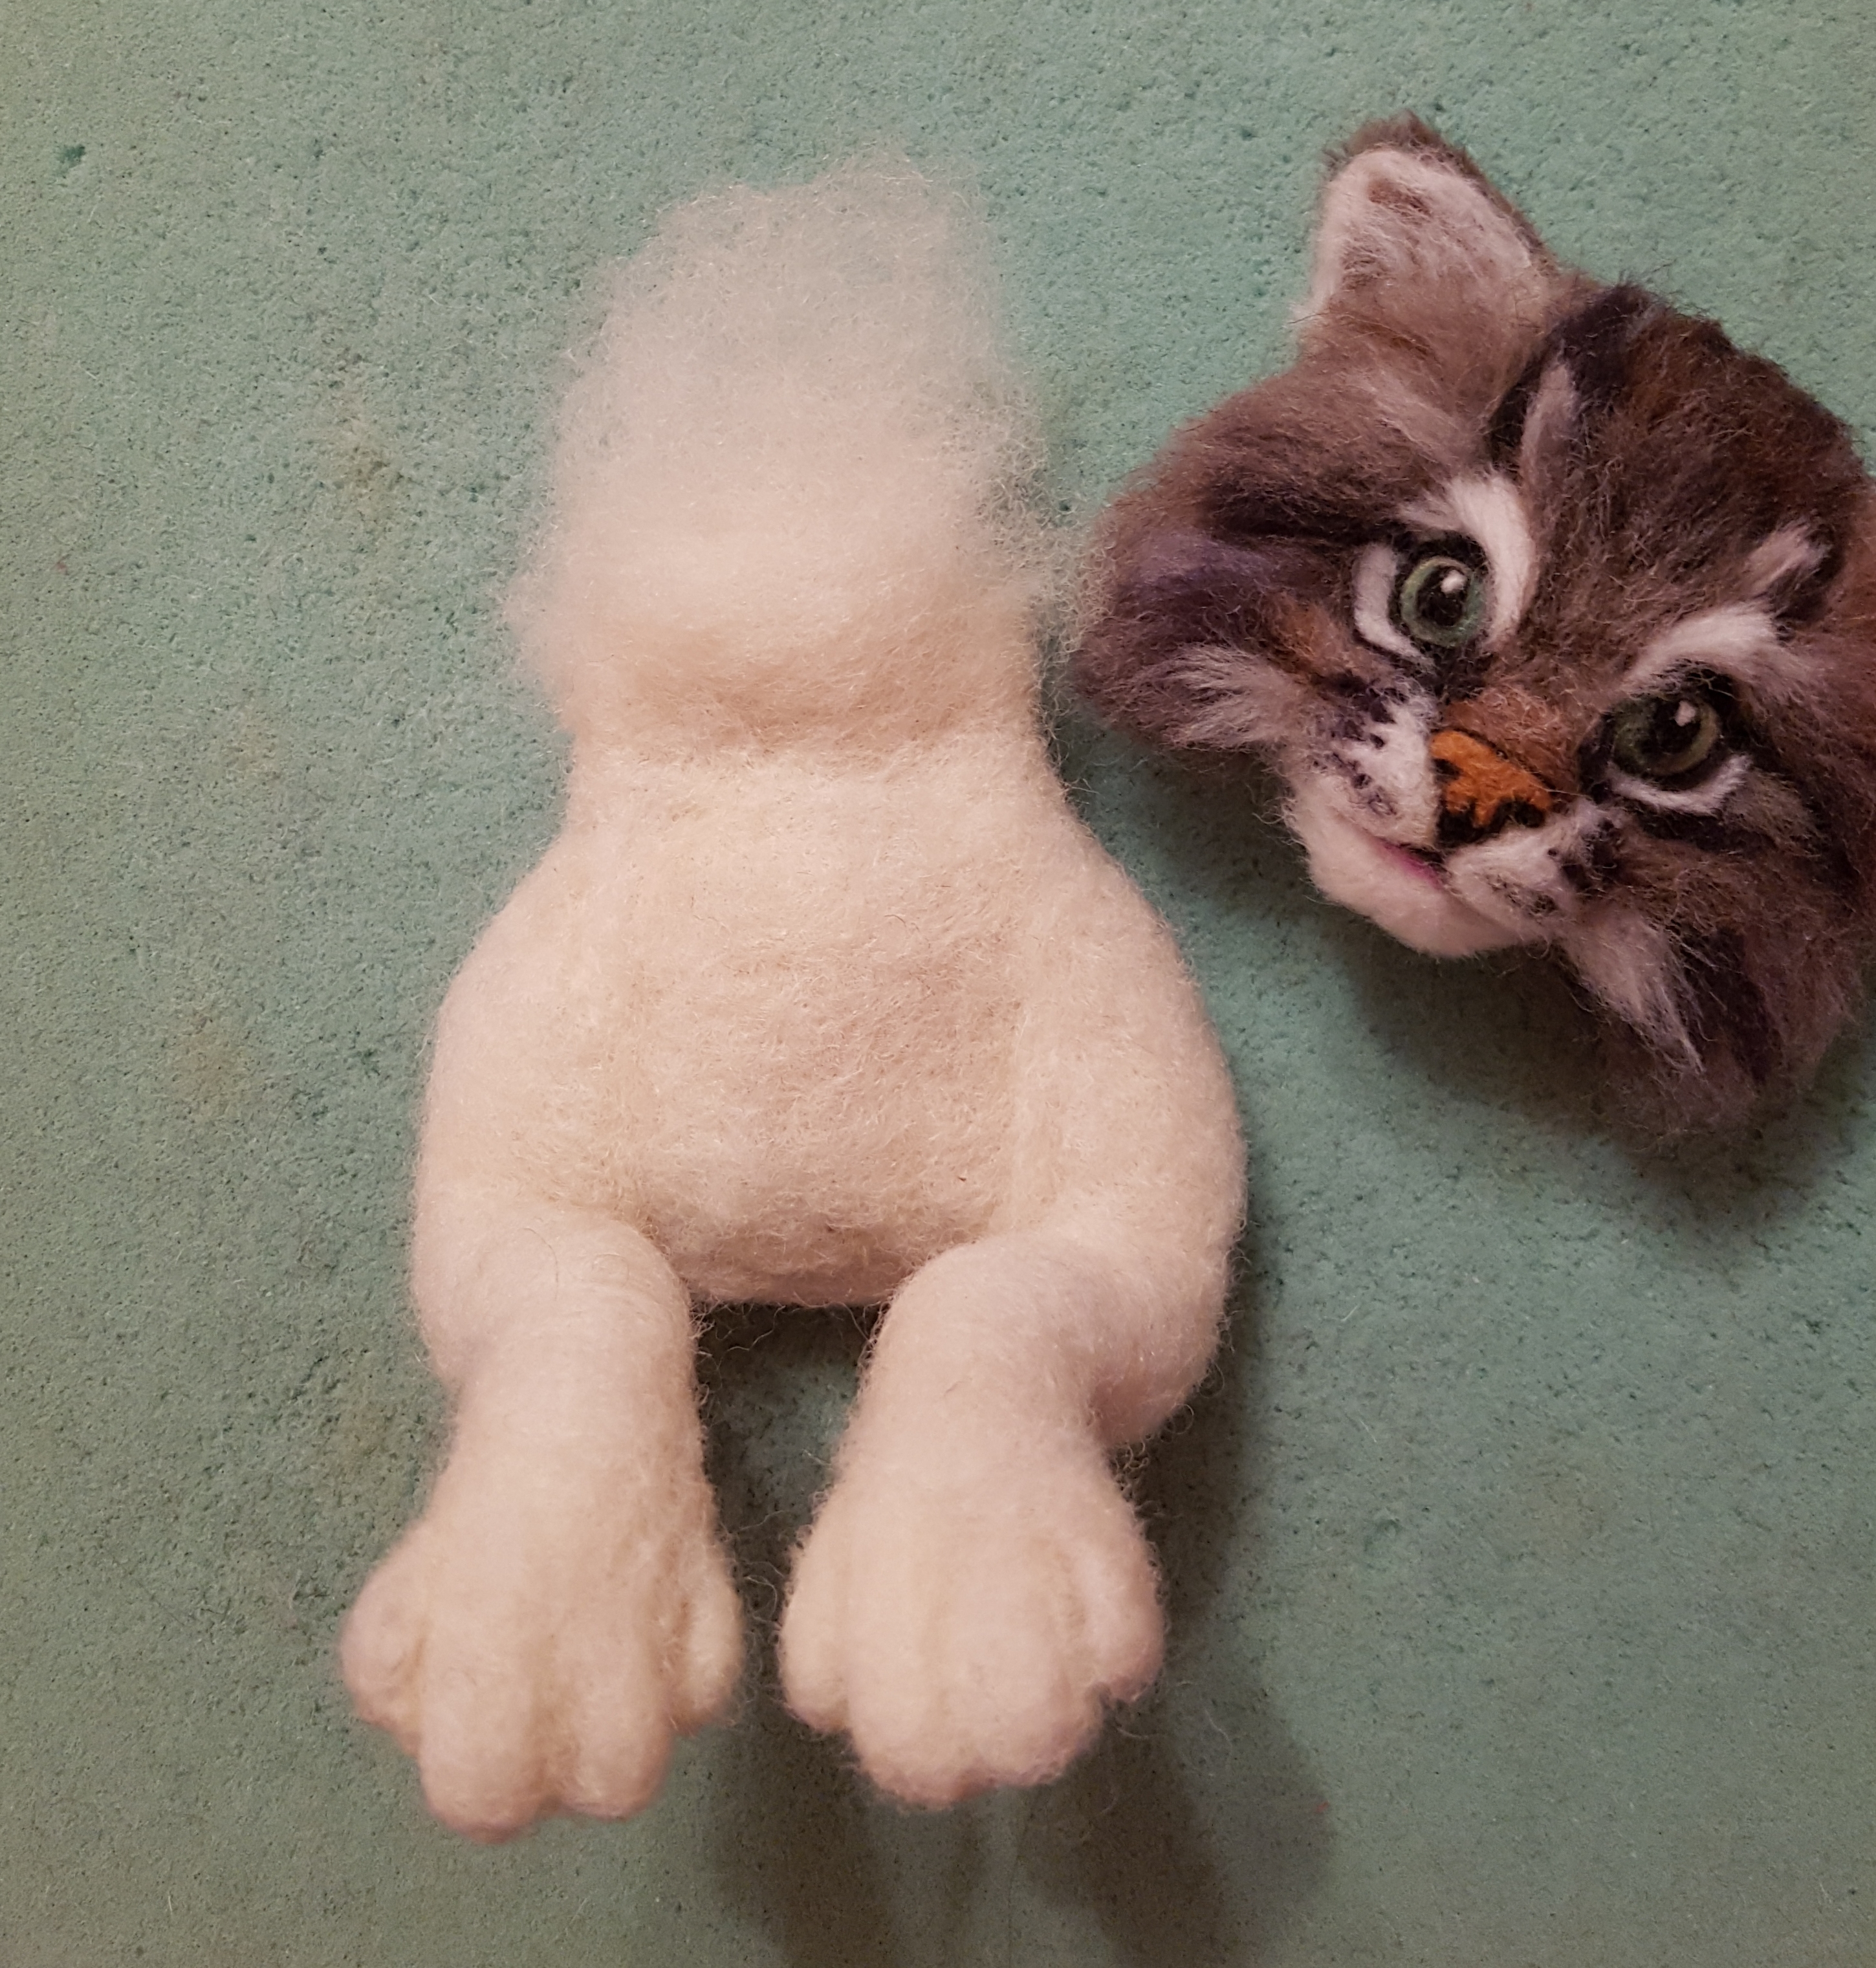
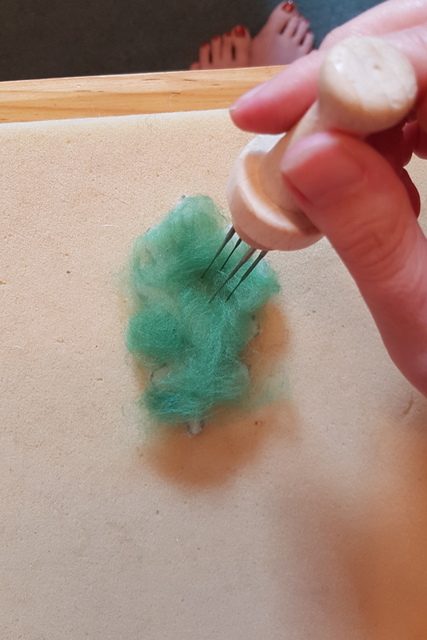
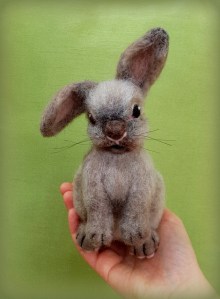
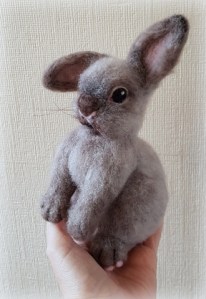
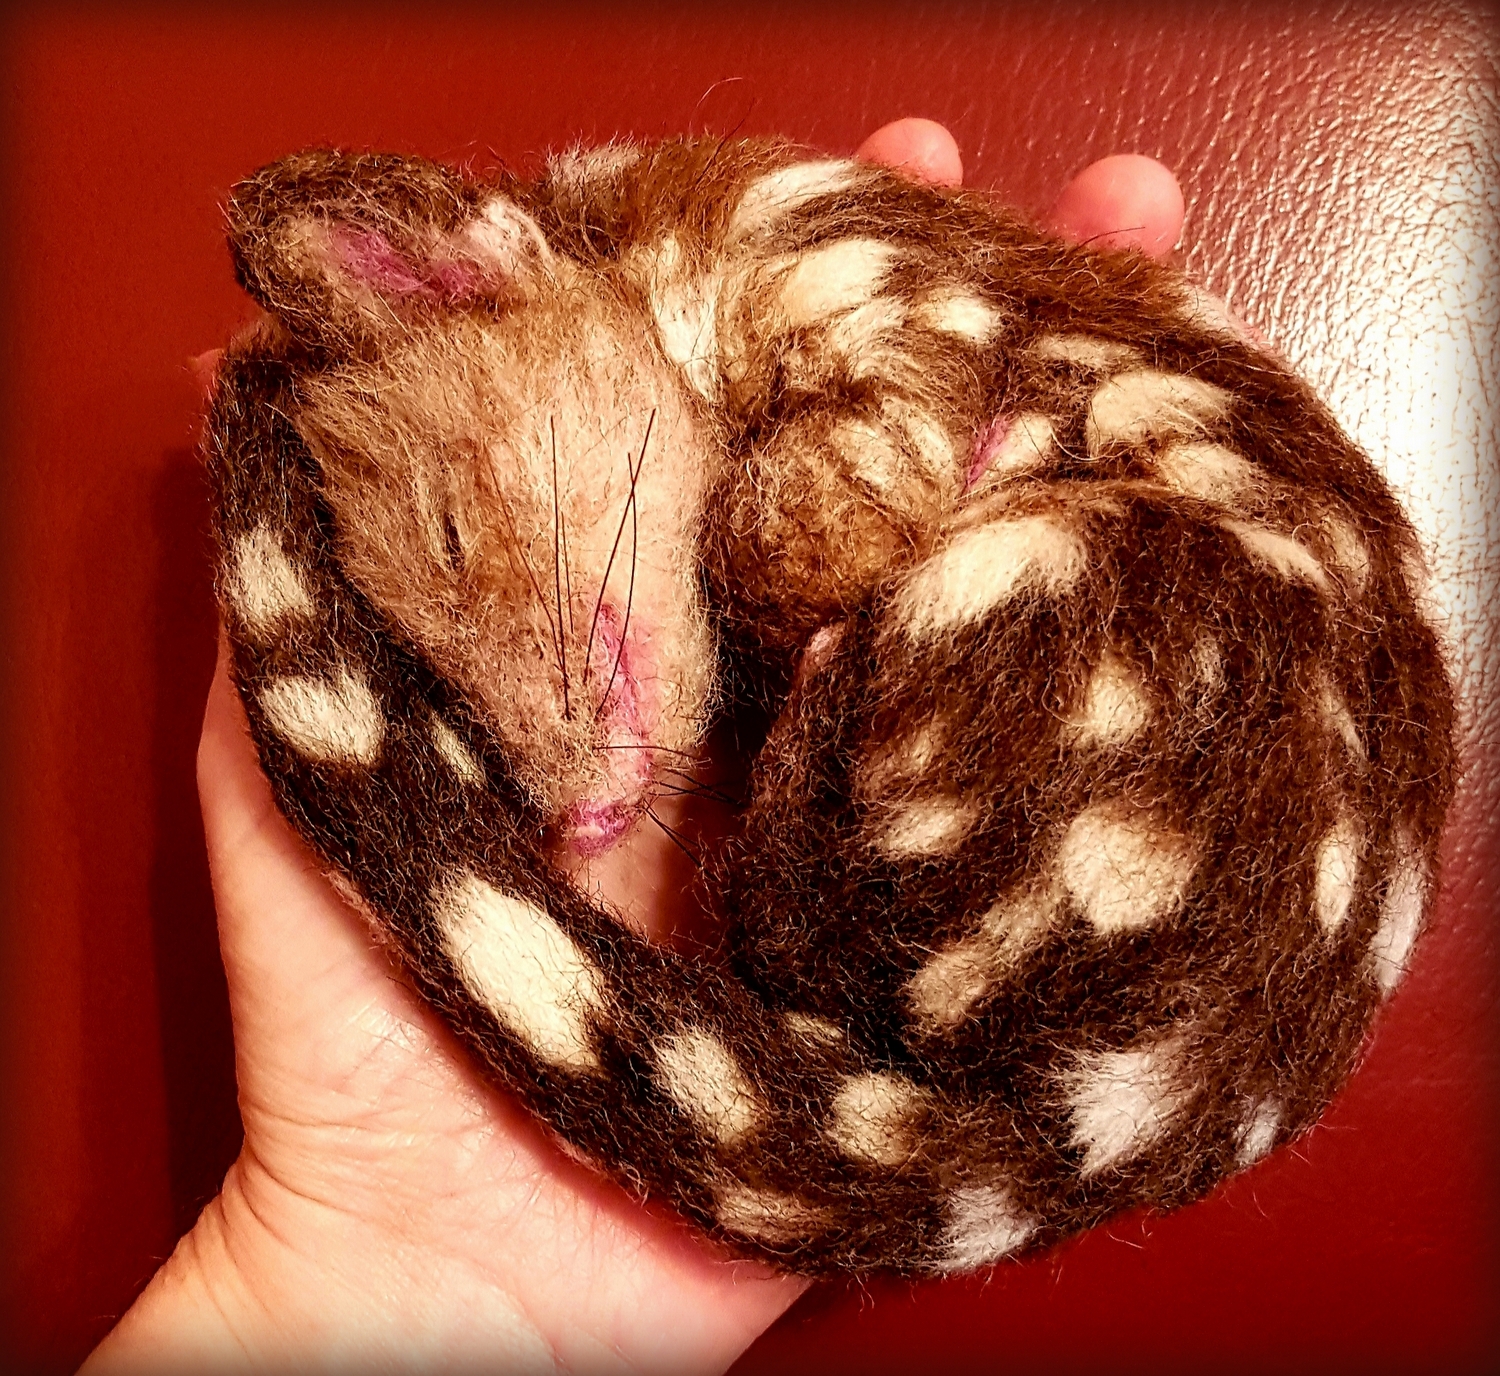
  4. Once the head was complete I wrapped more core wool over a wire armature and sculpted the legs and torso.
  5. After attaching the head I layered coloured wool over the top of the body and legs to give that soft fluffy cat fur look as well as the paw pad detail.
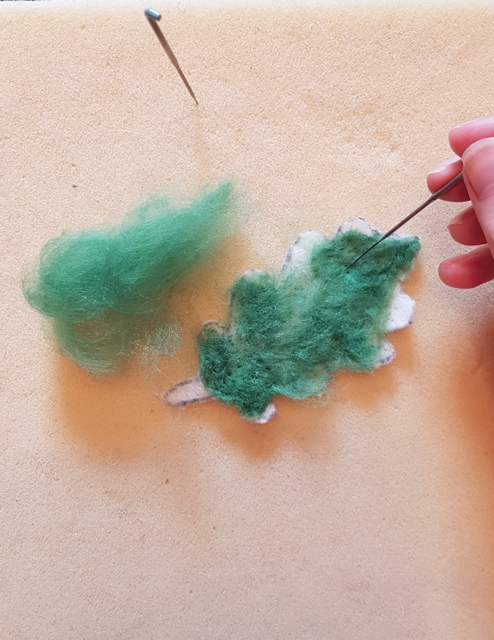
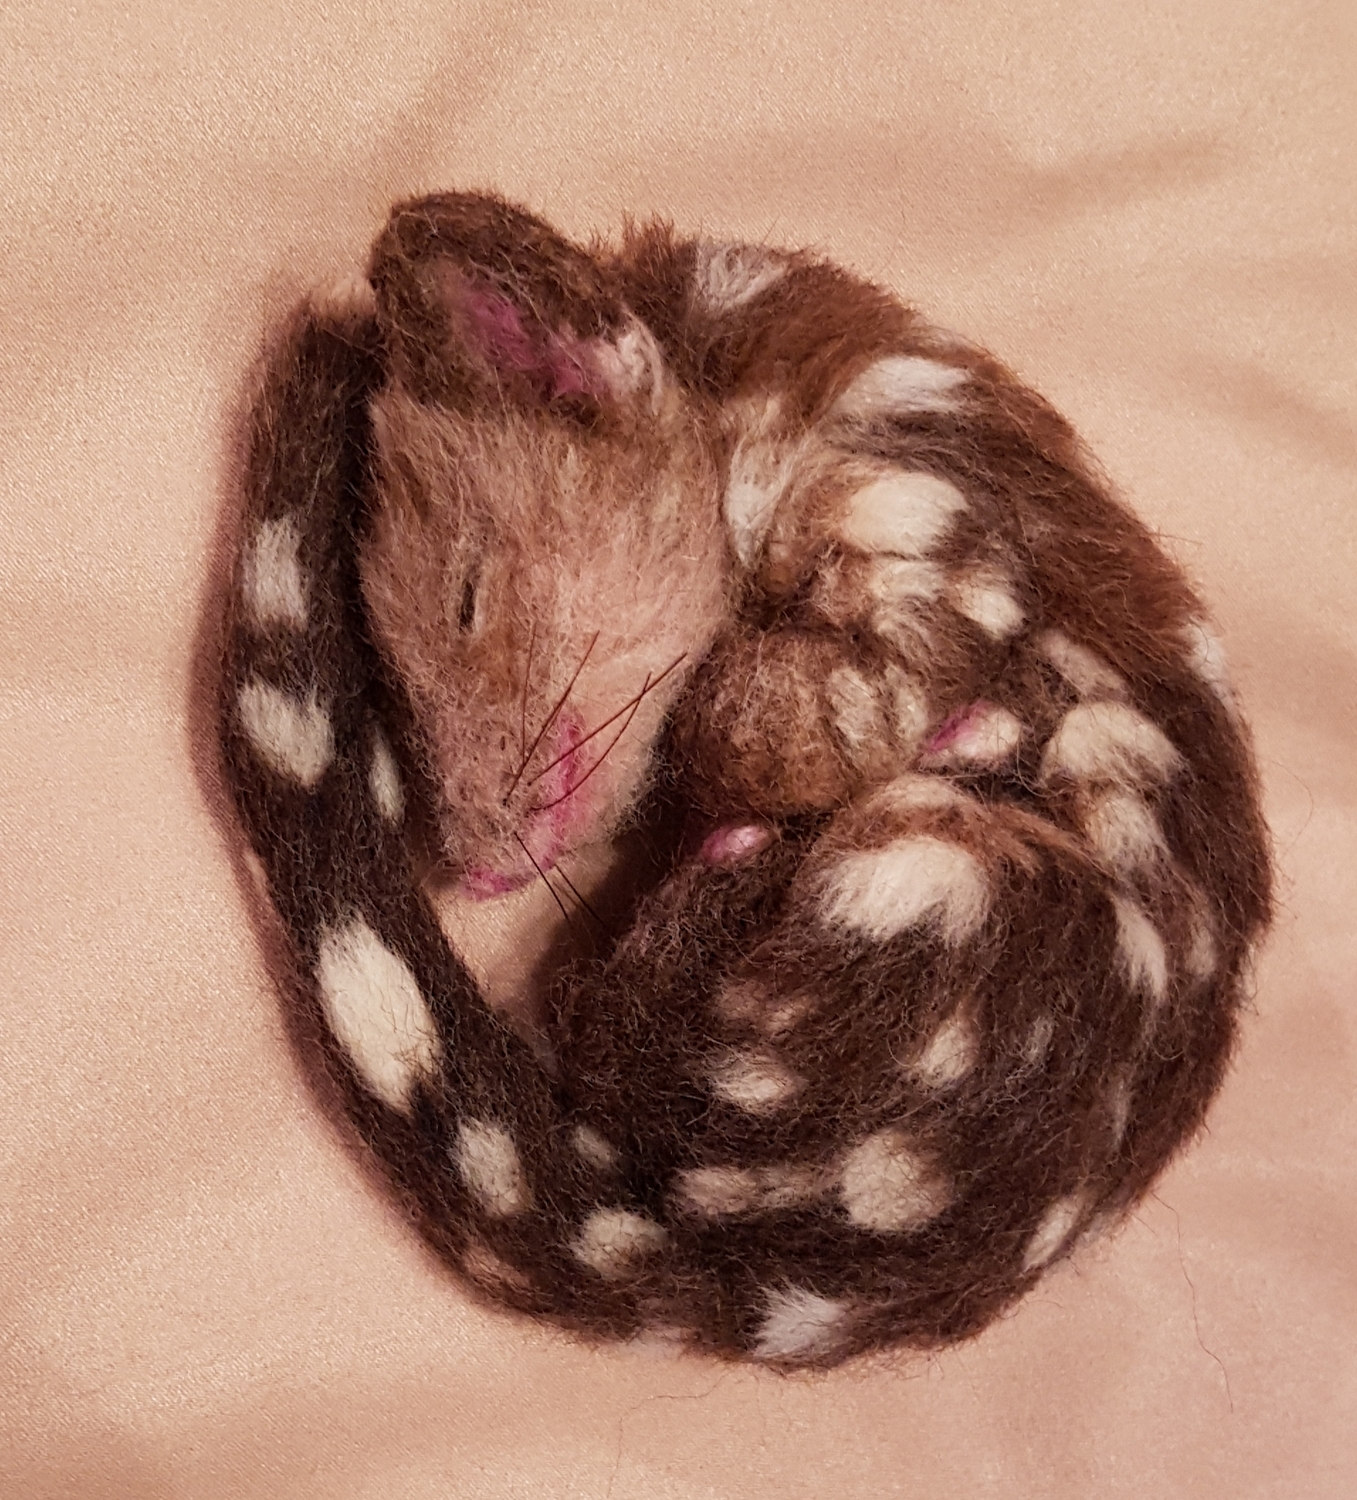
  6. Finally after tying a collar round its neck with a gold coloured pendant, I threaded the horse hair whiskers.
  7. As with all my long haired sculptures I went over all the furry layers with a tiny needle to separate fibres and ensure no fluffing or matting and then trimmed any excess fibres that stuck out.

After making him I went on to make a Tabby Birman cat head and made a needle felted cat head series for you to enjoy, see the videos list here.

How to needle felt leaves

If you are looking for a simple and effective method to needle felt some lovely looking leaves then this will hopefully give you some inspiration.

I recently felted some leaves for ‘Hazel’ the sleepy Dormouse and took some photos of the process for you along the way.

There are many ways to make needle felted leaves e.g. using leaf-shaped cookie cutters or felting sheets of wool and then cutting out the leaf shapes.

I decided to experiment with sheets of wet wipes (just cheap every day baby/hand wipes are fine). I found that not only are they a nice thin base to felt the wool onto for natural looking leaves but you still end up with sturdy pieces that keep intact and don’t easily fall apart. Having leaf shape cut-outs ready to work on made the process nice and easy too!

You can draw leaf shapes straight onto the wet wipes or you can (as I did) draw on to paper or card first to try out a few sizes and variations and choose the shapes you like best.

I looked up oak and maple leaves in a tree identification book and copied them freestyle onto my paper. You could also sketch leaves whilst you see them on a walk or collect them to draw when you get home. If you aren’t confident to draw them freestyle then why not trace over a book or computer/tablet screen image.

Here are my four sheets of wet wipes and I have cut out my leaf shapes (oak on the left and maple on the right) from paper ready to use as templates to draw round.

It is best to use a pen to trace round the leaf shapes rather than a pencil to make sure the lines show up clearly. Don’t worry about the wet wipes still being slightly damp as they will soon dry.

When it came to cutting I used small scissors as it was easier to cut the tiny jagged edges.

You can make as many leaves of however many species you like. I stuck to just the oak and maple and made two of each; a ‘spring/summer green’ version and a ‘changing to autumn’ version.

Here I am making a start on my first oak leaf.

For the ‘spring/summer green’ versions I chose a mixture of some beautiful vibrant green merino wools.

If you want to felt flat pieces quicker, a four needle tool is perfect. Triangle or star needles are great for this.

Continue to add more wool and firmly needle felt it into place. A single thinner needle (star or triangle) will help to define the edges and keep the wool to the shape of the cut-out.

If you are gluing or sewing the leaves onto a picture/collage you won’t need to felt the other side as well. For my dormouse nest however I wanted to be able to take the leaves out the nest as separate pieces of art so I decided to felt the other sides of the leaves too.

I used brown wool for the protruding stem of the oak leaf.

To ensure the surface of the leaves don’t look holey or to carefully brush the fibres in one direction for hairy leaves (make sure you have firmly felted the wool first before attempting this), use a spiral/twisted needle.

For the upper side of the leaf, carefully felt the stem and leaf veins with a thin (preferably a spiral/twisted) needle. Alternatively you could stitch on this detail using embroidery threads.

Here are a few process pictures of the maple leaf.

For my ‘changing to autumn’ versions I added thin layers of varying shades of green, yellow, orange and red merino wool to give a lovely blended finish before adding the stem and vein details.

You can really use your imagination when it comes to colour. When you look at real leaves no one leaf is the same as the next. I just love going for walks in the countryside and admiring the leaves on the trees or those in the autumn around my feet that have fallen. They are so amazing!

For really flat leaves, steam iron them for just 10 seconds each below a cotton sheet/tea towel.

I hope you found this step by step photo guide helpful for making your own needle felted leaves. Let me see how your leaves turned out!

Here are some final pictures of the leaves once they were finished. They look great on their own or with a woodland creature! 🙂

Needle felted dormouse

May I present to you ‘Hazel’ the sleeping hazel dormouse. She is snuggled up on her needle felted leaves in a wool nest I crocheted.

She is a mix of merino and corriedale wools with a wire in her tail and has horse hair for whiskers. Her tiny toes are all wool – I think they are the tiniest I have made yet and were very fiddly but certainly worth every minute of the process.

Hazel was such a joy to make while I have been recovering from a life changing operation. Curling up into a little ball just like she is doing in her cosy nest is something I have felt like doing a lot the past few weeks as I have needed so much sleep.

I hope you like her. I will be posting more about how I made the leaves soon too.

Needle felted bumble bee

needle felted bumble bee (33)

Here is my first attempt at a needle felted bumble bee. I gave it to my sister for her birthday last week. My sister’s name Melissa means ‘honey bee’ but she loves bumbley bees as they are so fluffy looking! I was brave enough to let it sit on my hand without any worries about being stung. Good job as it is much larger than life size!

I started off using black pipe cleaners as legs and antennae. I twisted them together in the middle to form the base for the body. I trimmed the pipe cleaners with small angled nail scissors to accentuate the leg segments and added tan coloured wool..

I tightly wound yellow, black and white merino wool tops over the middle section to form the head, thorax and abdomen and added more and more of the merino on top to build up the height. I needle felted the body with a barbed needle to sculpt into a bee shape. To create a furry bumble bee look I then used a reverse felting needle to pull out the fibres and added a layer of rusty orange over the yellow to give the colour more depth. (Note I didn’t use a cream colour core wool for this piece to ensure that only the pure colours I wanted came through when I used the reverse needle not any underlay of core wool fibres).

I had to get really creative for the wings. I searched my stash of crafty bits and ended up cutting out wing shapes from a silvery coloured organza bag and then hand sewed the pattern on each wing by hand with white embroidery thread.

Here are a few photos of the work in progress of how I started.

I am so pleased that my sister adored him!!

******how about creating your very own Mr Bumbley Bee? The detailed and beautifully illustrated PDF tutorial is now available here ******************

Blossom the baby bunny

My first ever needle felted animal back in 2013 was a sweet little white bunny holding a carrot.

He seemed to just emerge out of my wool the moment I started stabbing away and sculpting with my barbed needles! From that day I just knew this was the hobby for me!

It has been a journey of joy in creating, therapy and relaxation through the tough trials that life brings and through my own experimentation it has hopefully helped others as I journal and share my techniques as tutorials.

Needle felting is such a wonderful art form as it enables you to just go for it with whatever you want to make, with no need for a pattern or sewing, just your passion and imagination. If you make a mistake it doesn’t matter – it is forgiving and each time you create something new the result brings a smile!

As some of you have come to know, I love to improve and challenge myself. This last few weeks I set myself a challenge to make an animal with fur that has been reverse needle felted. At the moment we are staying in a lovely house in the countryside next to open fields of corn and wild flowers and we often see the cutest bunnies popping up from their burrows and skipping and playing in the sunlight. They are a delight to watch, especially when they hop away with only a flash of a white fluffy tail to be seen.

So what better animal to choose to have fluffy fur than a cute baby bunny rabbit! To me they are a real sign that spring has arrived and summer is on its way!

I would like to introduce you to ‘Blossom’!

You can see from the photos that she is the perfect size to sit on your hand just like a real baby rabbit. She is 15cm tall from the top of her head down to her cute bunny paws.

As with all my needle felted animals, it took many hours of hard work and love to give her that playful character. Her core is made of undyed mixed rare breed sheep’s wool from Scotland. Her beautiful soft fluffy fur is a blend of merino sheep’s wool (non-mulesed) from South Africa. Her nose and eyes are made of wool too, so no glass or plastic. Her whiskers are made from Shetland pony horse tail hair.

She even has pink paw pad detail when you look underneath her!…and look at that fluffy tail! 🙂 aw!!

Here you can see that I made the front and back feet individually and left a tuft of core wool on each for easy attachment.

You might be wondering what reverse needle felting is?

Firstly I used normal barbed felting needles to sculpt her shape with the core wool and add the colour with the merino wool. Once I had added a layer of white merino wool over her body I then added a layer of ‘pewter’ (dark grey) merino wool. I then took a reverse needle (which has barbs going the opposite way to a normal barbed needle) and as I stabbed at the wool it pulled the white wool fibres (and some of the core wool) through the grey. This resulted in a fluffy light grey colour. I carefully used an eye brow brush to brush the fibres in one direction to mimic the look of baby bunny fur.

She is ready to hop into your life this spring time!

Feel free to comment and let me know what you think and if you have any questions about reverse needle felting.

I hope you have a lovely relaxing Easter!!

Mini Schubie the Sheltie Feltie

I am very excited to present to you my greatest needle felting challenge yet. He is modelled on a beautiful young Shetland sheepdog (Sheltie) called Schubert (Schubie)! The real dog is very much loved by his human mum and dad and his dad wanted a surprise gift for his wife (Schubert’s mum) for Christmas!
I rarely do commissions as I try to avoid the stress of it but having spent quite a bit of time admiring the real Schubert I had been wondering how it would be to needle felt a mini one and quite fancied a stab at it!  🙂

Schubert has so many tones to his luxurious fur so I spent quite a bit of time blending wool colours. He also has very long fur so I really put into practice my ‘adding long animal fur’ techniques.

I started off wrapping corriedale core wool over a wire armature. Then I added paw pads and then some detail on his face before starting on his belly fur and working from his tail end towards his neck with merino wool. I did his wispy feet hair and tail last. Please see the work in progress videos below for more info.

In an attempt to keep him as authentically ‘Shetland’ as possible I managed to include some brown Shetland sheep wool in his coat and his whiskers are made of black Shetland pony tail hair all the way from Scotland.

As with all my creations it took many hours of needle felting and love. I am very pleased with the way he turned out and I hope you like him too 🐶🐕😆

Here are some short videos of the process, followed by the final photos of Schubie.

Here is the process of the armature with the body shape sculpted over it in wool:

Here is the Schubie journey:

And a quick video showing the making of his tail:

And here he is 🙂

Meet Freckle; the baby tiger quoll

Here is my latest needle felted animal known as “Freckle”!

03-Needle felted quoll (25)

She is an adorable baby Tiger Quoll (a wonderful and unusual looking marsupial from Australia). She is sound asleep all curled up, be careful not to wake her!!
Why Freckle? I posted her on facebook and asked for name suggestions. There were so many great ideas but I decided that the name ‘Freckle’ really suited her. I had freckles across my nose as a kid. My nanny (my mum’s mum) used to say to me that freckles were sun kisses. How sweet! This creature is sweet and certainly has quite a few freckles!

02-Needle felted quoll (26)
07-Needle felted quoll (27)

She has been lovingly hand-made and is ‘fit to be loved’. As you can see from the photos she just about fits onto your hand like a real baby quoll.

Her core is made of natural undyed corriedale sheep wool from New Zealand. Her beautiful spotted fur is a mix of brown corriedale and soft merino sheep wool (non-mulesed) from South Africa. She has a wire through her tail.

As with all my wool sculptures it took many hours of hard work and love to give her her character. I used the adding long fur technique as well as trying out my new reverse needles to ensure her fur looks as realistic as can be.

05-Needle felted quoll (20)
06-Needle felted quoll (34)

Her nose and eyes are made of wool too, so no glass or plastic. Her realistic looking whiskers are made from horse hair.

I hope you like her 🙂

*************** Freckle is now for sale in my Etsy shop! -update on 7th Dec 2018 – Now sold. So very excited to announce that Freckle will be going to a lady in Australia! *********************

Needle felted butterfly – bringing back the extinct (and hope) with the art of needle felting

Needle felted butterfly – bringing back the extinct (and hope) with the art of needle felting

My latest needle felted project has been a challenge (nothing is ever simple with me!) but it has been so worthwhile to see the finished butterfly in its frame.

I have always loved butterflies and if you spend more than a minute with me you will notice that I have many items that are butterfly themed; stationery, cards, blouses, my wedding was adorned with feather butterflies and as you can see my Fit to be loved logo has a tiny orange butterfly.

I came across the Mazarine blue butterfly (scientific name Cyaniris semiargus which is pronounced sy-an-EYE-riss se-mee-AH-guss) over a year ago as it stood out to me not only for its beautiful markings and vibrant blue colours but also I was saddened to read that it was last recorded in the UK in 1904.

I envisioned what this beautiful creature may look like if I were to make it out of wool and to have it framed. It would be amazing to bring back an extinct butterfly with the art of needle felting!

I set myself this project and though I started a year ago with a few wing shapes and lots of imagination, life took a bit of a different turn.

Some of you who follow my Facebook posts may know that 2 years ago this week our worlds changed forever as our twin girls, Chloe and Grace, were born still at 24 weeks. Since then life has had its ups and downs as I have journeyed the hills and valleys of grief. Throwing myself into my long term full time job as a Manager of a charity helpline in South London as a way to distract from my thoughts has been a coping mechanism but this kind of life can only reach burn out. Also some of my passions including needle felting took back stage.

In April this year I realised I needed to make a change, to face my fears, start afresh, take a break. I also wanted to dare to follow my dreams of helping others on a new career path and so my husband and I decided to move out of London and I made a huge step of leaving my job. So here I am in Lincolnshire (back to my birth town of Grantham) after moving home 3 weeks ago. I have space to think, to breathe, to heal, to be, to create!

You will be pleased to know that my new career choice has enabled me to gain some free time to invest more in my needle felting.

I hope you like the Mazarine blue butterfly which I have finally been able to complete. It has been lovingly handmade with soft merino wool over wire and mounted in a deep box frame to keep it dust free.

Butterflies are often a symbol of hope and life. This one is certainly the start of something new in my life. A path of hope.

What passions could you bring back? What hobbies can you start or revive? Where is your life taking you? What are you hoping for?


Blessings always xx

Amanda

Poppy

Poppy

Just finished needle felting a beautiful black and white dog called Poppy.  I wanted to capture the smiley faced playful character of the real dog Poppy who loves to fetch a ball, go for a swim and have lots of fun on her walks, sometimes with legs splashed with mud!

I am not sure what breed she is but she looks like a spaniel/collie cross.

She was a delight to make. She is made from core wool over wire and then merino wool layered over the top. Her eyes, nose and even her tiny collar with a paw print disc is made from wool. Her layers of long fur were added with my usual technique (click here for tutorial).

Once needle felted I was able to pose her with head slightly tilted, front leg bent and tail ready to wag……

Don’t you think she looks happy to be finished? 🙂

Needle felted Red Panda

Needle felted Red Panda

So back in November some of you voted for the animal you wanted to see me needle felt next and the red panda came top!

I agree red pandas (Latin name; Ailurus fulgens) are tremendously cute creatures and they have such vibrant colouring.

She was not at all easy to make with her long fur, markings and ringed tail (apparently in the wild they use their big tails as a wrap around blanket in the cold mountains of Nepal, Burma and China) – but then you know how much I love a challenge!

She took a while to make and a lot of patience and I have to say I did leave her half done for a few weeks at a time with lack of motivation at one point… however she was worth it in the end.

I decided she was a ‘she’ early on as her eyes stared back at me with a kind of sparkling prettiness about them..

A lady in Yorkshire fell in love with her after spotting her on a facebook forum while she was just a mere face and so she is now being loved and cuddled by this lady at her new home 🙂

So here is a photo montage of my red panda to show you the stages of how I created her as well as an indoor and outdoor (garden) photoshoot of her once finished.

It is set to a beautiful piece of music called ‘rain’ that will hopefully inspire you. For me I feel like I am being transported to a distant land where maybe you would find a real red panda! 🙂

Hope you like her 🙂

Needle felted red panda  (41)

So, what on to next?? a lion, a wallaby??

If you would like to know in more detail how I add long fur to animals my needle felting tutorials can be found over on my tutorials page 

Don’t ever miss out on my latest tutorials! Insert your email address and click the ‘Follow’ button on the right hand panel to receive notifications of when the next post is up..:-)

Visit my Etsy shop today to see my latest creations. Or like my facebook page to see what I am making next.


Needle felted animal vote

Hi everyone.  I have set up a fun poll to help decide what to make next.

I have chosen 5 animals which I think will be quite a challenge to needle felt.

Which one would you like to see me make next? 🙂

I will take photos as I go to show progress as usual on my facebook page and will blog about it once finished.

Whatever I make will be one of a kind and available in my Etsy shop.

So please vote here:

https://fans.vote/v/ACjrxdvd3l4

Bon Voyage little guinea pig!

I would like to introduce you to a gorgeous needle felted guinea pig called ‘Teddy’.

As you can see he has a cheeky little face and I really tried to make sure his autumnal orange fur tones ended up looking as fluffy and soft as possible just like a real guinea pig.

6-Needle felted guinea pig (6)

He is now on his way to France to live with a lovely lady who will take good care of him.

Bon Voyage little guinea pig! You were a pleasure to create and I hope you have a wonderful life at your new furever home x

5-Needle felted guinea pig (5) 3-Needle felted guinea pig (3)

His core is made of natural undyed Corriedale wool from New Zealand. His beautiful soft fur and detail on his cute piggy paws, ears and face are of soft merino wool (non-mulesed) from South Africa (Cape). His toes have been sculpted by wool wrapped delicately onto wire.

His eyes are made of wool too, so no glass or plastic.

You can see he is life-sized from the close up of me holding him in my hand.

2-Needle felted guinea pig (2) 8-Needle felted guinea pig (10) 9-Needle felted guinea pig (8)

1-Needle felted guinea pig (1)

Hope you like him 🙂

Would you like to know how to make a guinea pig? (click on the photo to get started).

Needle felted guinea pig

Making a needle felted animal and need some help adding layers of wool to achieve a realistic long fur look? (click the photo to learn more…)

Felting long animal fur

See here for a variety of tutorials, tips and ideas to suit your project

Here are some other needle felted guinea pigs for more ideas.

Needlefelted guinea pig (2)  Needlefelted guinea pig (24)

Guineapig Guinea pig (37) Needle felted guinea pig (1) Needle felted guinea pig (38)

Needle felted bat (Brown long eared bat)

Seeing as I manage the National bat helpline (UK) as my day job it was about time I made a bat! Thankfully I was asked to make this little brown long eared bat (BLE) (Plecotus auritus) – although when I say little she is very big compared to real BLEs which have a body length of around 5cm.

She was a challenge as not only did I have to work out how to make folded wings and a tail membrane but BLEs have such massive ears as you can see. She is made of corriedale and merino wool and has wire inside her forearms, legs and ears.

BLEs can live up to 30 years, eat thousands of insects each night, have only one baby a year and these fantastic huge ears help them to listen for prey as they glean them from leaves.

This one is definitely alert and looking for a cuddle but usually at rest their ears curl back a bit like ram’s horns to show only the tragus (the pointy inner ear lobe). Hope you like her and agree that bats are amazing! 🙂
03-Needle felted bat (8)     12-Needle felted bat (35)

15-Needle felted bat (40) 25-Needle felted bat (57)

02-Needle felted bat (7)   18-Needle felted bat (45) 22-Needle felted bat (50)

My first Youtube tutorial !

‘Would you like to learn some basic techniques for needle felting tiny toes/feet/hands? Here I demonstrate one of my techniques for making toes by wrapping wool over wire. I also prepare them ready to attach onto an animal called a solenodon (a strange shrew-like creature with a long tail and venomous bite). This quick 11 min tutorial is easy to follow step by step.’

As you know I often take photos of my needle felted creations as I go along and have posted various tips and tutorials on my blog so you too can follow the same steps. However I have been wanting to do a video for ages so finally it is here!

Whilst making the feet for the solenodon I used my Samsung s4 mini (hung from some string on a bendy lamp stand!) to video my hands as I shaped the wire and wrapped the wool over it. I used windows movie maker to edit it and added narratives and music. Not so impressed by the volume as my voice is not so loud if watching from a tablet or phone but I hope you can hear it ok.

Feedback welcome please for my first attempt. 🙂

Needle felted solenodon

Needle felted solenodon

Ever heard of a solenodon?

I had never heard of one until I came across this strange but interesting creature a few months ago when researching what to make my colleague for his birthday. I discovered that he had spent several years working on a conservation project for this intriguing animal in the Dominican Republic.

As soon as I saw the solenodon’s shrew-like snout, shaggy dense coat, long clumsy legs and thick scaly tail, I couldn’t wait to get started. As this was a secret birthday buddy present though I had to keep quiet..

I started with a wire armature covered with pipe cleaners, then wrapped core wool (corriedale batts) over the wire to give him some shape.

2015-06-20 11.54.45

Then came the layers of luxurious merino wool for his cream fur with dark brown flecks over the top. I also made tiny toes from thinner wire with merino wool wrapped over it. He has a lovely pinkish nose, ears, feet and tail and little black eyes to finish.

2015-06-20 11.56.51

2015-06-20 11.57.31

IMG-20150614-WA0000

Not sure if many people have heard of this animal let alone needle felted one!!

Creating an animal you know is so much easier – with this one I had to keep looking at the photos frequently to ensure I captured its build and character correctly. It was a lot of fun !!

My colleague loved his surprise! yay!!  🙂

2015-06-19 19.10.15

Needle felted Solenodon 2 Needle felted Solenodon 3

The real solenodon has a venomous bite – thankfully this one doesn’t!

Needle felted Solenodon 4 Needle felted Solenodon 5

Needle felted Solenodon 6

Don’t ever miss out on another blog post! enter your email on the right hand panel of my about page for notifications of when the next post is up..:-)